Knitting a 17th-century silk stocking for the Refashioning the Renaissance participatory research project
By Liisa Kylmänen
Taking on a challenge
I’ve been knitting since I was a teen and loved all kinds of needlework all my life. I also love historical clothes so when I heard that the Refashioning the Renaissance participatory research project was trying to replicate a really fine, old silk stocking from the 1650s, I enrolled as a volunteer. Challenging myself with anything hand made is always worth a try!
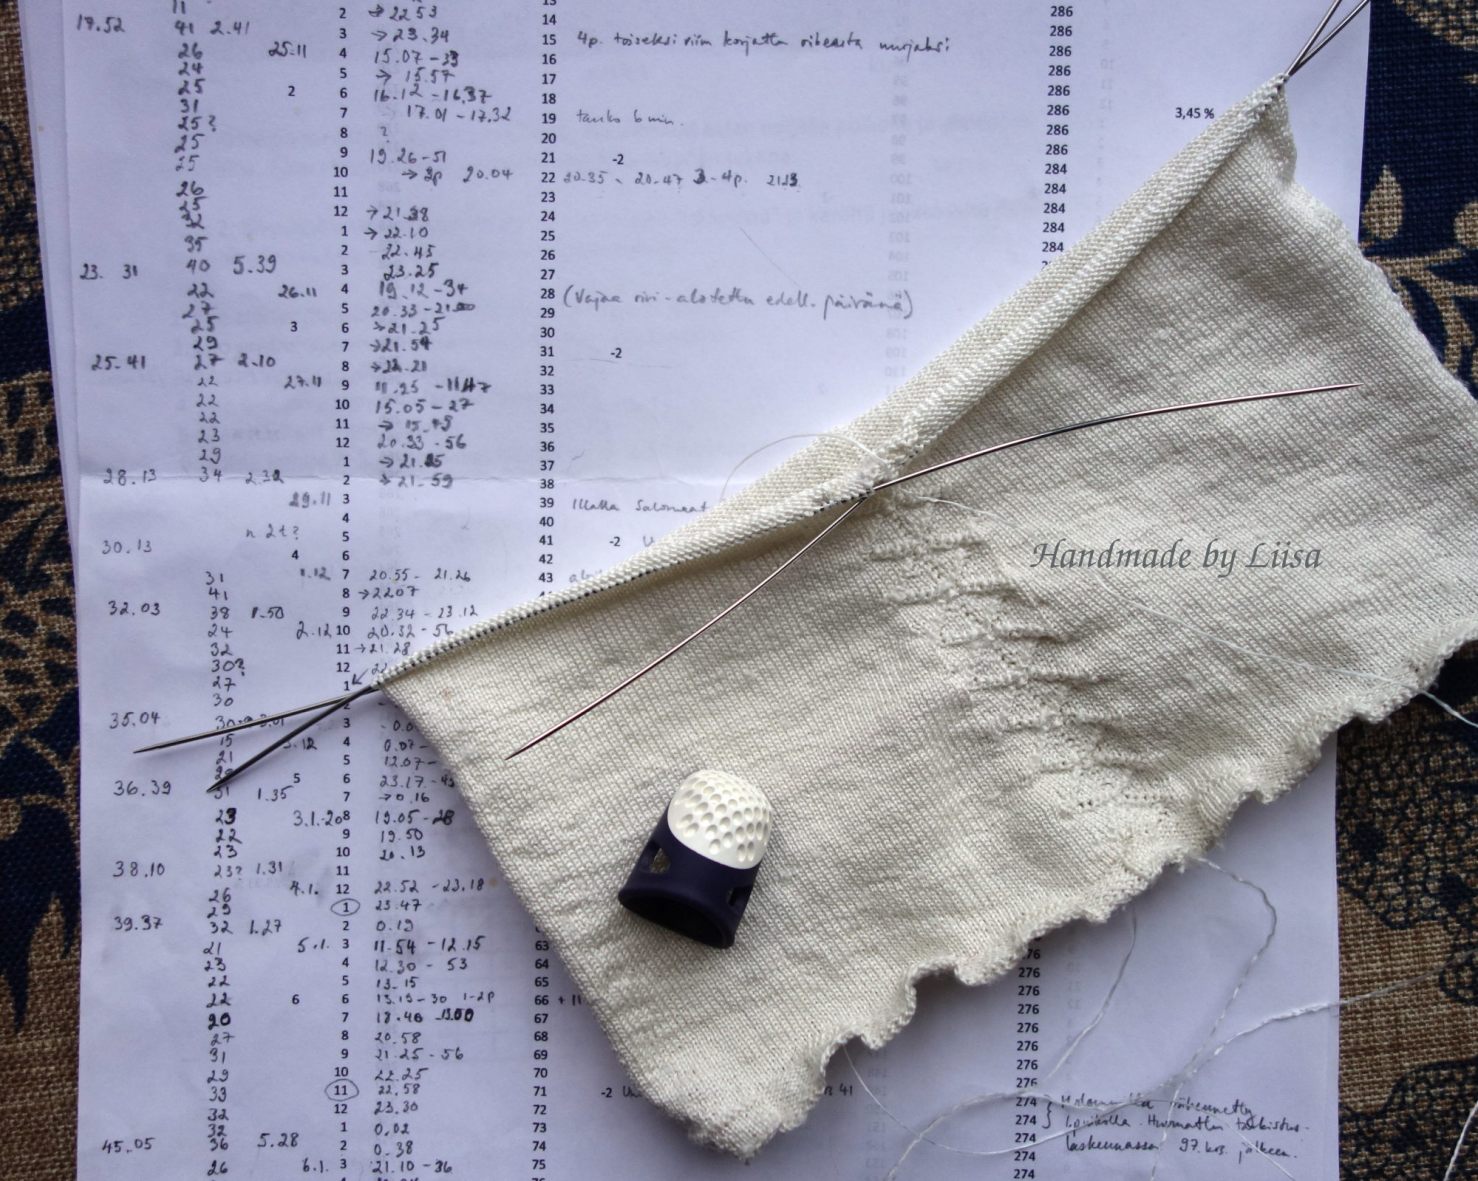
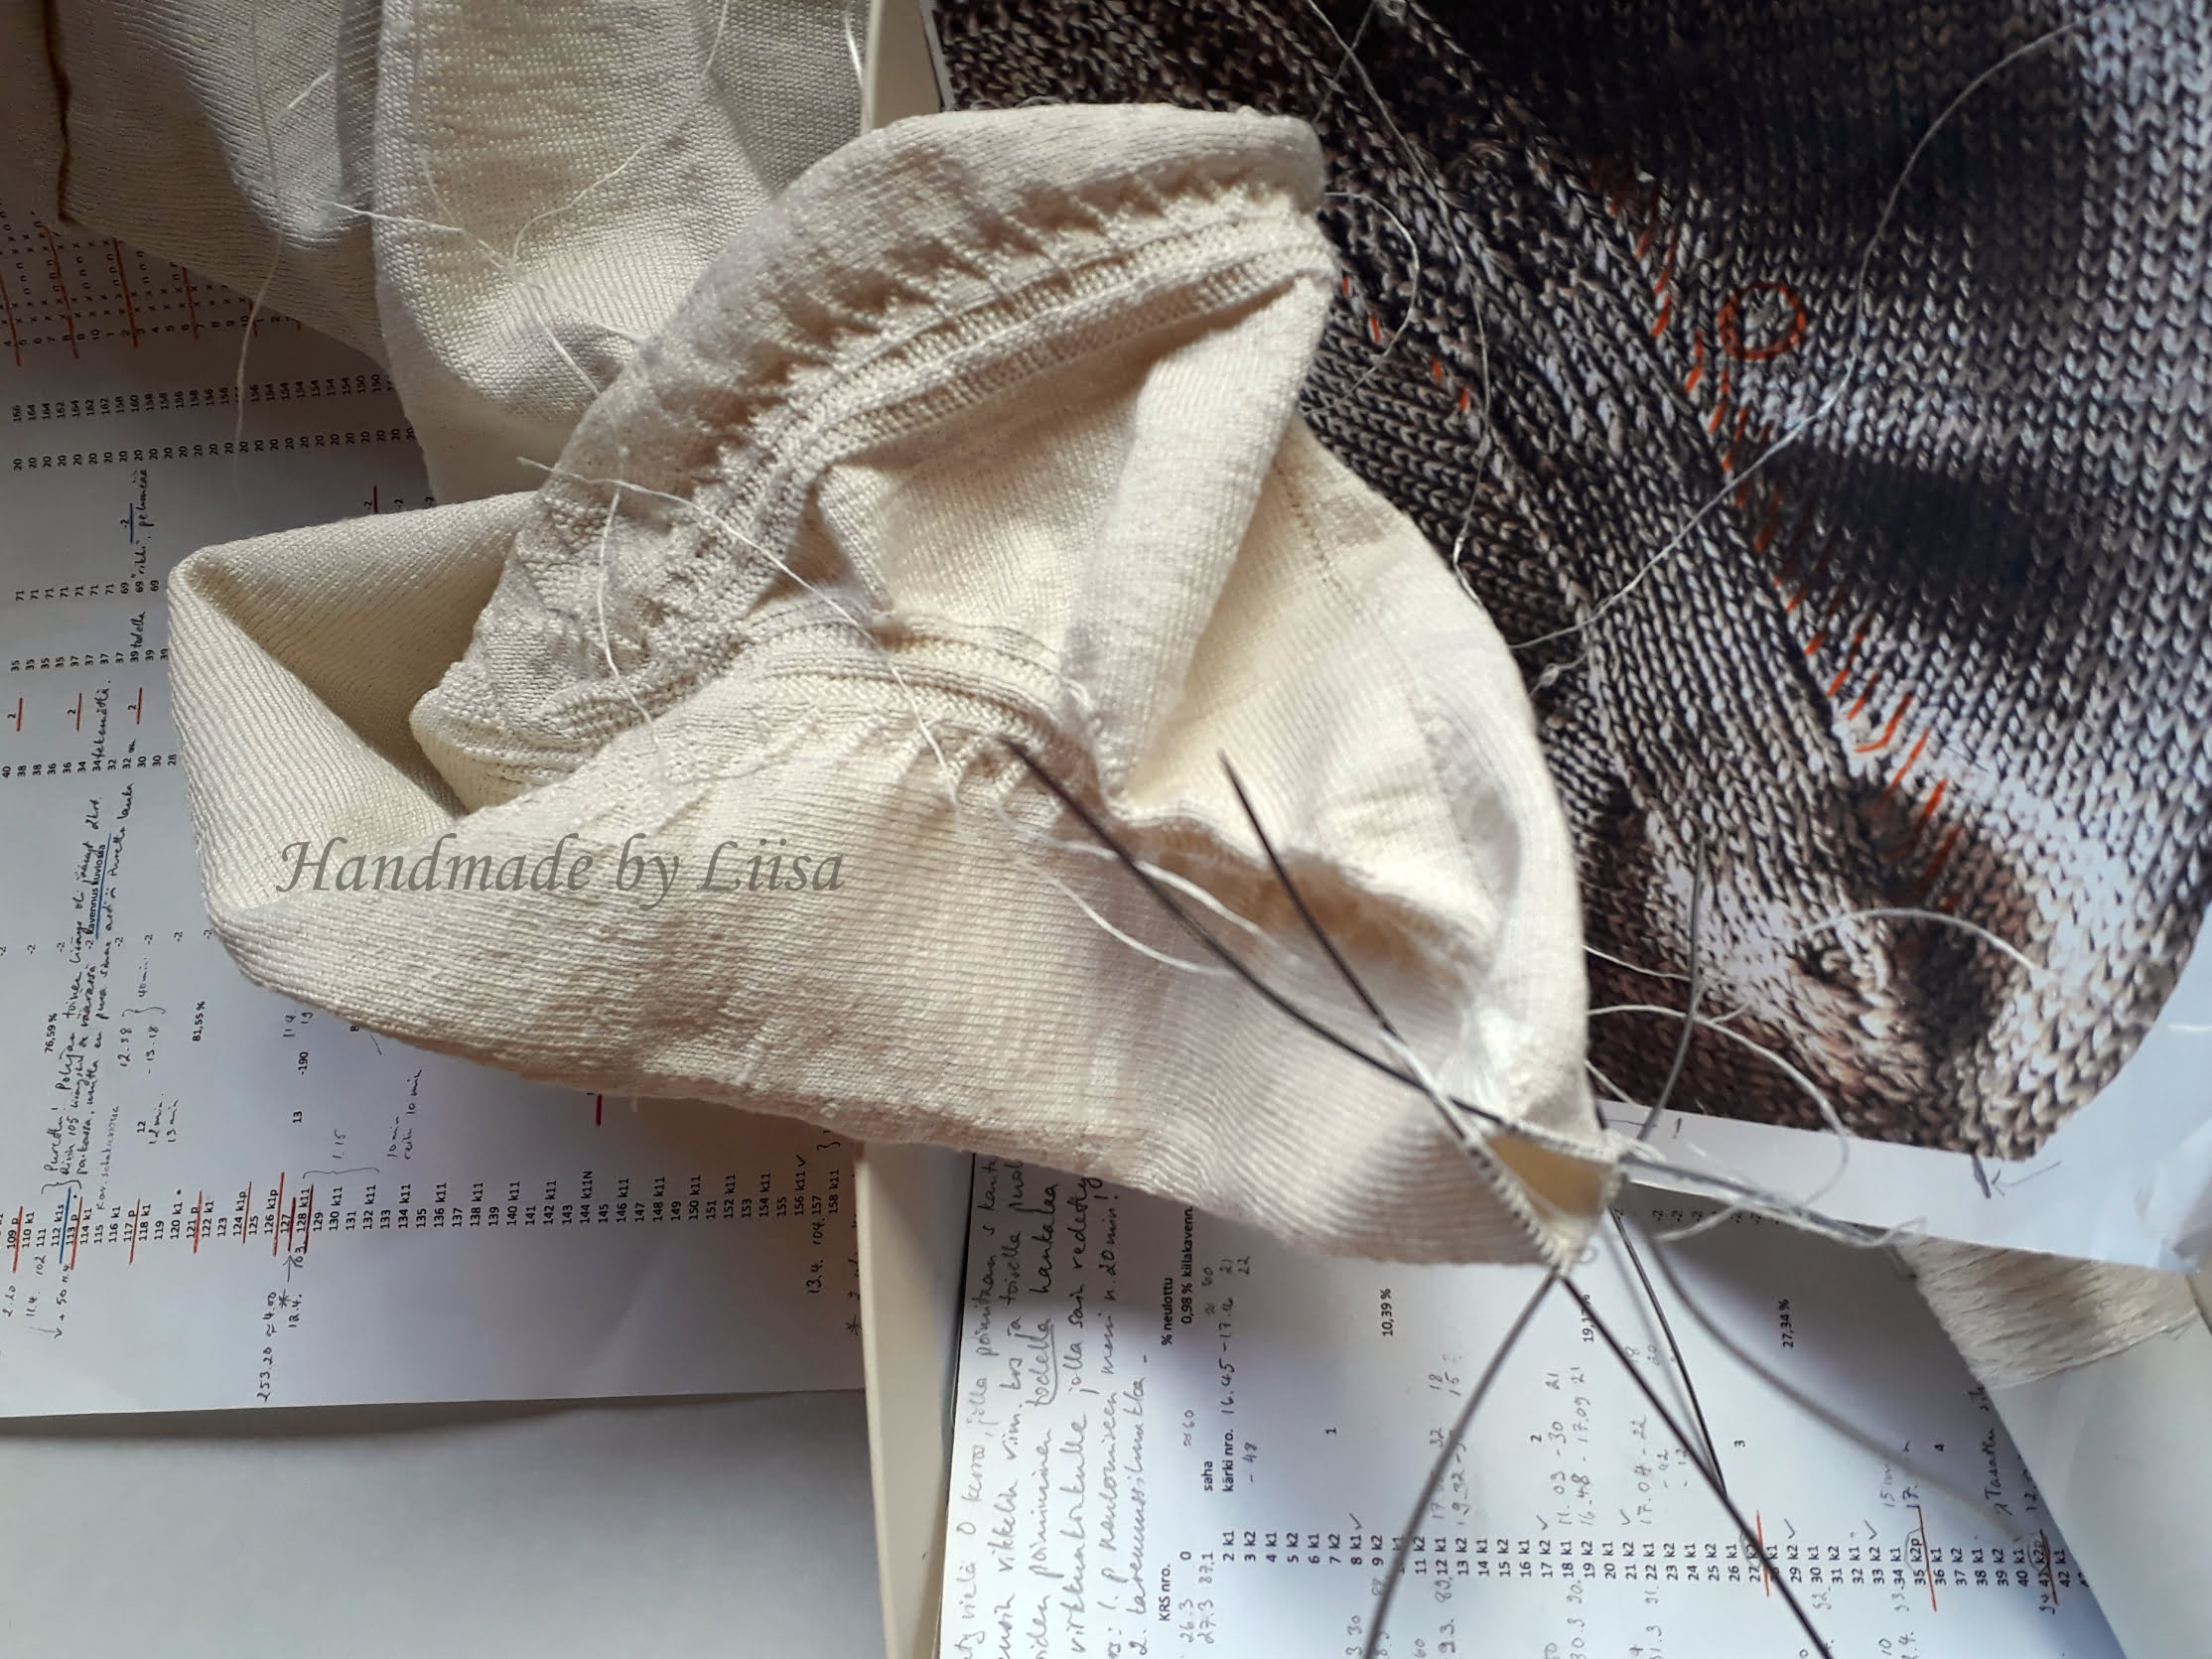
In early spring of 2019 our team of about 35 volunteers met for the first time. We were given the option to make three different kinds of socks, and I volunteered to knit the finest type, a replica of an old pair found in a tomb in the Turku cathedral. Before we got to work on the actual stocking we had to find out how the original pair had been knitted. Our pattern team divided into groups to study the close-up photos of the Turku stockings, counting stitches and trying to work out a logical pattern. It was quite demanding to keep track of what was happening as the socks of the pair had not been made exactly the same way and we only saw one side of the stocking at a time from the photos we had. We ended up with 11 pages of text, photos and charts, plus an excel sheet of all the rows of the stocking and what was happening on each row.
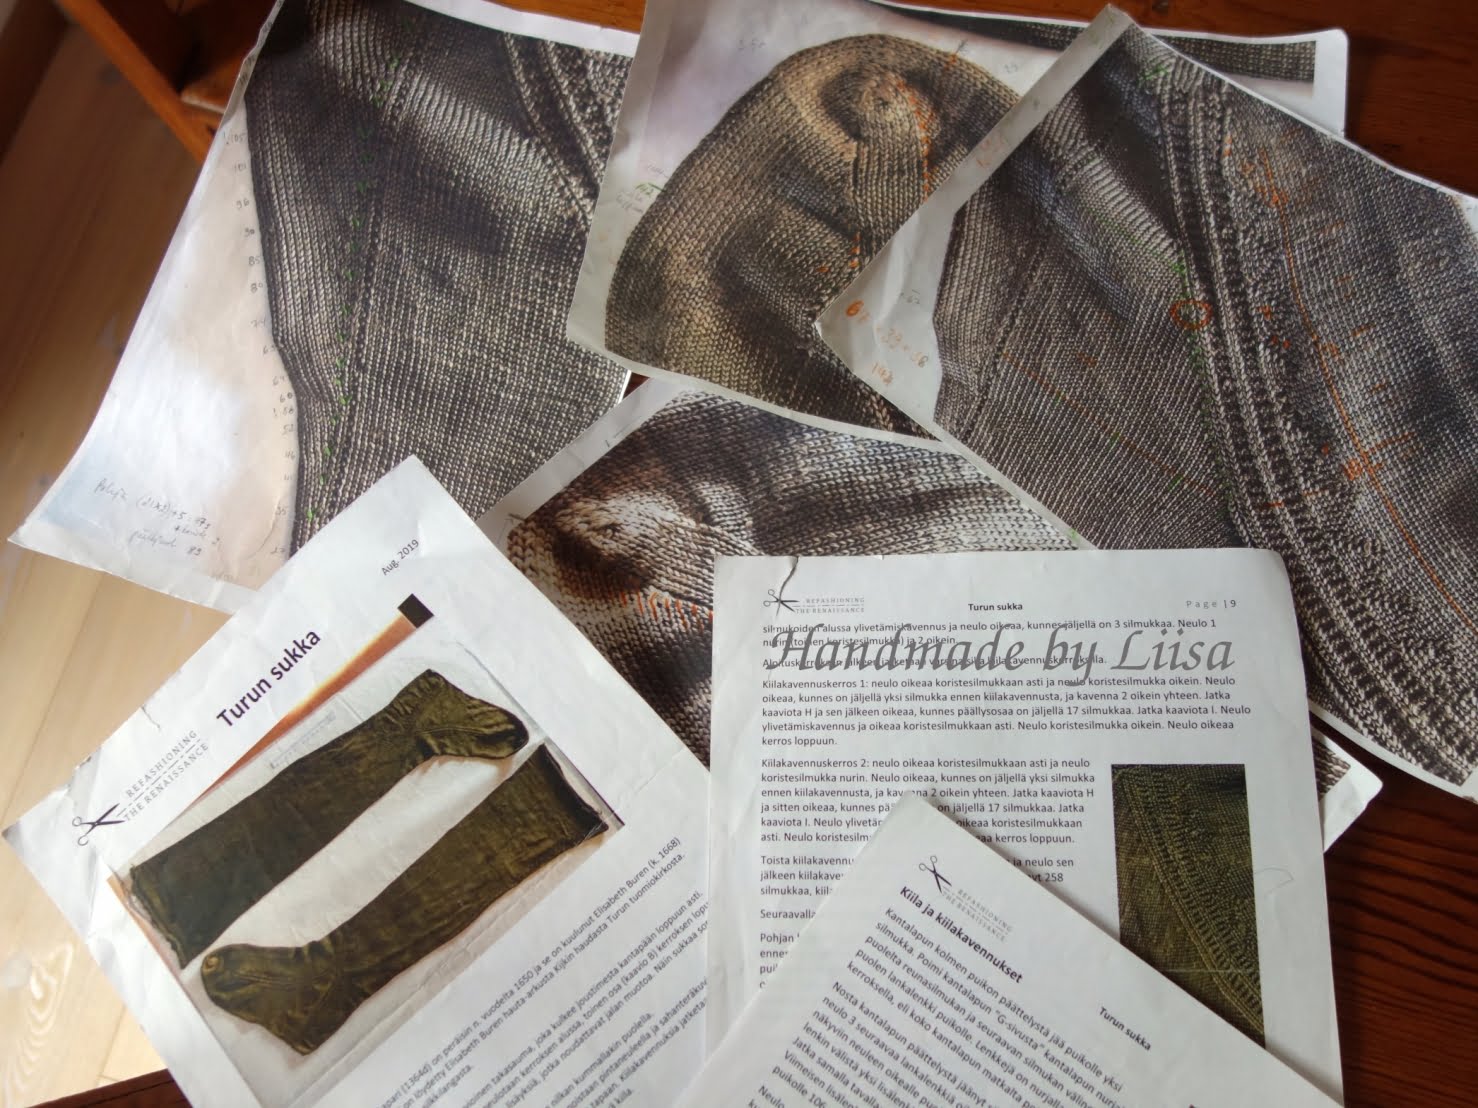
Enlargements of the photographs of the Turku stockings with my markings and the completed pattern
Testing ourselves and the materials
The next big question was how to achieve the right gauge or stitches per cm. At our group’s first meeting we experimented with fine wool tread. I started knitting a tiny little swatch with 0,7mm needles and the thinnest wool yarn. The smallest needles I had knitted with until then were 1,75 mm, and the difference seemed enormous. The needles (HiyaHiya steel double pointed) felt really flimsy and bendy in my hands, but the result was a fabulously thin and fine piece of knitting with just over 10 stitches per centimeter! I learned to knit the continental way but on the purl rows it was impossible to open up the stitch to catch the yarn. For the first time in my life I tried the English style of knitting which I’ve always considered very cumbersome. With the tiny stitches and reduced strength of the needles, the English method was the way to go for the purl side.

The start of my mini sock with 60 stitches and the first finest swatch with 30 stitches
For my next swatch I decided to knit in the round – like we would for the actual stocking. I used some slightly thicker yarn left over from an Estonian shawl and the same 0,7 mm needles. I ended up knitting a miniature stocking using the directions of an old Danish sock that was introduced to our team as one of the socks to be knitted by the volunteers. I often fell into trouble with a slipped stitch, a mistake to correct or just the furry yarn going into an unidentifiable mess. I had to dig out a loop to pick up the stitches from the heel flap for the gusset.
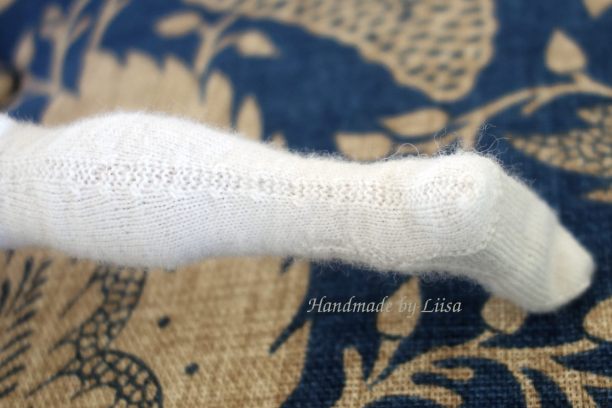 Here’s the mini sock modeled by an old action man doll. It has all the features of the 16th-century stocking: the garter, shaping by increases and decreases, a purl decoration in the back seam, a clock decoration at the ankle, a folded heel and a long gusset
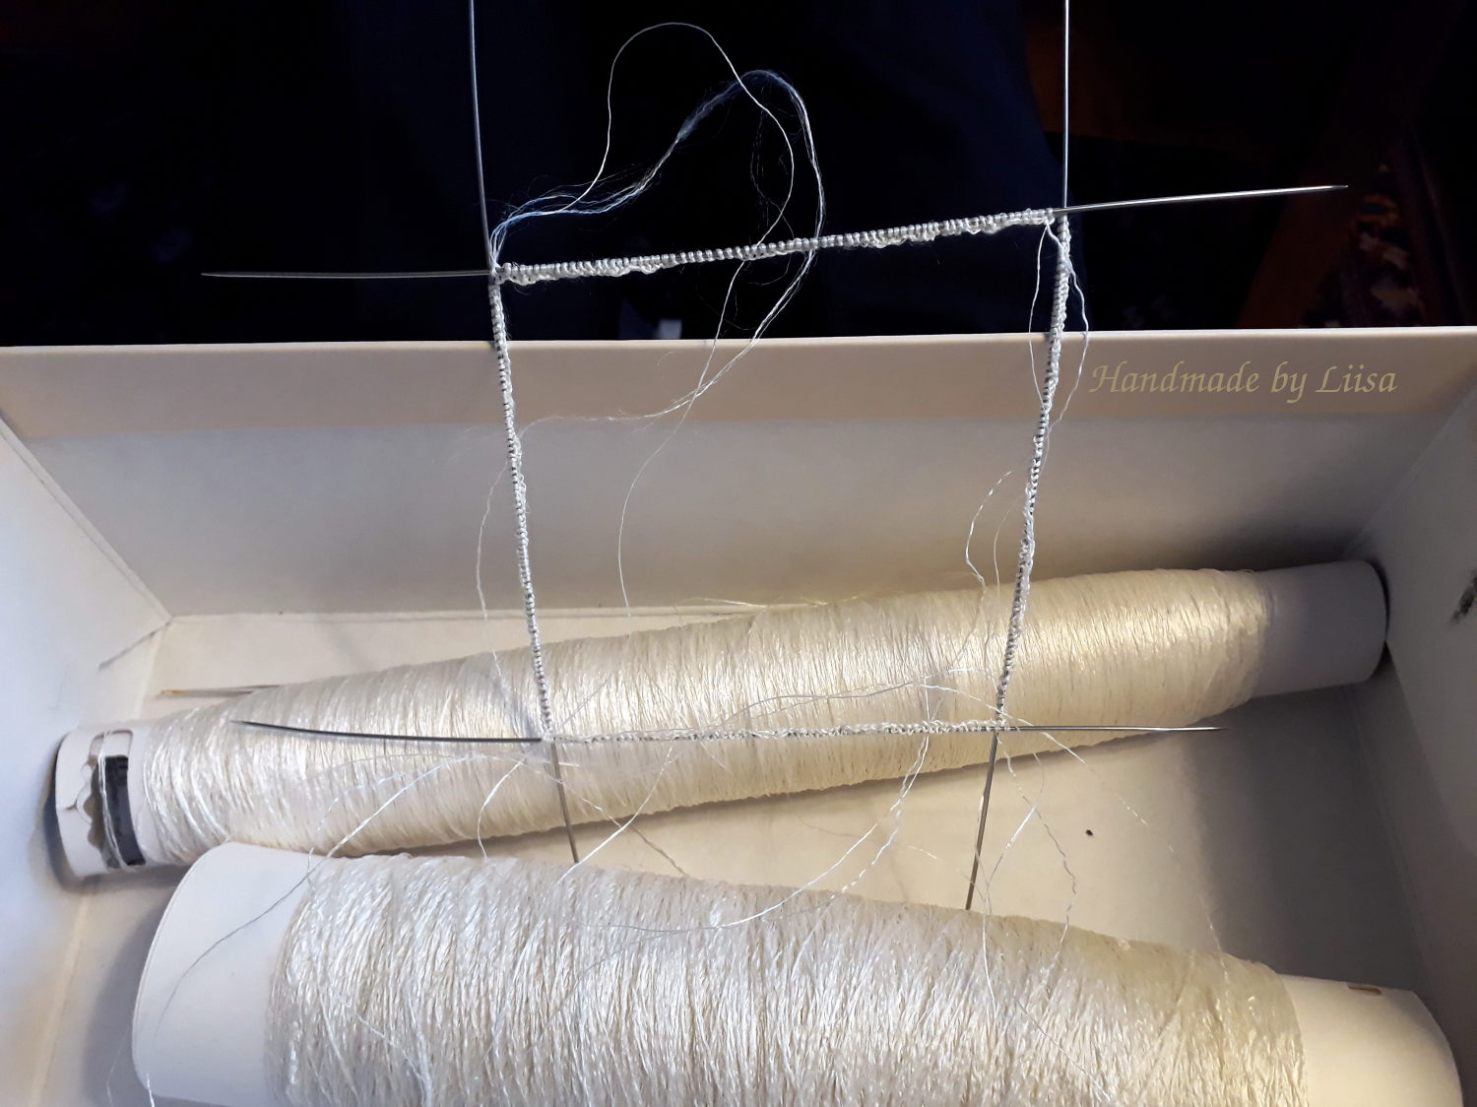
In the summer we finally got to try out some silk. It was in fact much easier to knit than I had expected. Unlike the wool, any silk strands left out from the needle were easy to spot as they formed a visible loop on the outgoing yarn. We tried different kinds of silk, some still containing their natural sericin and other softer yarns from which it had been washed out. Both had pros and cons: the sericin was harder on the hands, stiffer and hence stayed together better, whereas the washed silk was easier on the hands, more supple and also split much more. I made little swatches of many different yarns, practicing increases, decreases, purl decorations and picking up stitches at the same time. The gauge we were aiming for was around 8 to 9 stitches per centimeter, and with most yarns I achieved that with 1 mm needles.
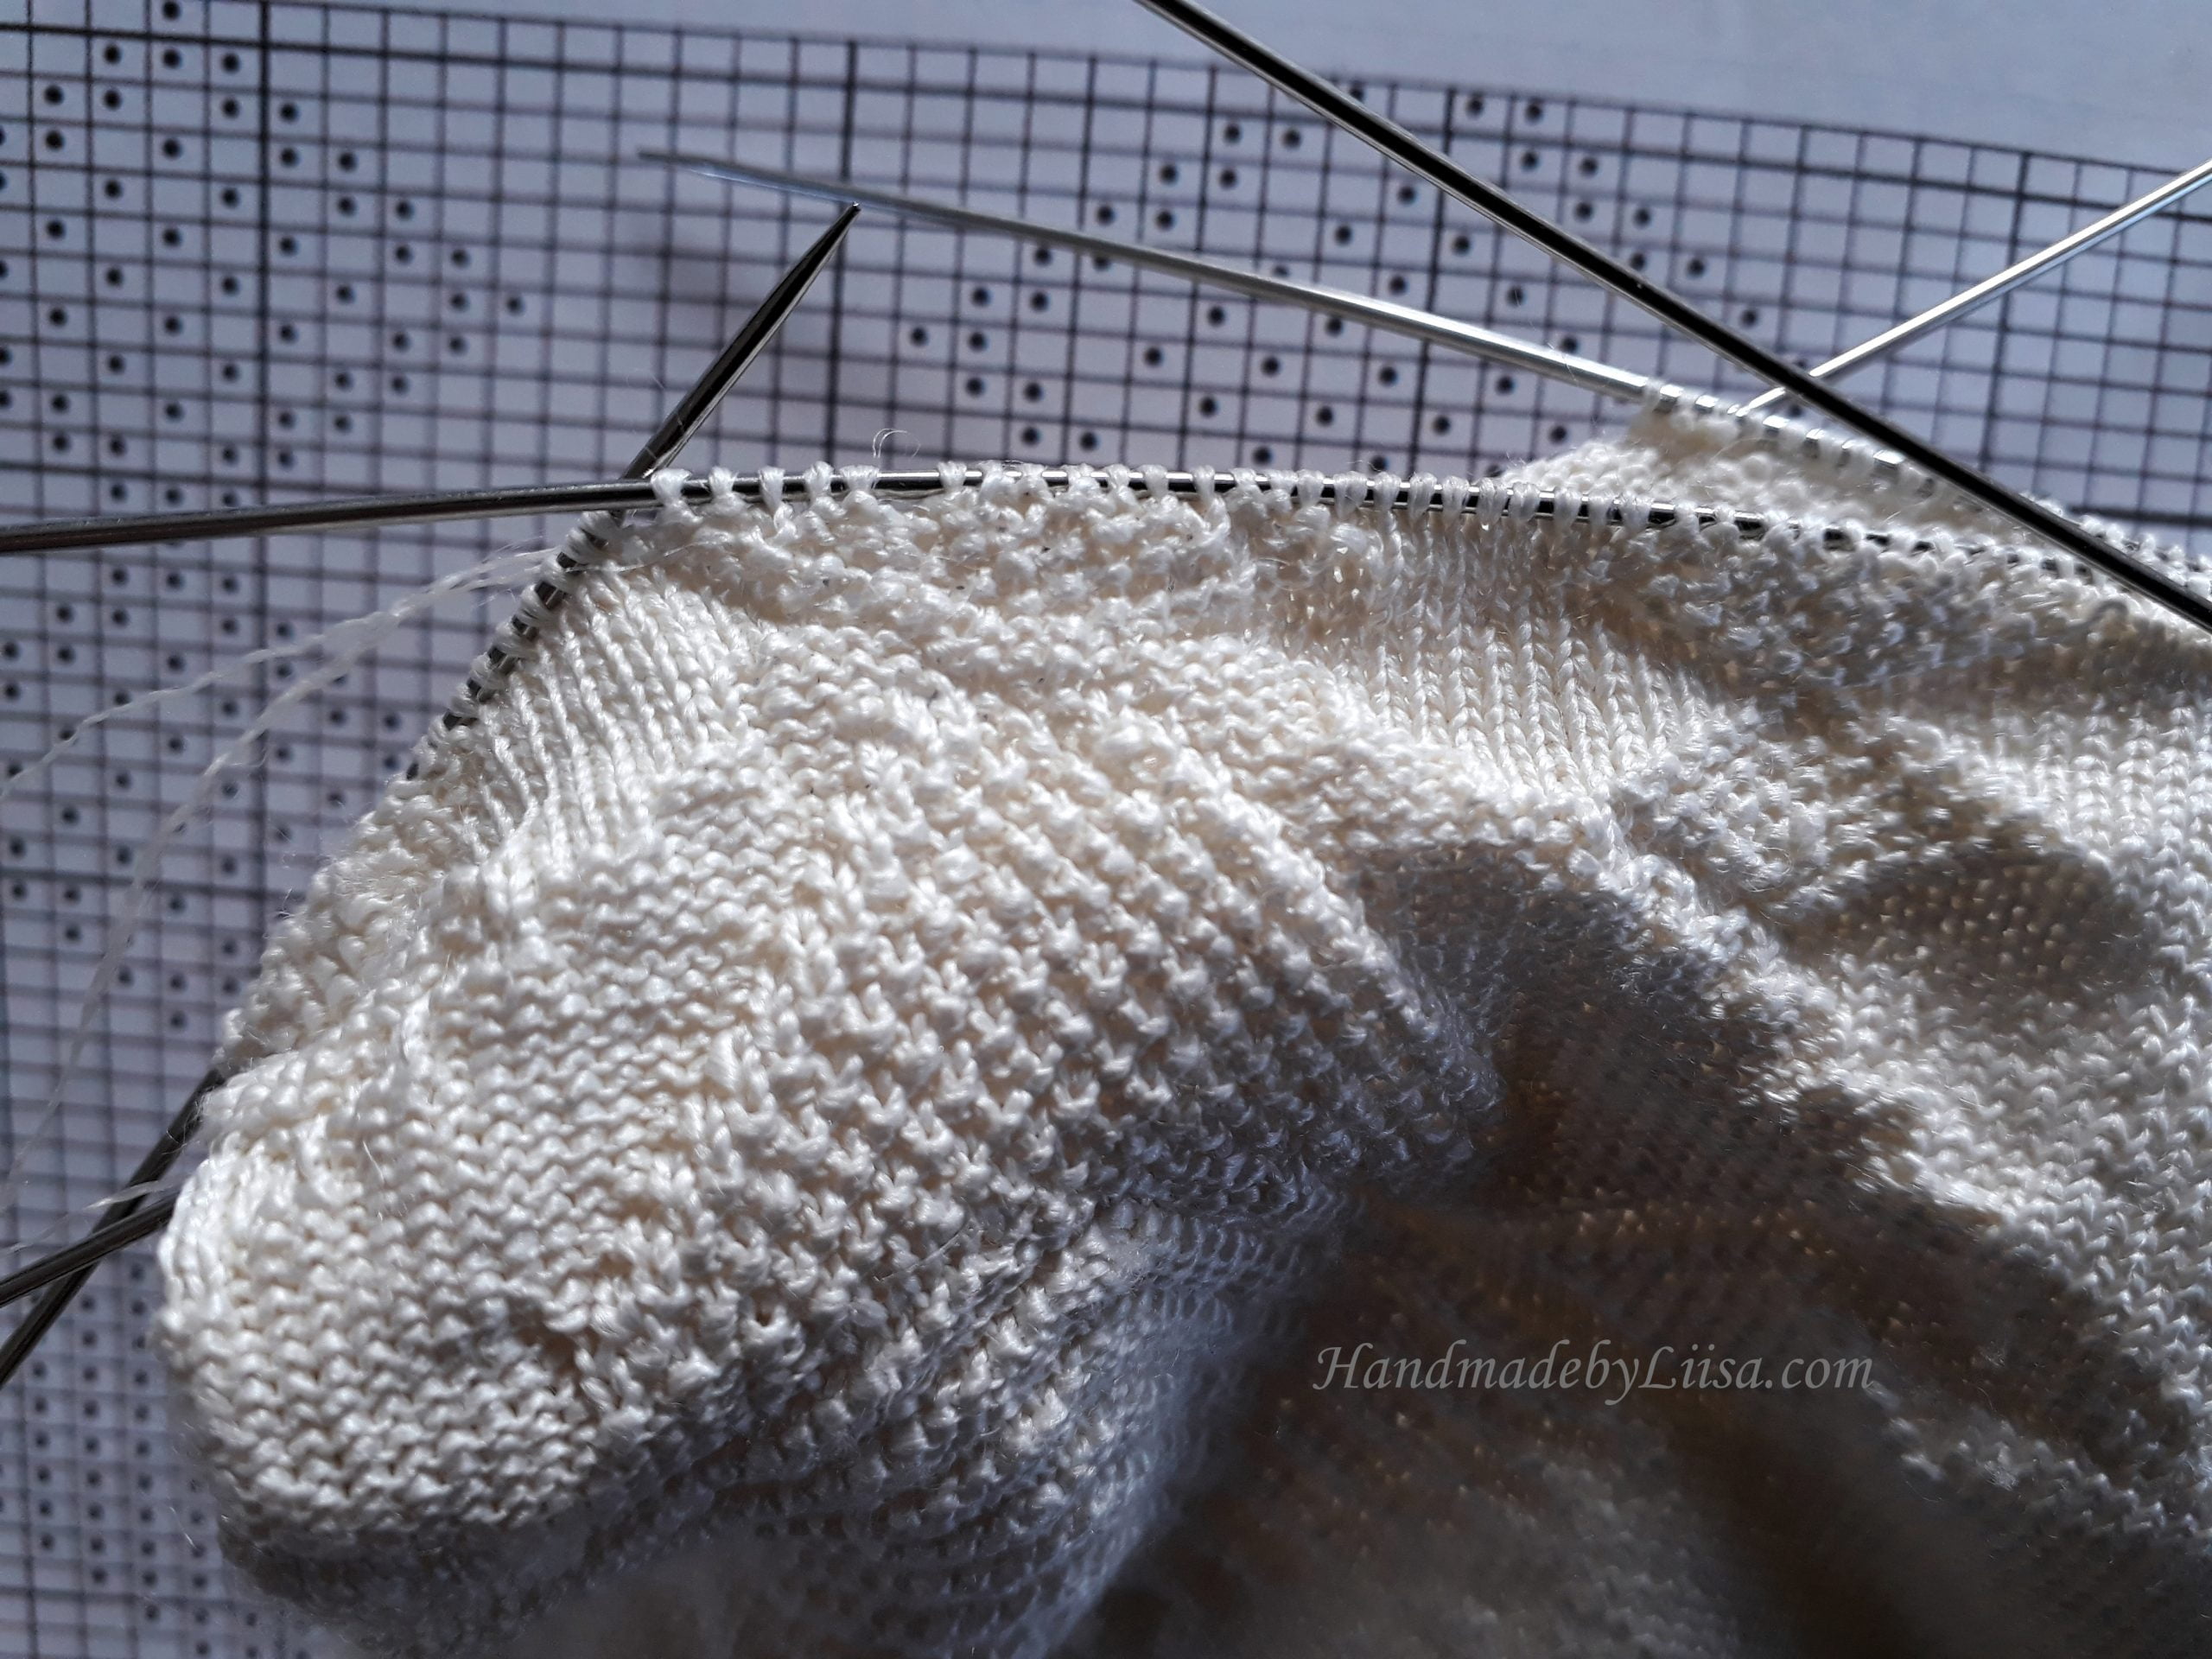
Here is a swatch with single silk yarn where I tried out some twisted stitches, picking up from
the side, different types of increases and decreases
Getting to work on the actual stocking
The silk we eventually received for our project was a bit of a compromise and so after all my experiments aiming for the same quality as the original, I ended up starting my sock with a double thickness of yarn. The needles I used were HiyaHiya 1 mm steel needles and I was VERY happy that I didn’t have to take up the project with the thinner 0.7 mm ones!
Casting on and knitting the first row was very slow.
The beginning was – as always – the hardest part! It took me nearly three hours to cast on the 288 stitches and to knit the first row. I used a cast on method where the stitches were crocheted with one thread (in my case double) around the knitting needle. The knit was quite dense due to the double thickness and hence quite cumbersome to knit. I needed to tighten each stitch, especially the first couple stitches of each needle. After a couple of rows I made good use of a thimble to push the needle along! Also because of the double yarn thickness, the needles were so “full” that I managed to push only a couple of stitches forward at a time, making the process even slower.
Taking notes of time spent on each row
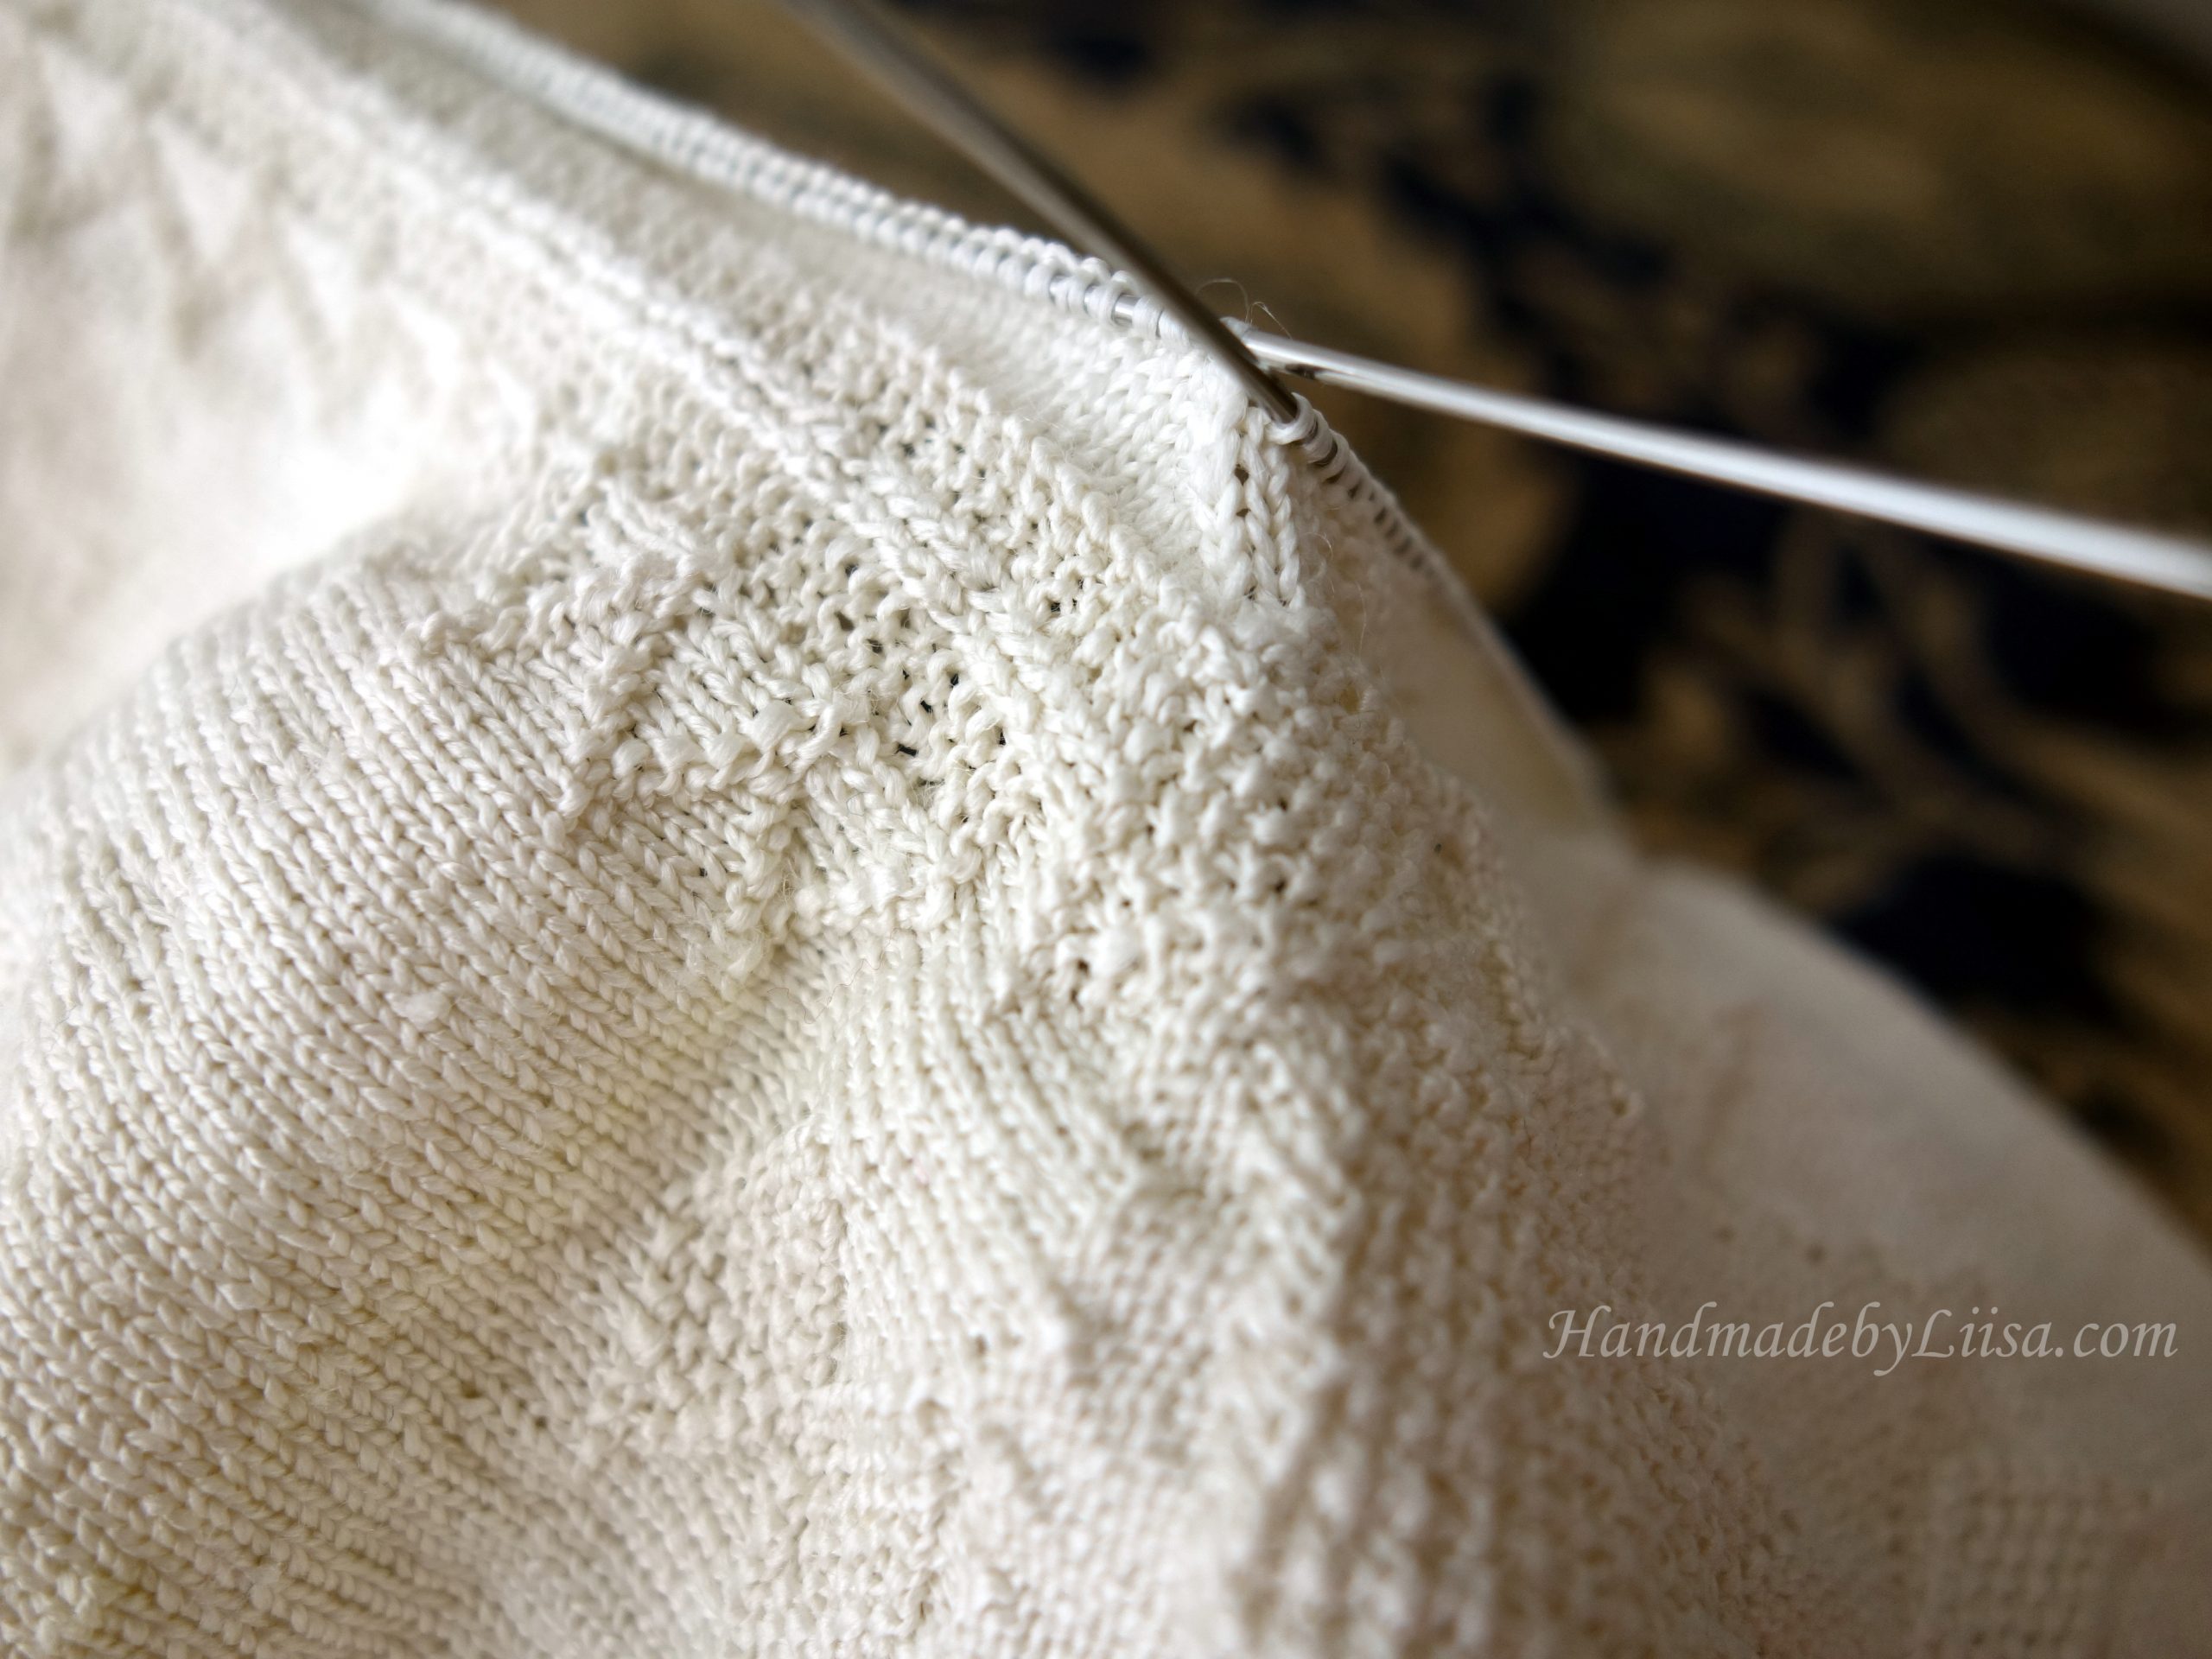
The stocking starts with a garter of 8 stitches knitted and 8 purled. After that it continues with a plain stocking stitch and an additional zigzag decoration on both sides of the center back. With the 1 mm needles I was near the 8 mm/cm gauge. The stocking continued with decreases down to the knee and then increasing again to make room for the calf. On both sides of the ankle there was a decorative clock which was made with purl stitches. At that point I noticed my knitting was getting looser because the purls were so hard to tighten. Compared to the rest of the stocking, the ankle remained a little looser even after washing and blocking, which was a bit disappointing…
Trying to keep the purl stitches of the clock tight enough was challenging
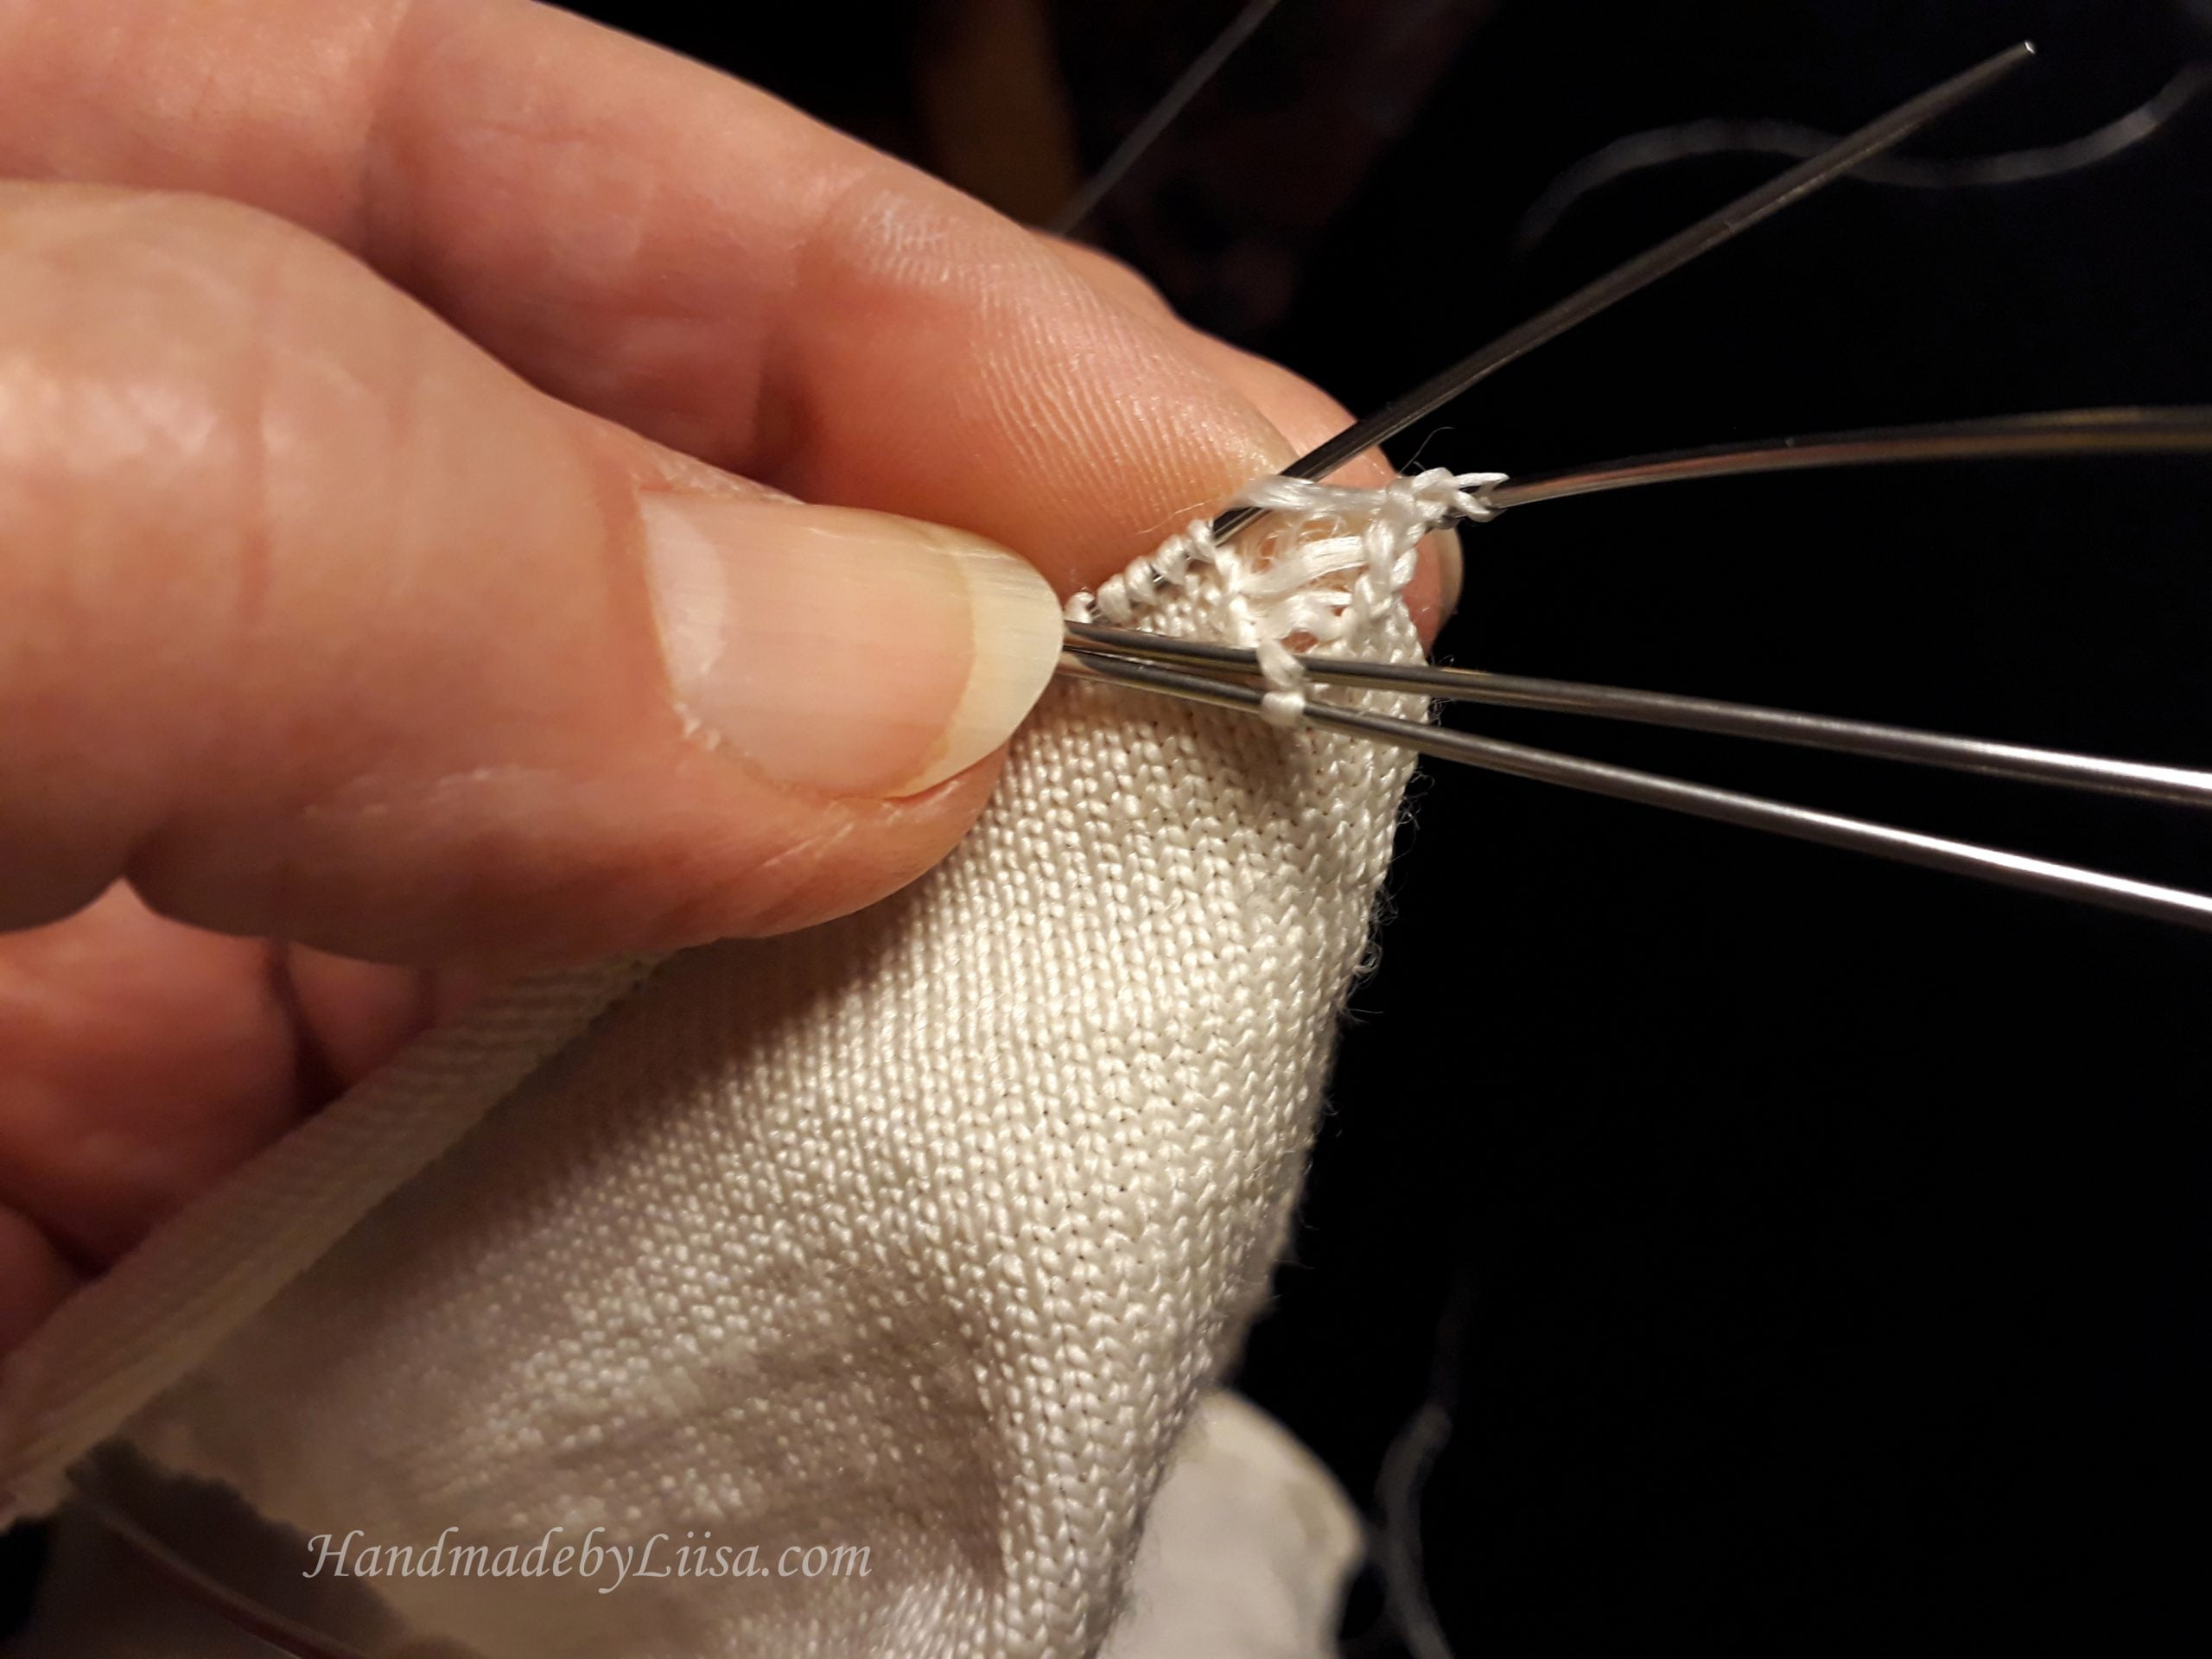
The heel flap was knitted down in one continuous piece with some decoration on the side. This was a very common way to make the heel. The flap was then folded in half and closed with a three needle bind off. The most tedious part of the whole knitting process was picking up the stitches from the side of the heel flap! The knit was so tight that I really had to fight with every loop picked up, using my 0,75mm crochet hook to help with every stitch, not just the extra ones picked up after every three loops. The next row was the second toughest part of the whole knitting. Not only were the stitches extremely tight but also the silk was totally split up from being worked so hard. Luckily, each row was easier and shorter after that!
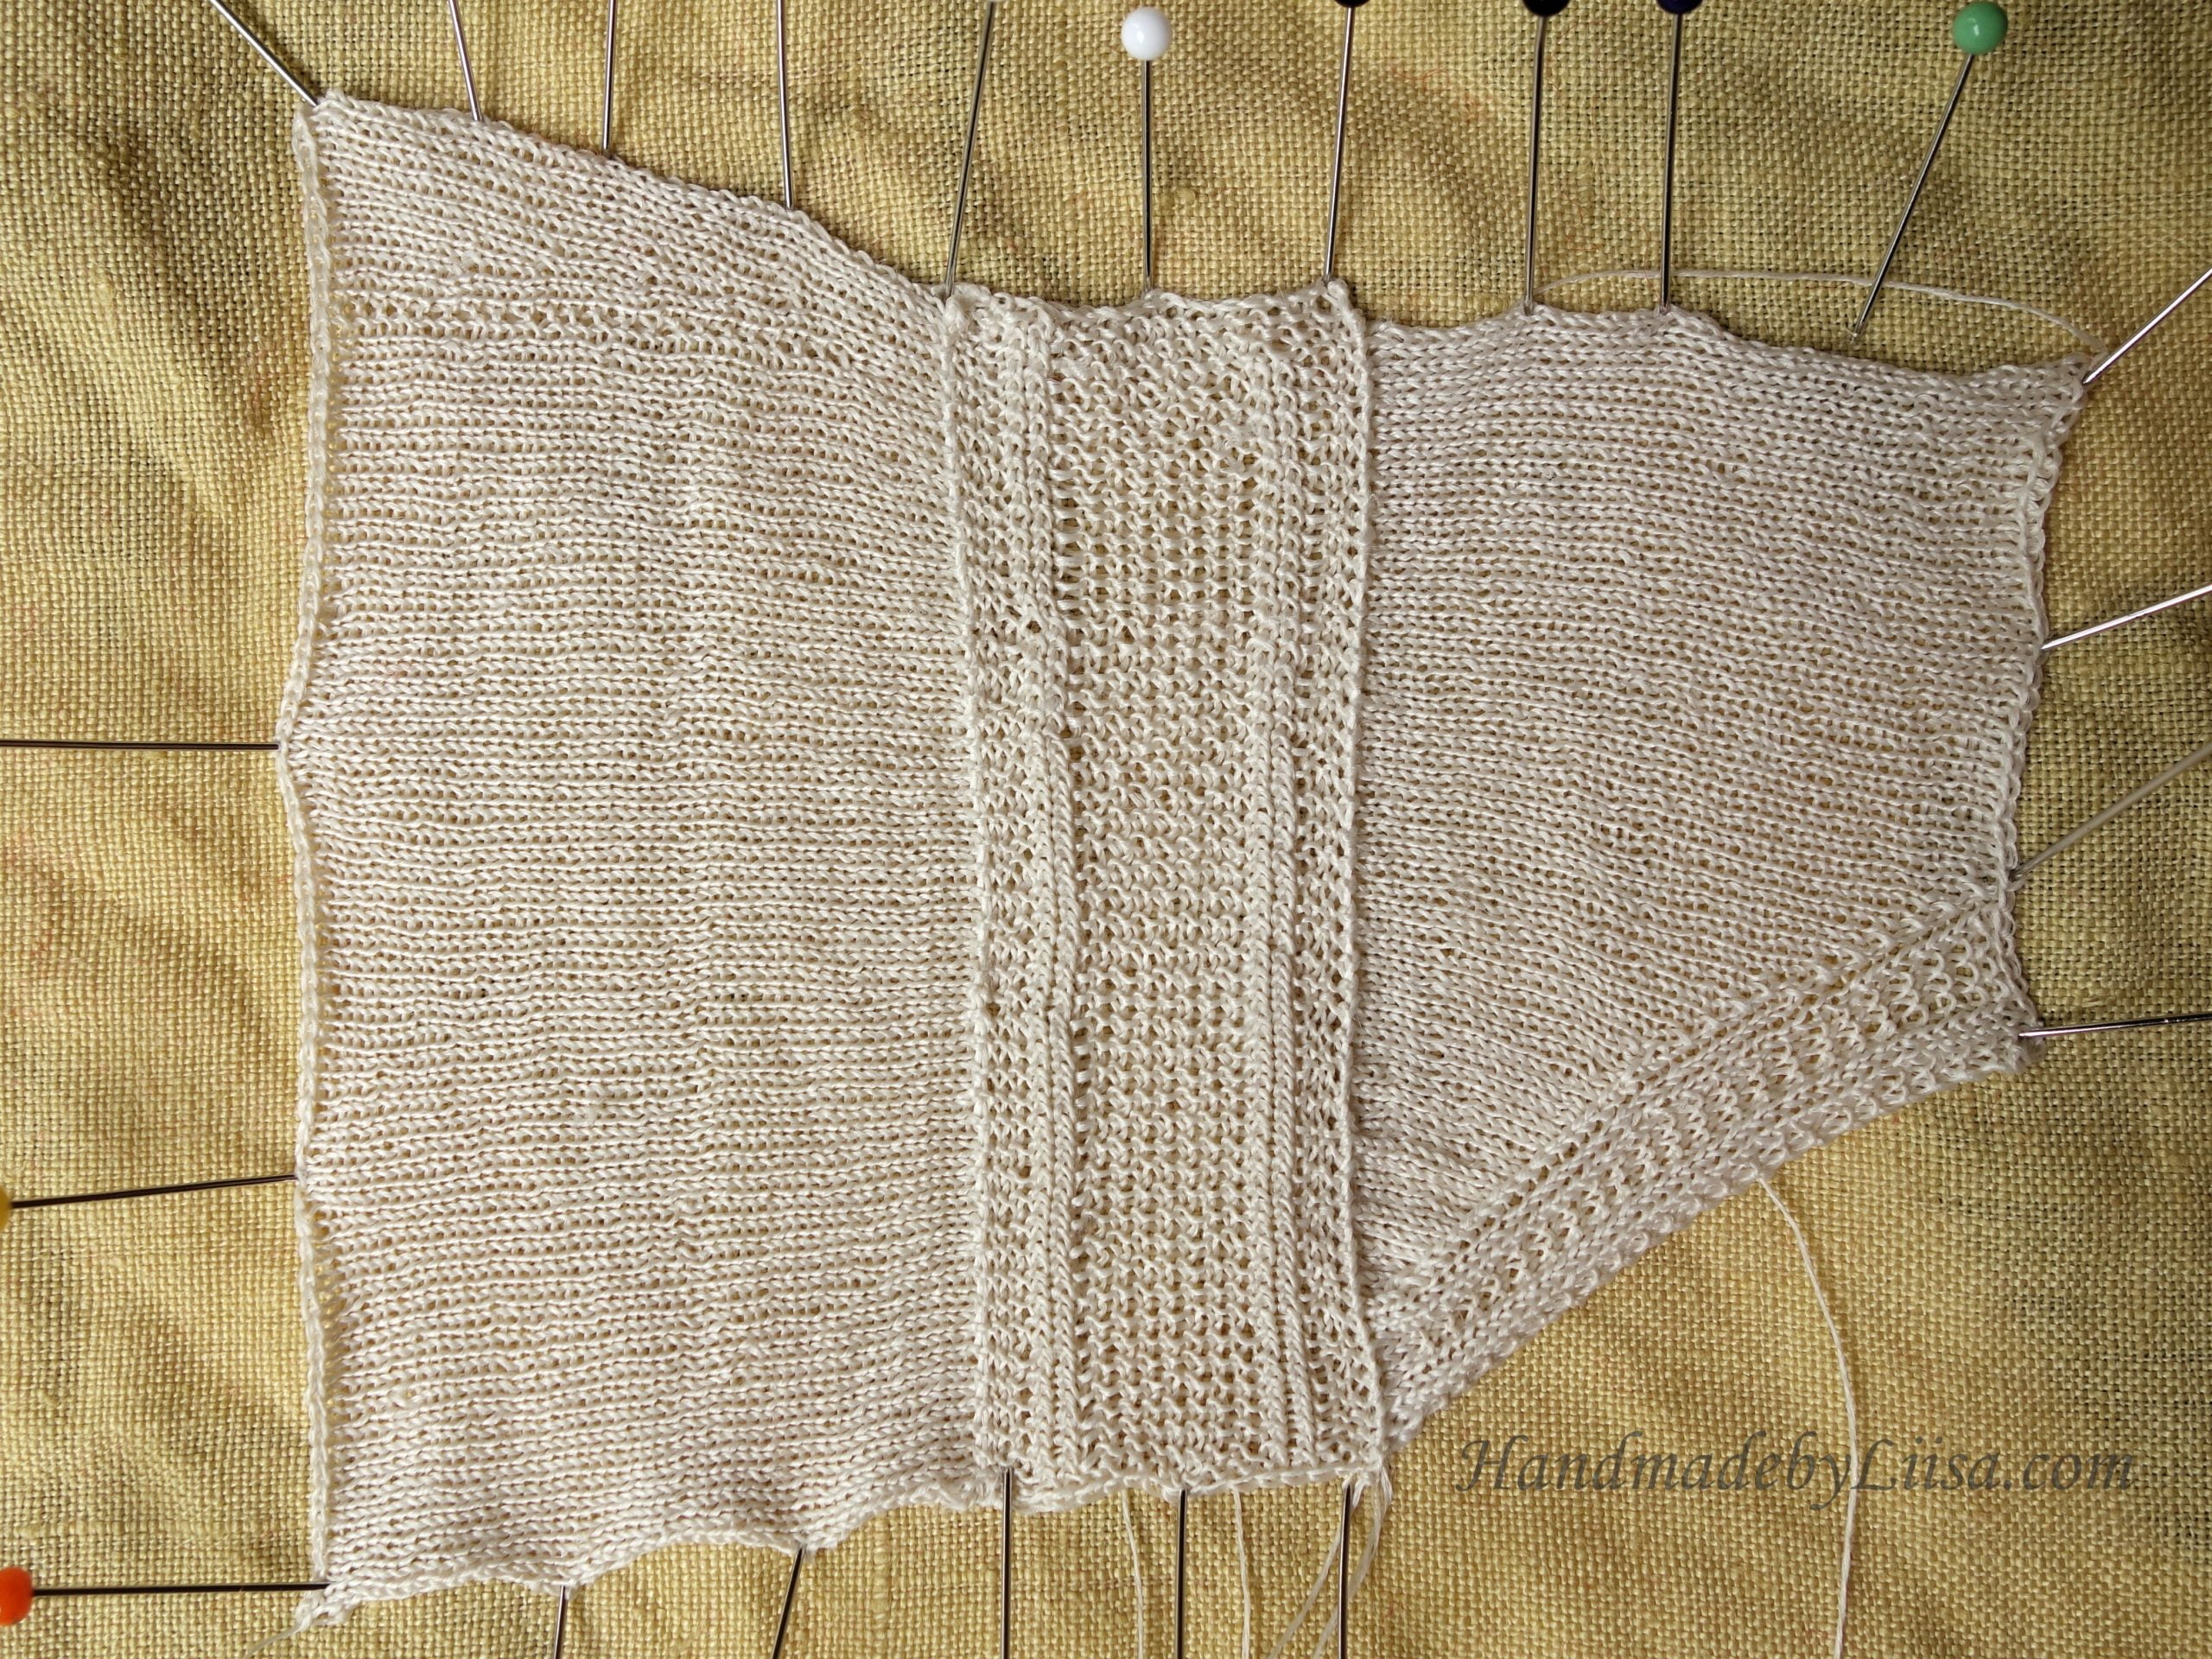
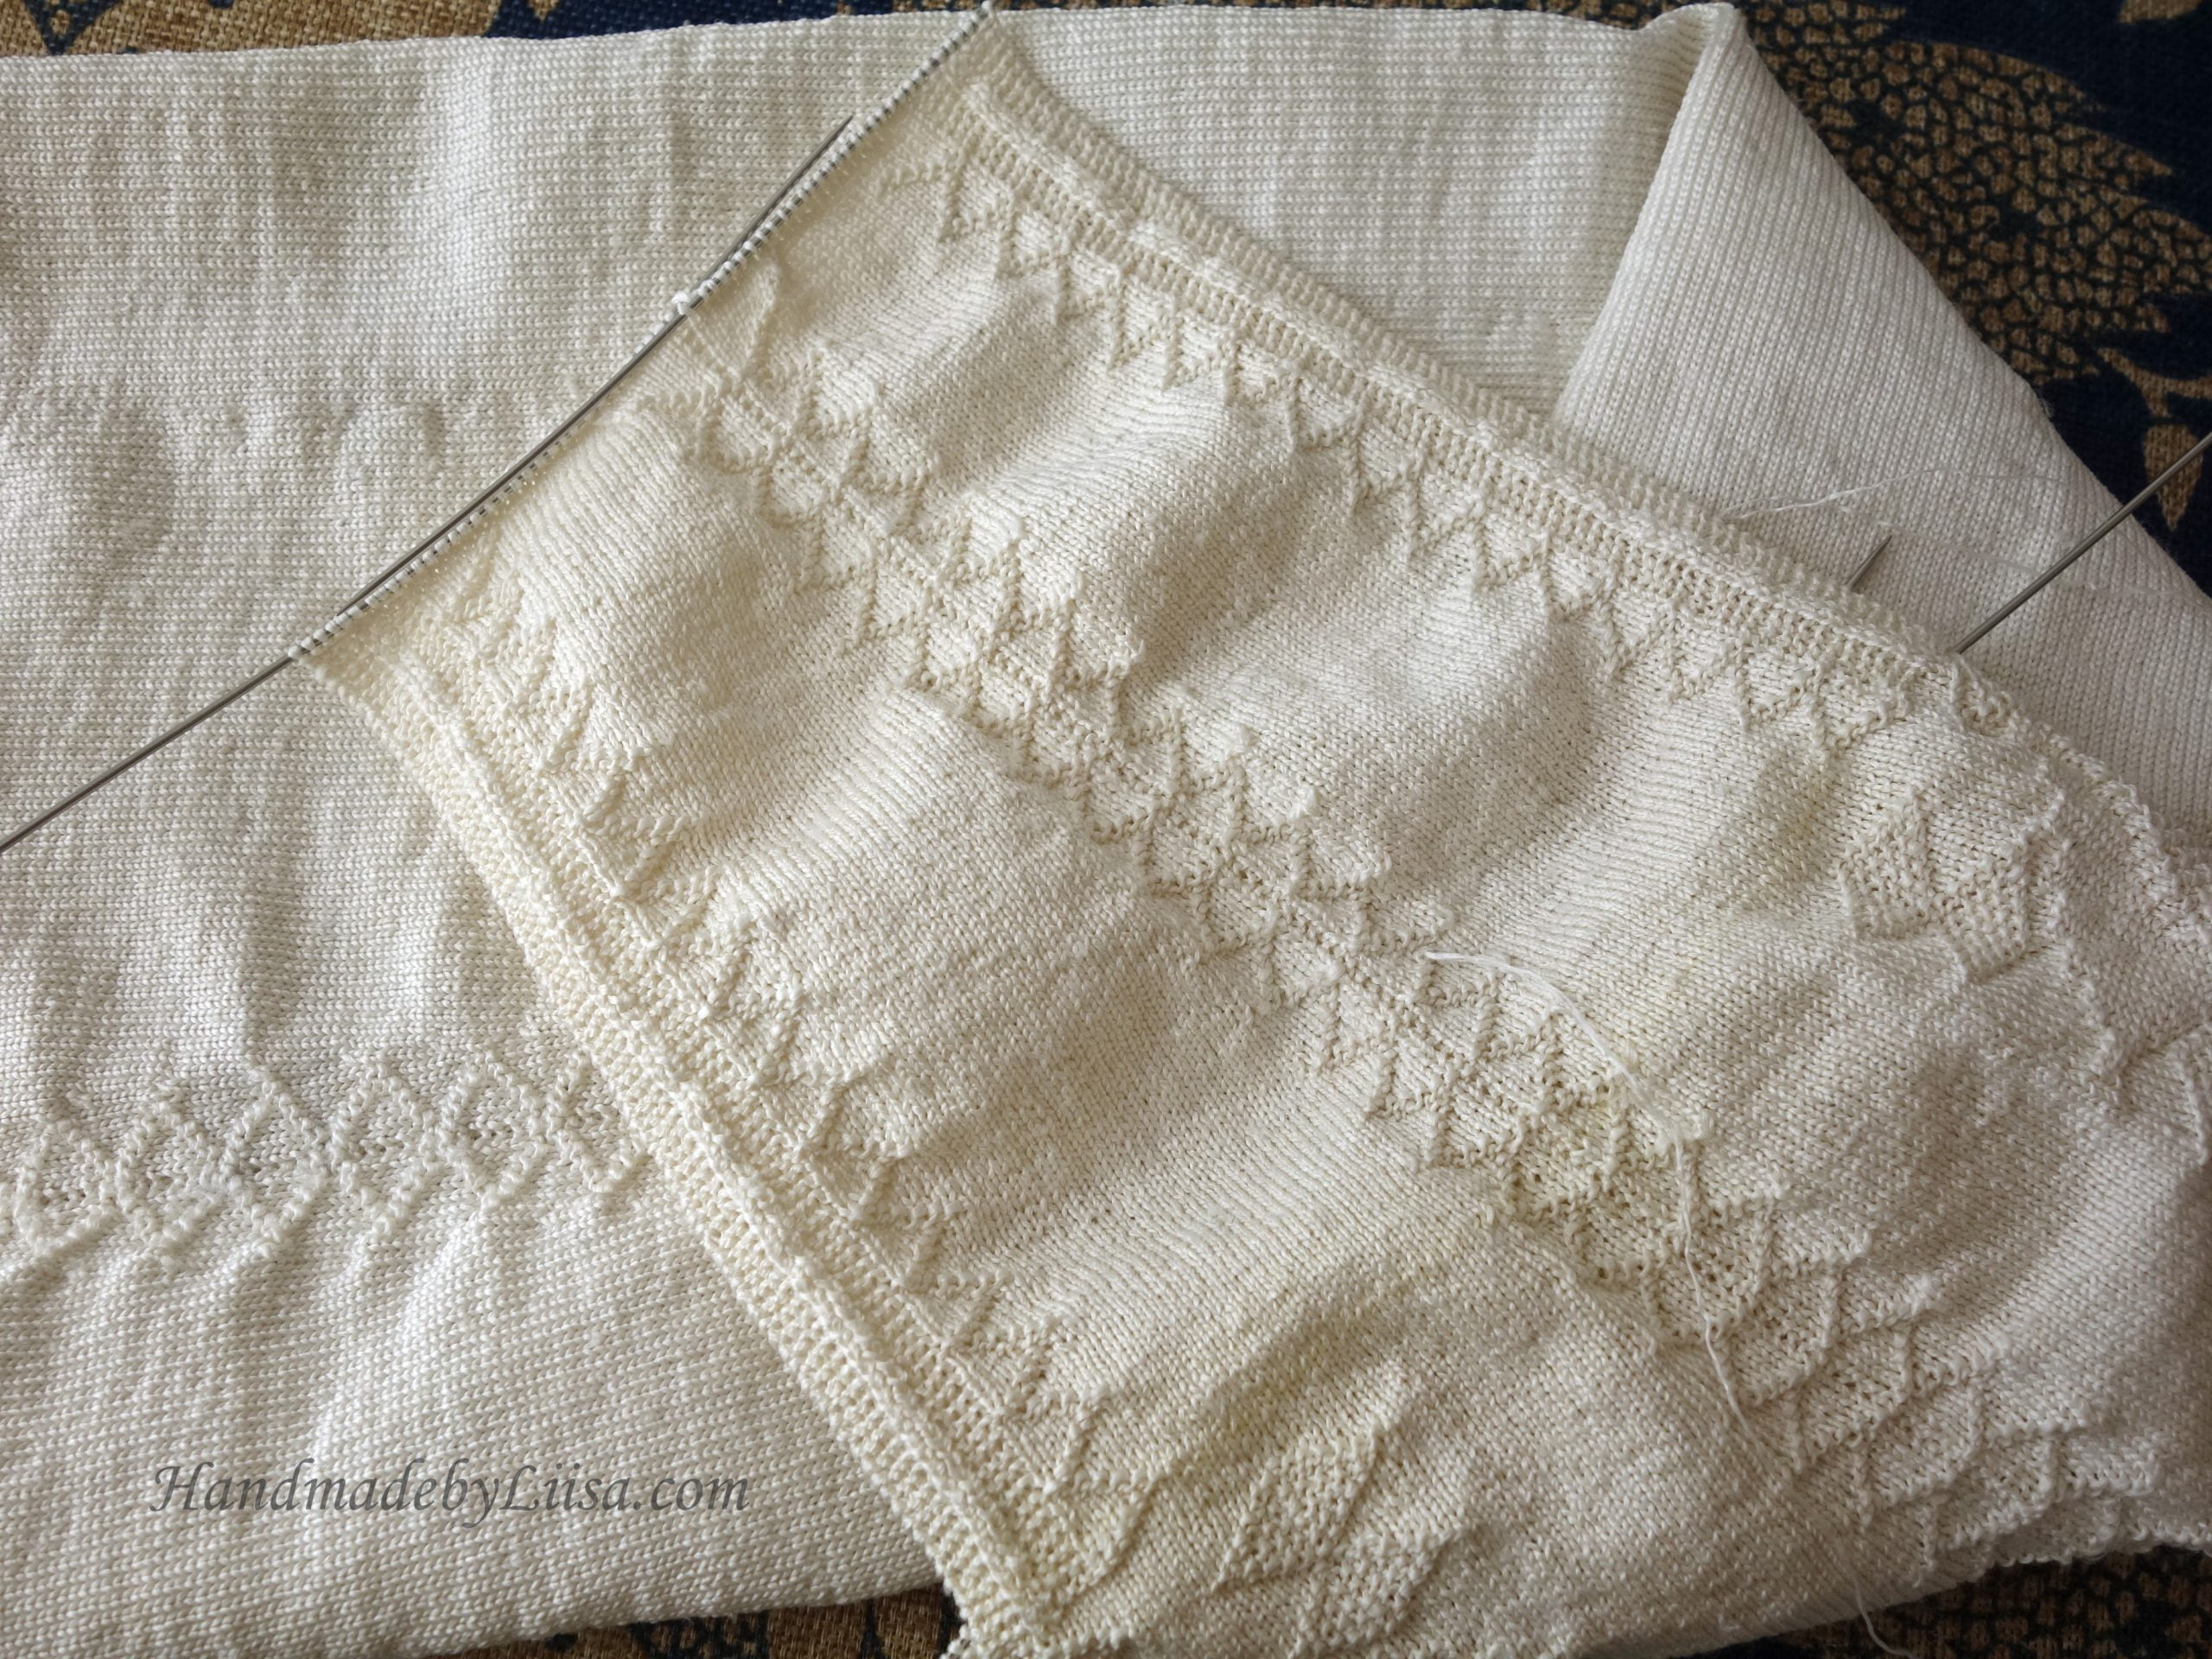 The heel flap before it was folded and knitted together
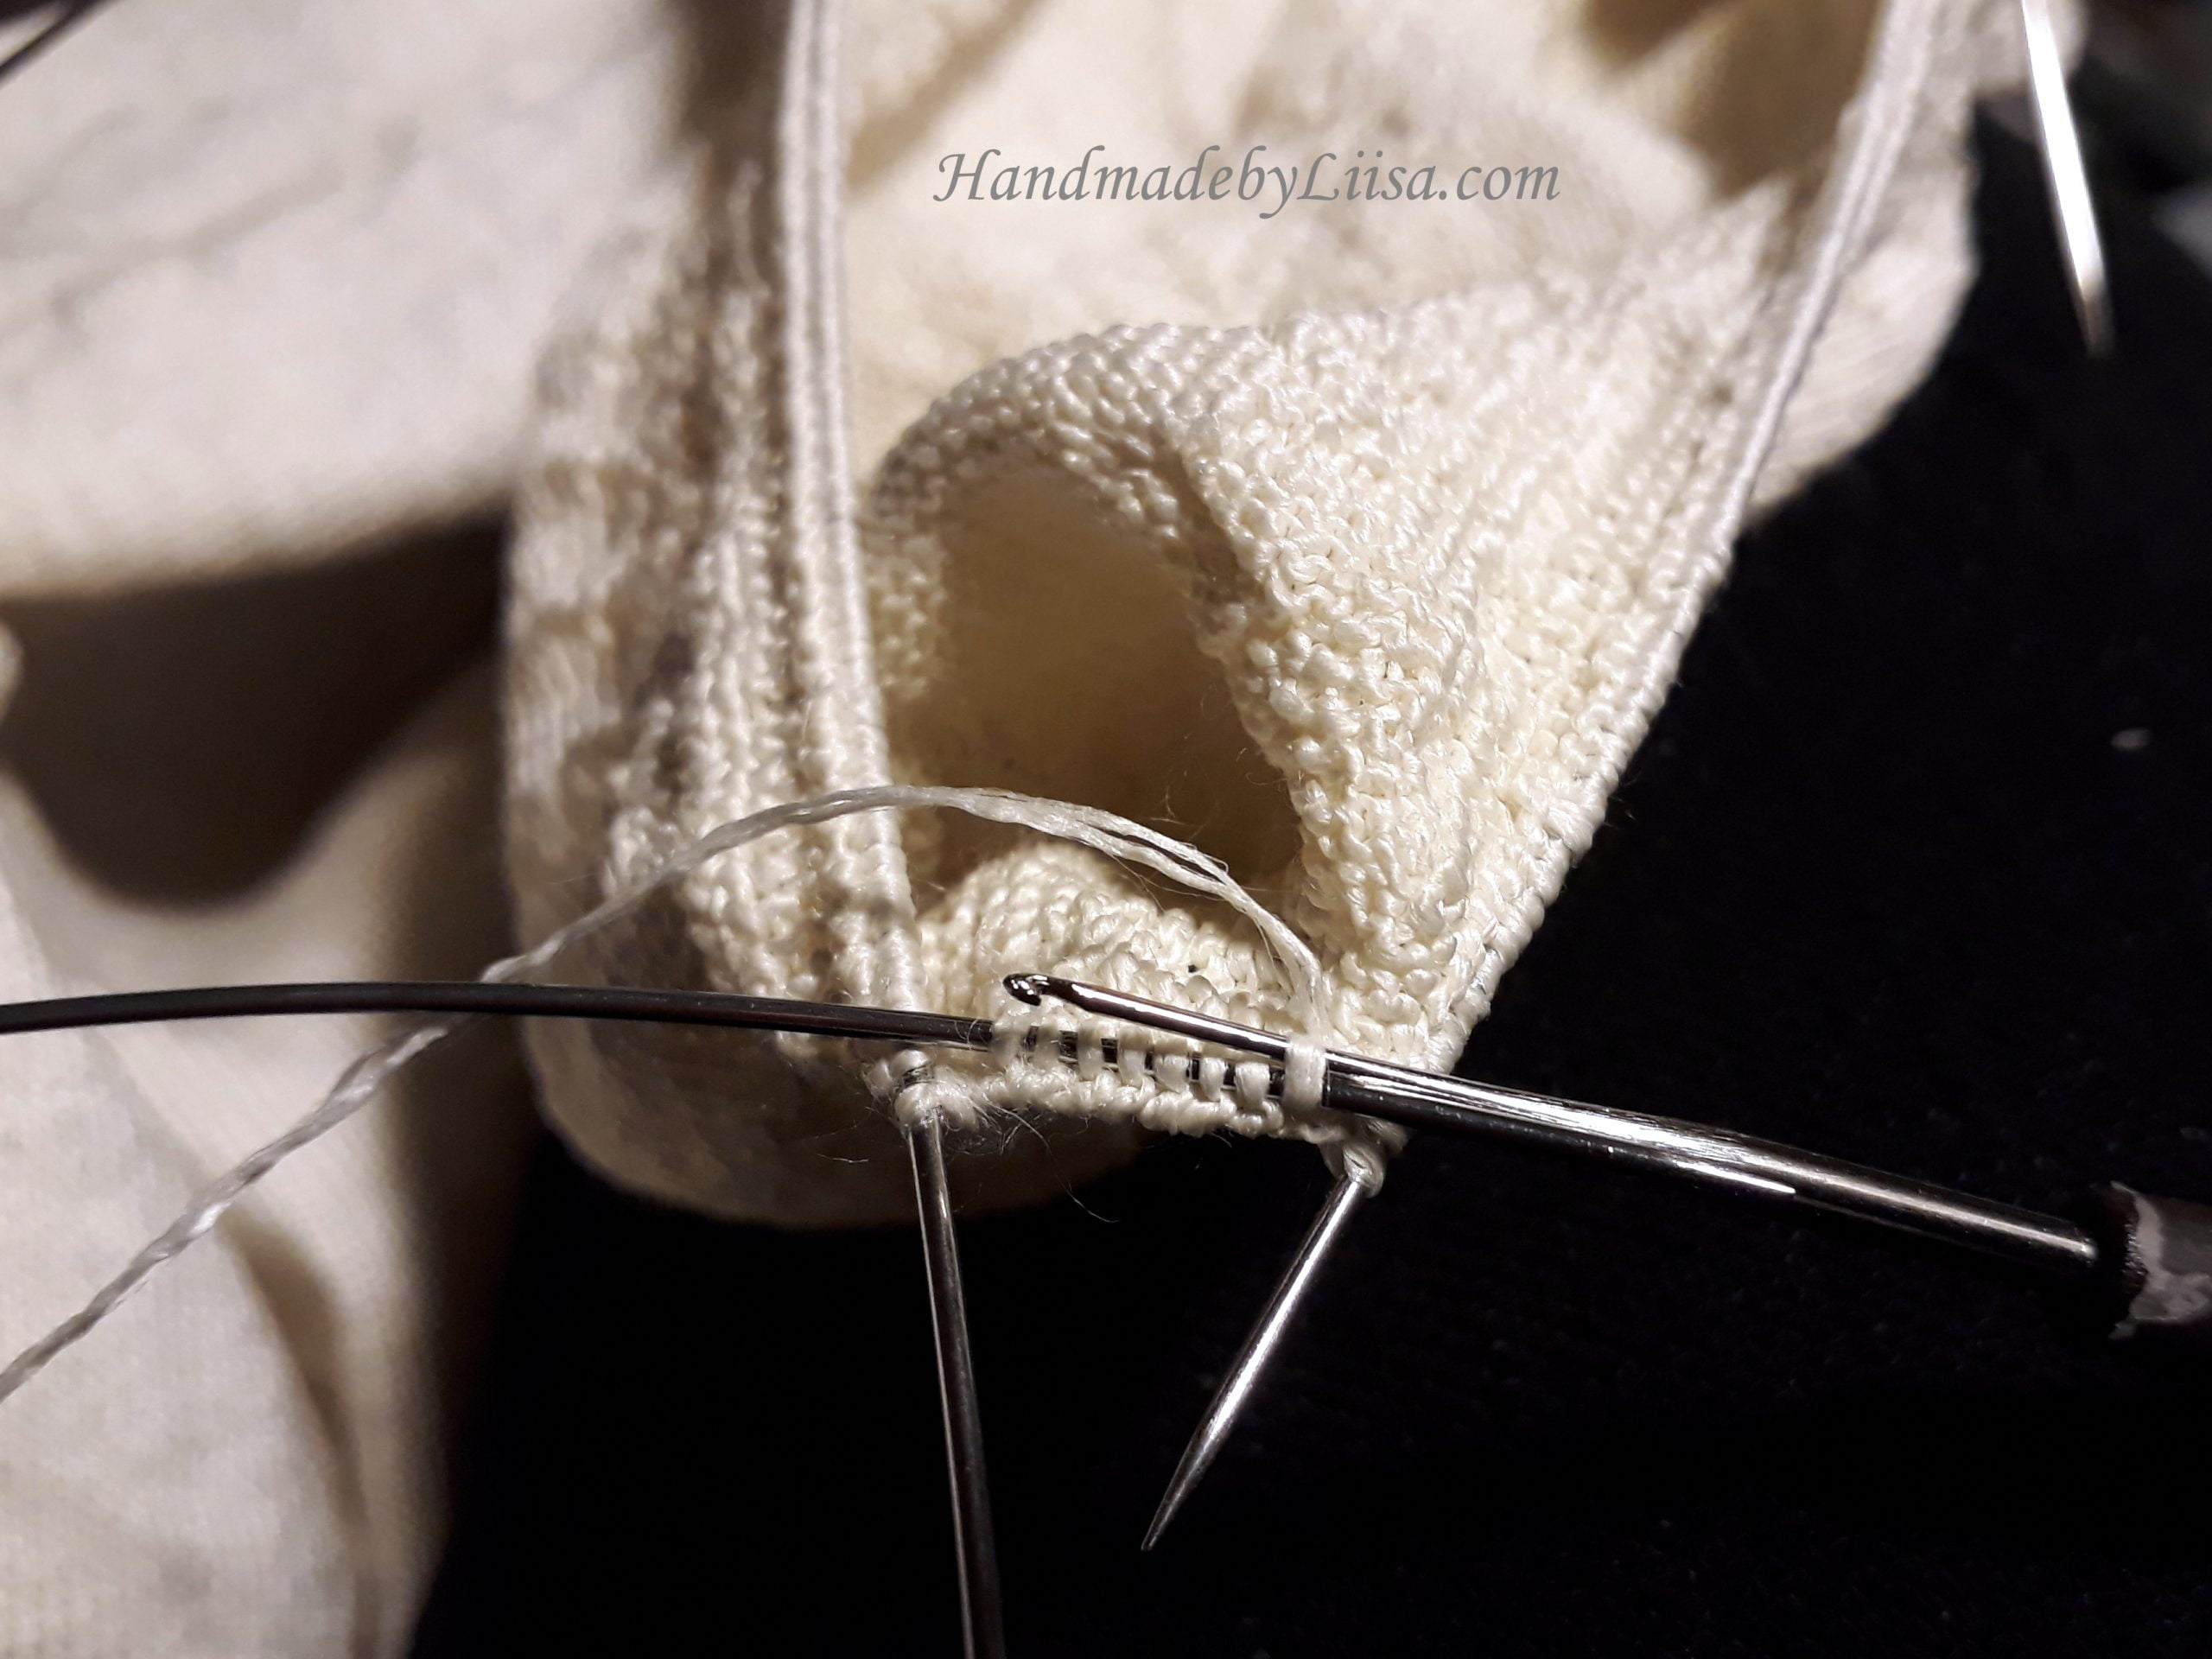
Picking up the stitches from the heel flap was the toughest part of the knitting process
For the first 120 rows my pace was roughly 30 minutes per row. As the stocking progressed, slowly but surely, I managed to pick up a little speed. Normally I’m a fairly fast knitter, but with the bendy needles and tiny stitches it was impossible to knit without concentrating all the time. No “flow” like with a normal sock, just toiling away focusing on the knitting. My progress was spurred on by milestones like reaching the knee, starting the clock, and casting off the heel.
Decreases at the gusset. The last part of the stocking and each row easier from here to the end
Fortunately, I didn’t make many mistakes because unraveling the double thickness of thread was a real headache! We had noticed that the knitters back in the 17th century had not been too fussy either, so we decided with our volunteer group to accept minor mistakes, such as a decrease one row later instead of backing a whole row. Moreover, I imagine no one would have noticed anyway!
The agony of picking up a dropped stitch! Often, I had to go down several rows and with the thread being worked on many times, it ended up in an indistinguishable mess
Finally getting to the end after 260 hours
The stocking has over 900 rows, 733 from the top to the bottom of the heel flap, plus 177 rows on the foot part. It measures 61 cm from the garter to the end of the heel. The clock or decoration on both sides of the ankle is 101 rows high. The weight of the stocking before being washed was 96 grams.
260 hours later, getting there!
The total time it took me to knit the one silk stocking was about 260 hours. I knitted on 105 days which makes an average of 2,5 hours per day. The longest I knitted on one single day was just over six hours. I have no idea what the working hours were in the 17th century, but certainly longer than that! Good lighting is imperative, so summer time would have been optimal. (Unfortunately, the silk arrived in the autumn, so I started my stocking in November and finished in April.) Other questions that came to mind: How many people would have had access to glasses, which at my age are essential? What kind of needles would the knitters have used? I knitted with what I imagine are the best quality modern steel needles and even they had a hard time keeping up with the task. I also tried a swatch with modern carbon needles, but they produced a gray stripe where I had used them and the ends of the needles seemed to disintegrate, as that was where the strain was the biggest. As a result, the tips were “frayed” and started to resemble a paint brush!
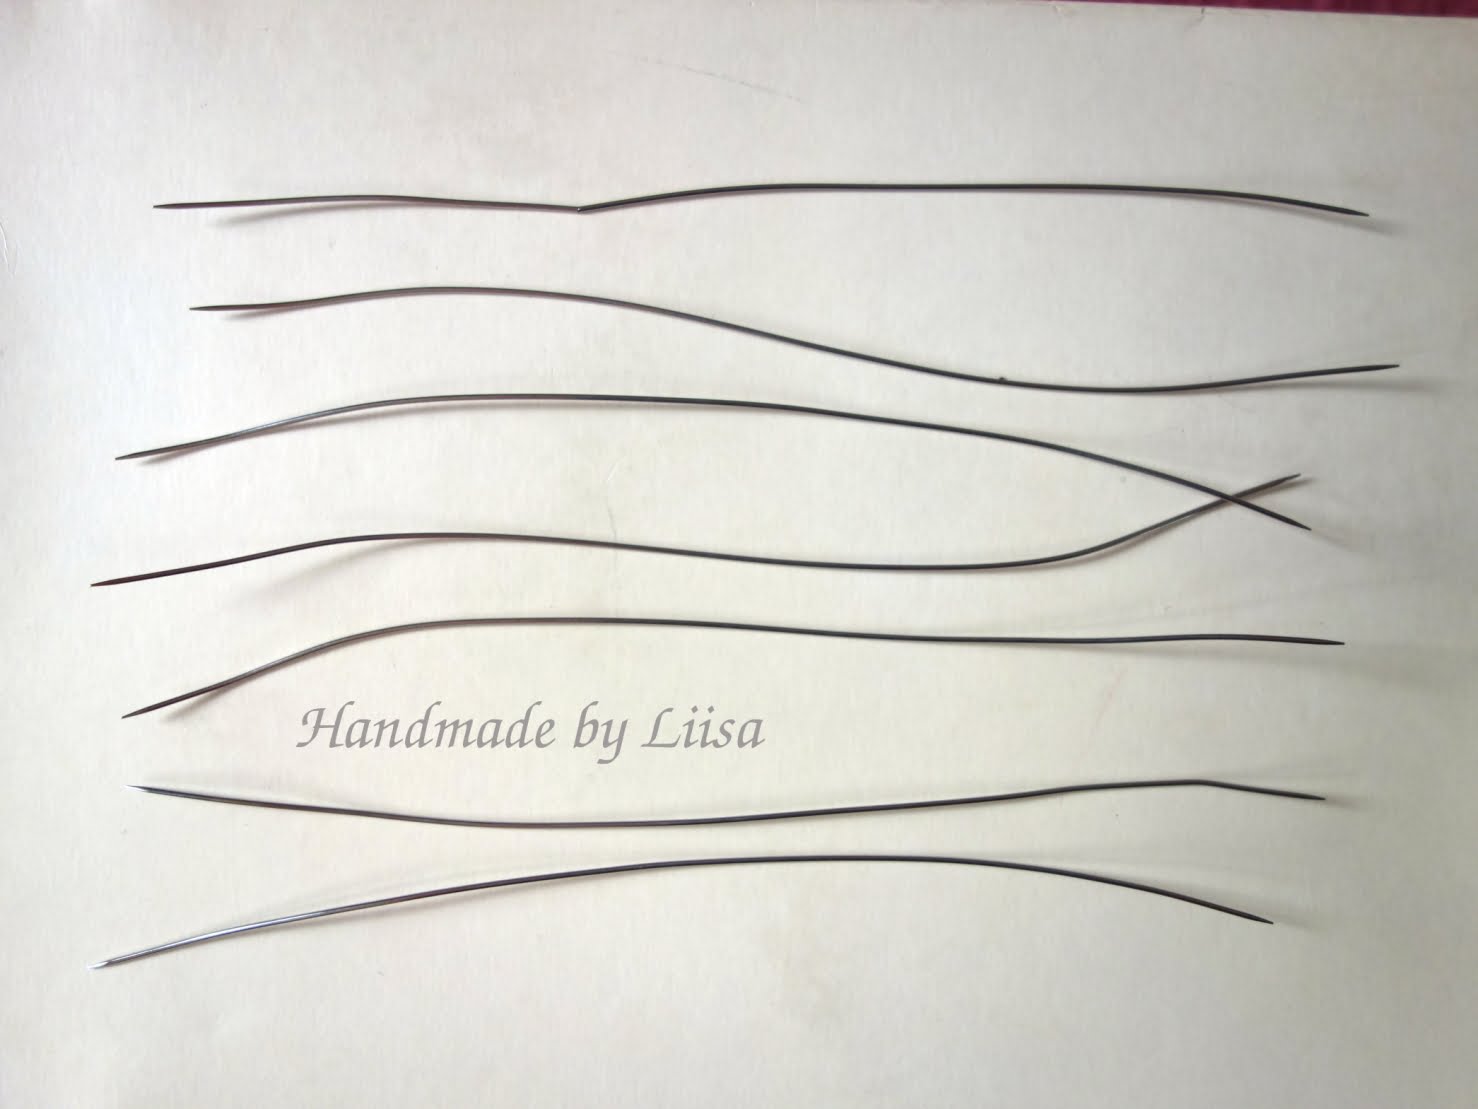
I used two sets of needles. One broke in two on row 160 and for the rest of the way, I kept rotating them. Here are the survivors
After it was finished my stocking was handed over to the project, well over a year ago. Since then it has been washed to get rid of the sericin and dyed by the Refashioning team with fustic, which produced a beautifully deep yellow. The stocking was exhibited at the Aalto University campus in Stitching History! Making and Wearing Early Modern Knitted Stockings, along with all the beautiful things that the research group has discovered, documented and reconstructed during the past five years.
I saw the original pair of the historic stockings at the exhibition in the Turku Castle just before starting to knit my version and remember well how daunting it seemed to try to achieve something so refined. I considered it an honor to be a part of this participatory research project and strove to make my stocking as uniform and as beautiful as the original ones. The perfectionist in me is not completely satisfied, but I am quite happy with the result. After this experience, I totally understand why a pair of stockings was such a luxury item that it might have cost you a horse!
Photos of the finished stocking

You can clearly see the needle change running through the middle of the stocking despite my efforts to minimize it. The ankle is quite wide and so is the foot part
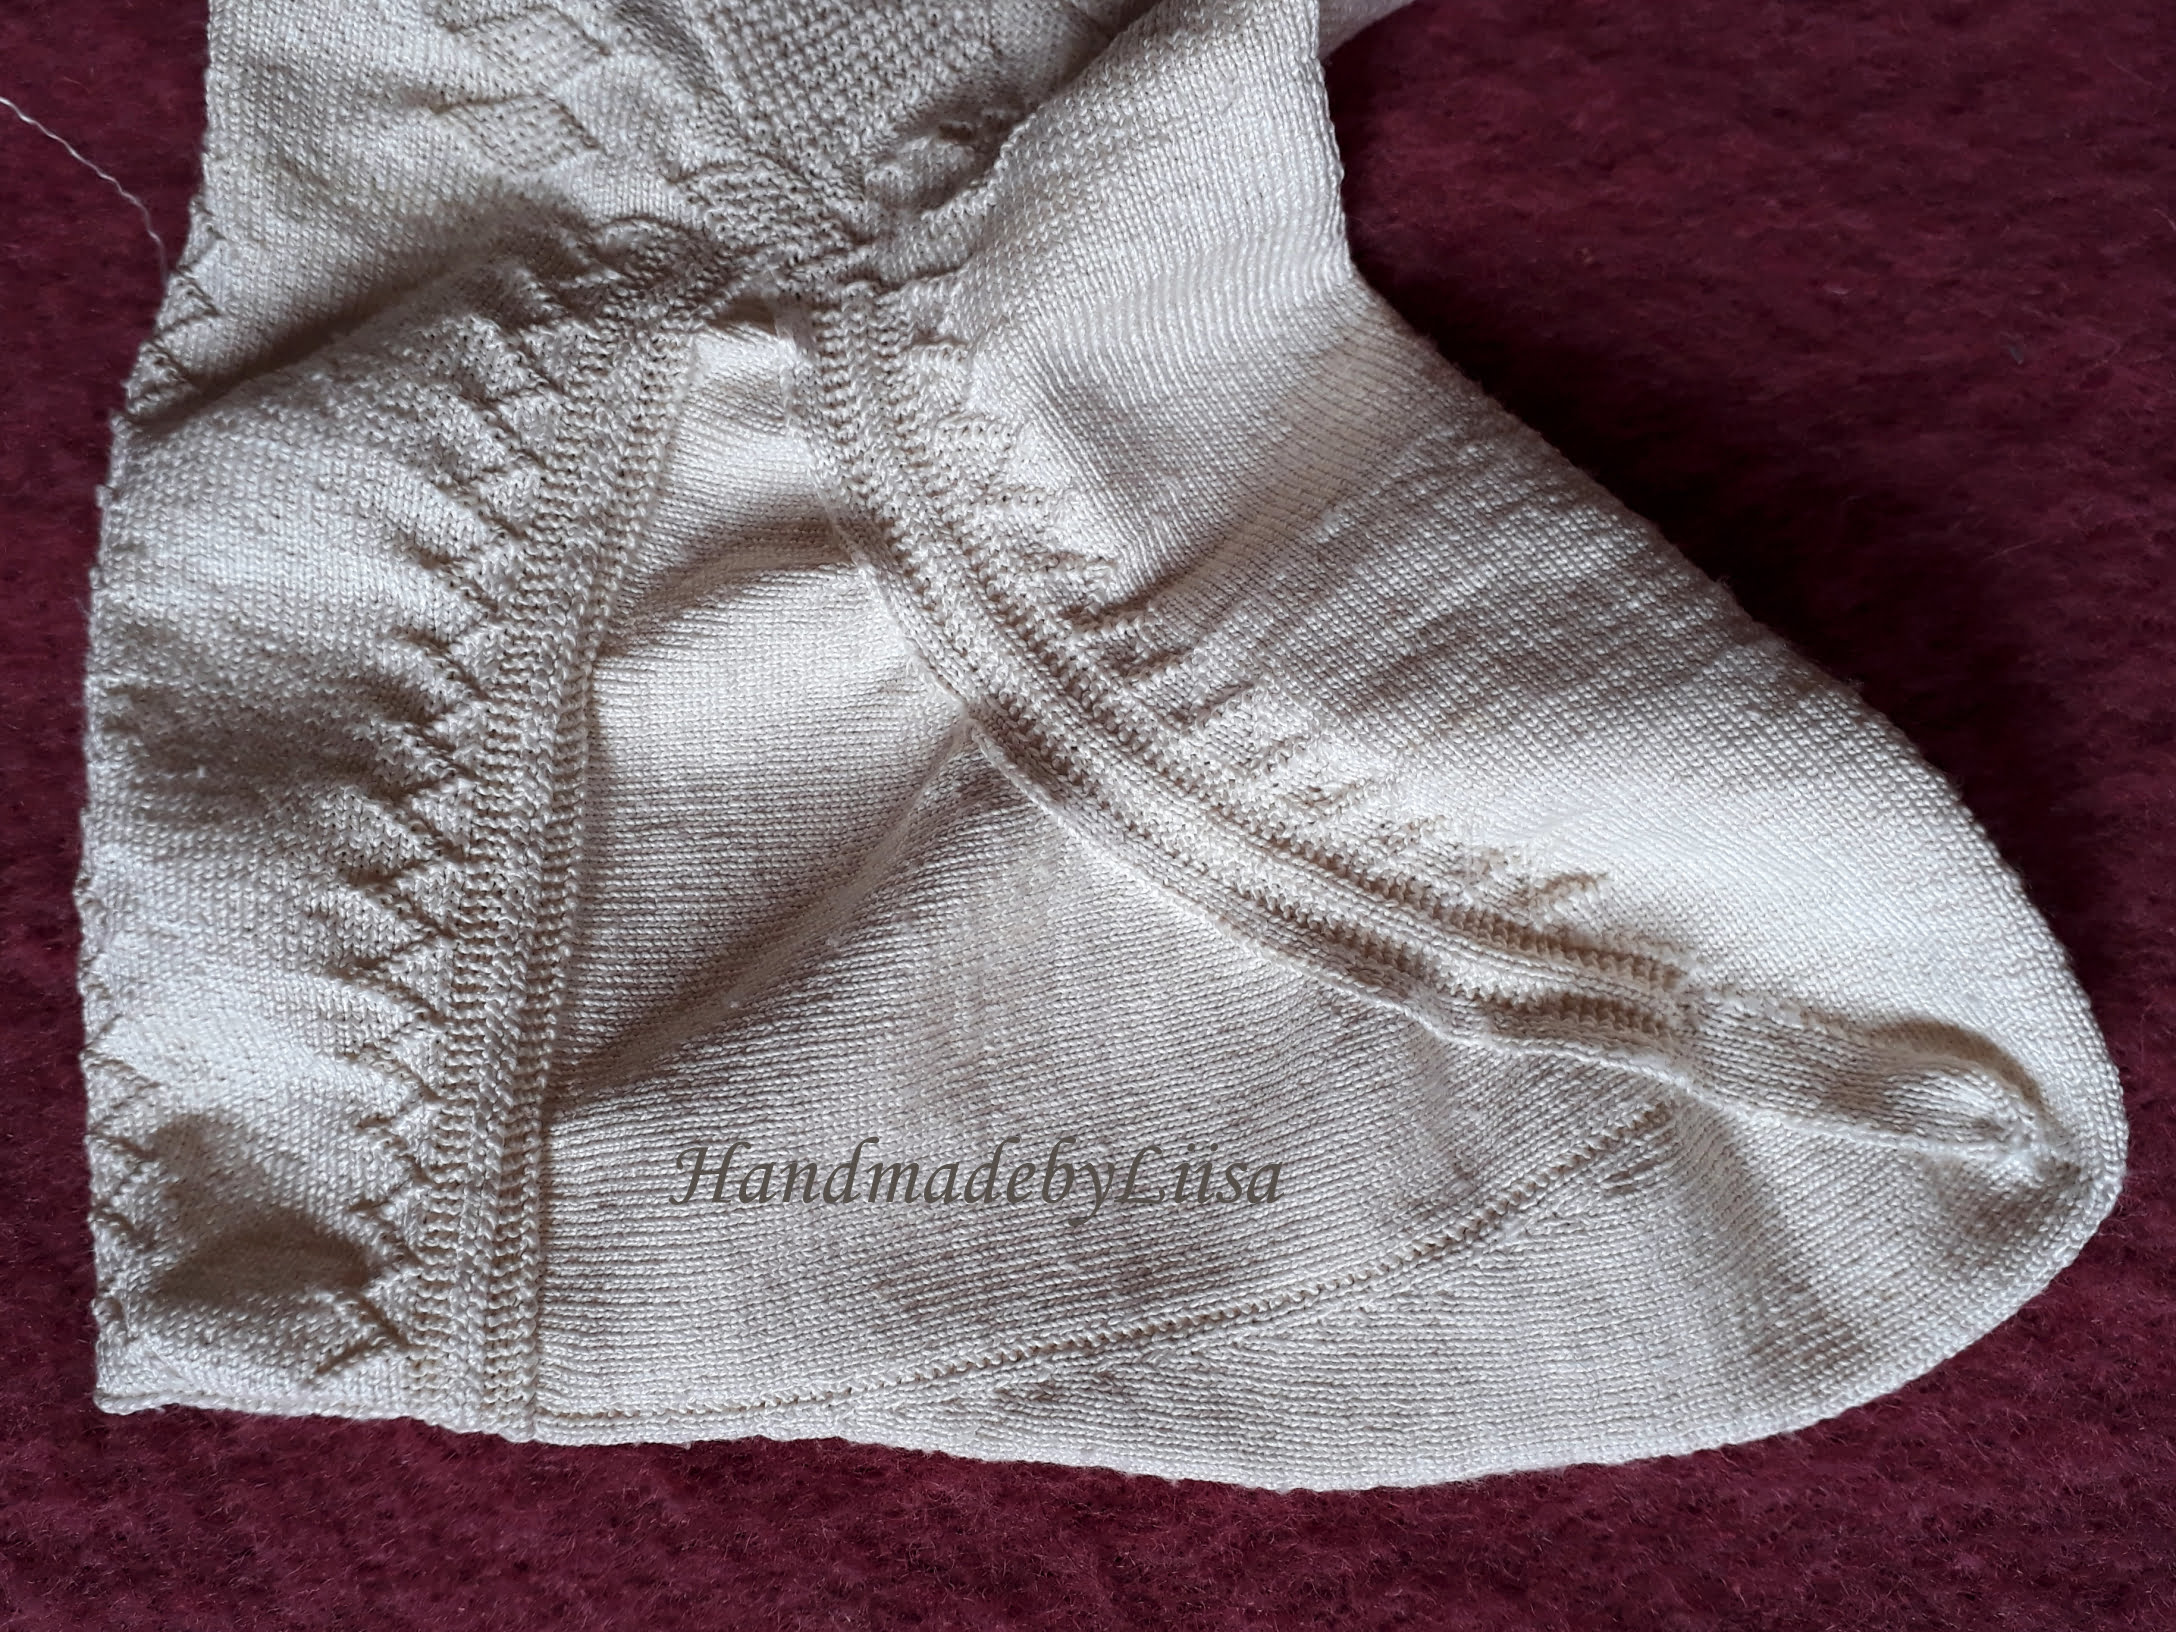
The sole is also very short and will need a lot of stretching to fit a normal foot

The sole also has shaping to compensate for the decreases on the top side
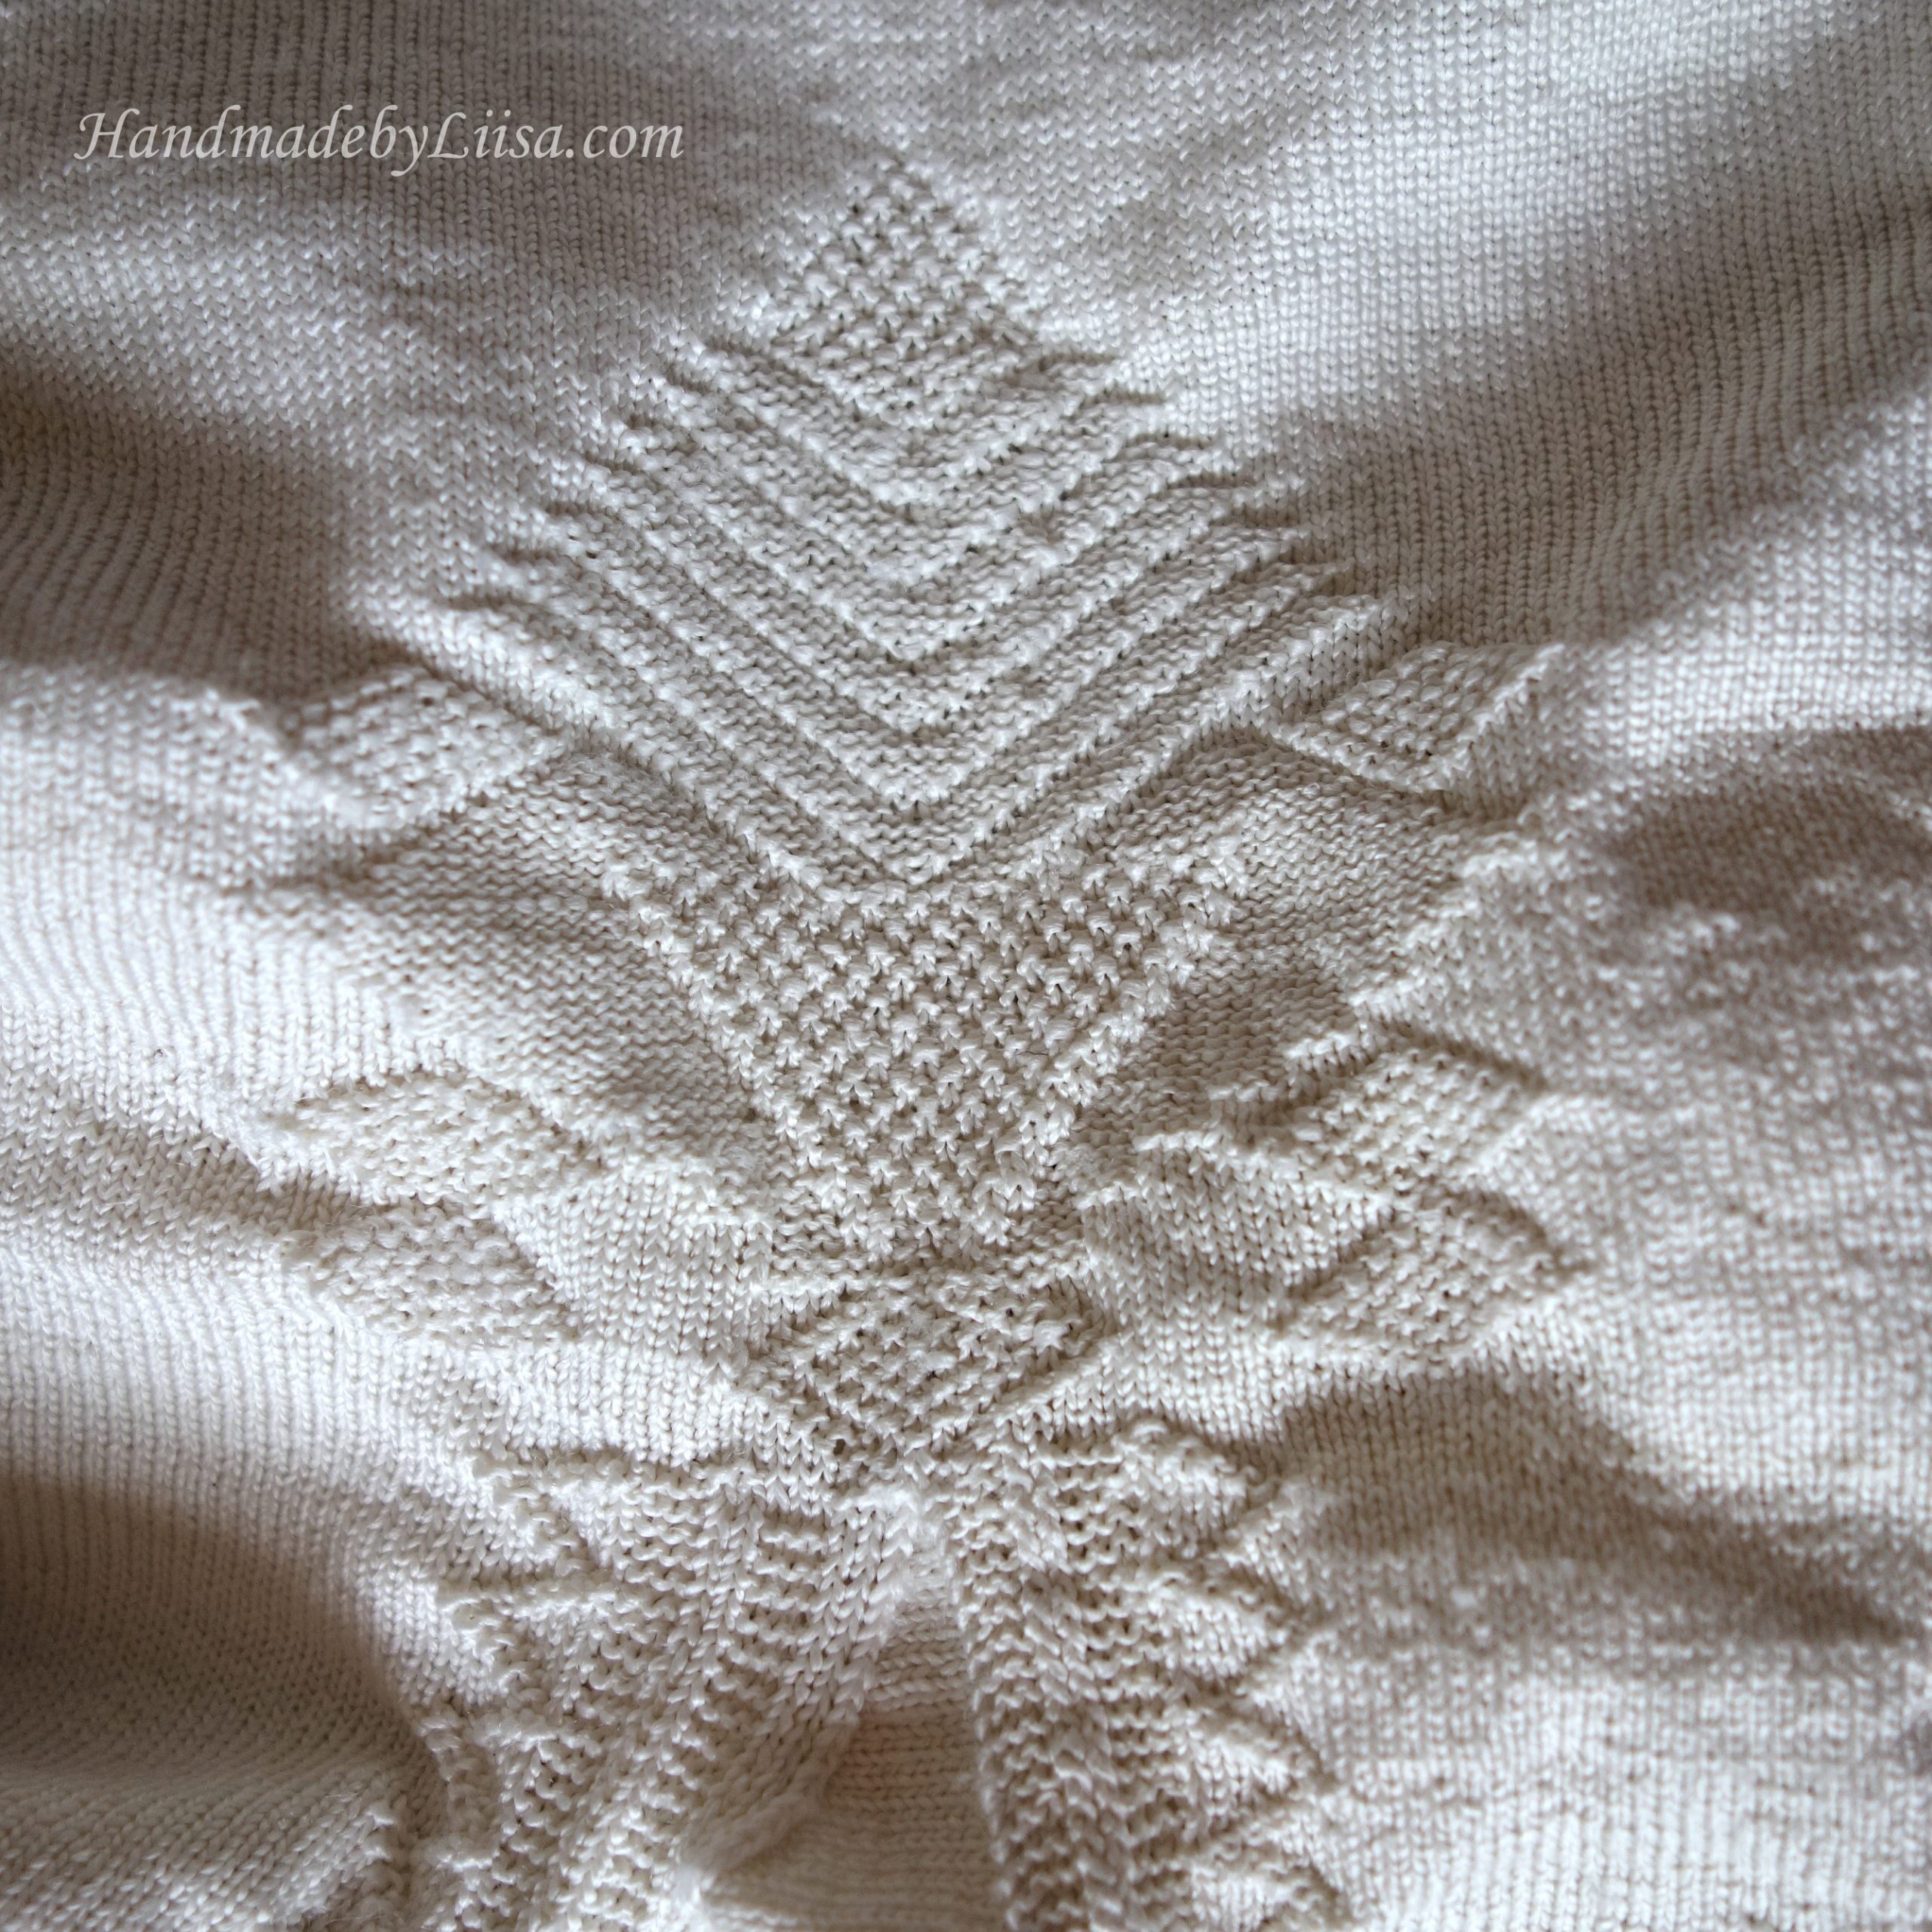
The clock decoration at the ankle was made with purl stitches