ERC EU logo

Blog

Historical knitting through citizen science

Knitted stockings were one of the important Renaissance technological innovations. While woollen stockings were widely available across social classes, stockings knitted of fine silk yarn were expensive luxury products and one of the key fashion accessories worn by the European elites from the sixteenth century onwards.

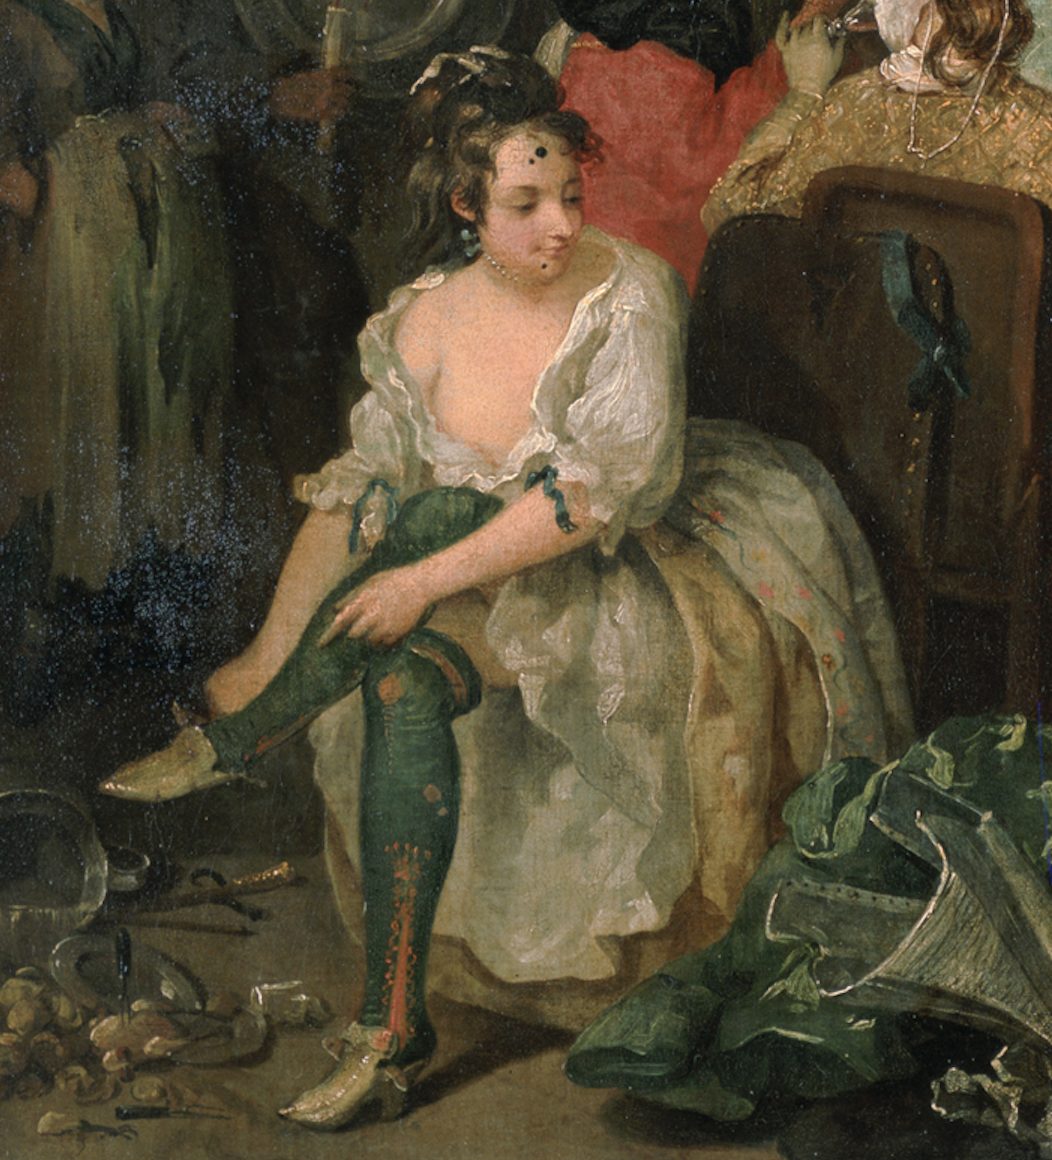
William Hogarth: Detail from The Tavern Scene (A Rake’s Progress), between 1732 and 1735. Oil on canvas. London: Sir John Sloane’s Museum.

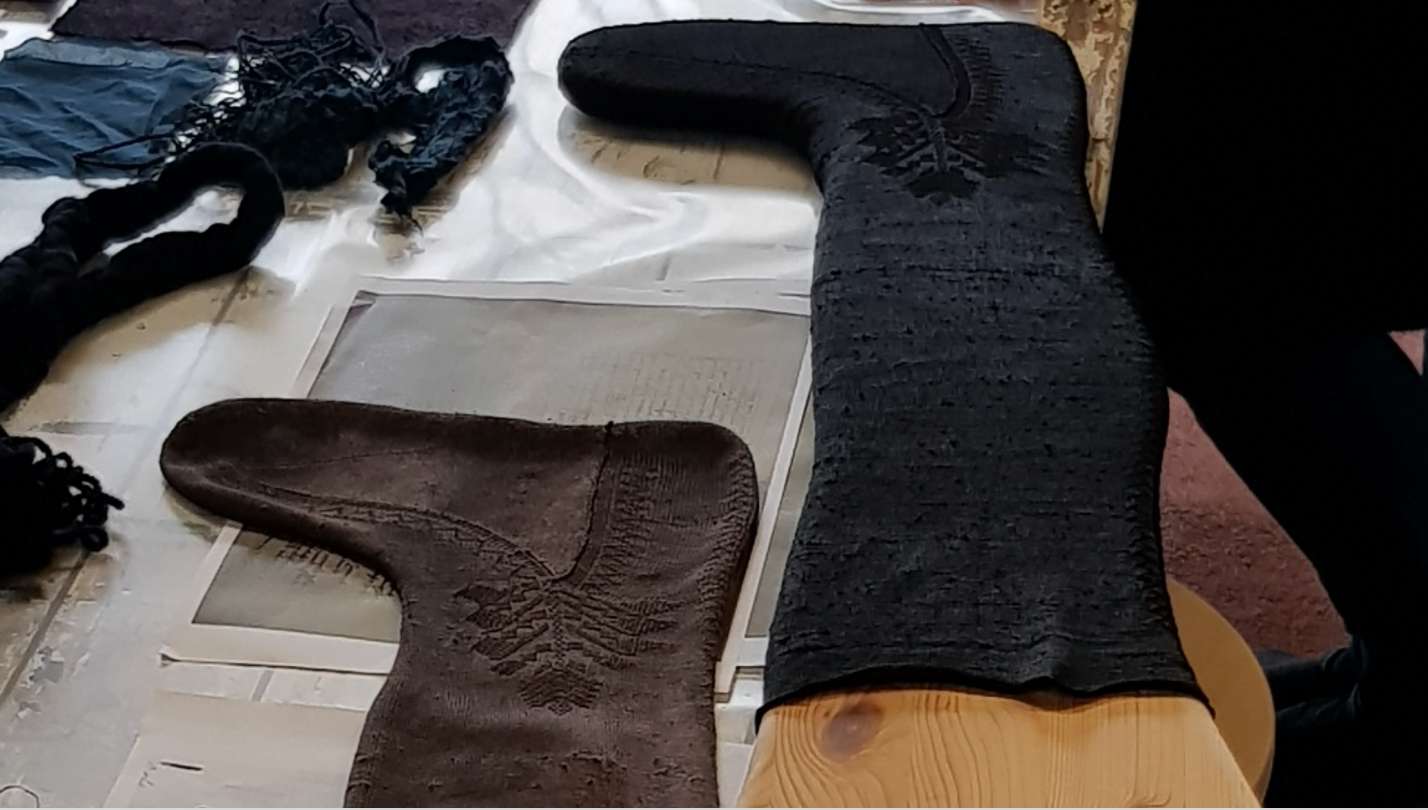
Pair of 17th century knitted silk stockings, Turku Cathedral Museum.

The popularity of both woollen and silk stockings is indicated by the fact that, already at the end of the 15th century, there were thousands of professional knitters in Europe. Yet, despite their prominence in this period, there is no clear surviving documentation about how hand-knitted stockings were made or what they actually looked and felt like in real life. Restoring this lost historical material world by reconstruction can make invisible history visible and bring these items and the technology to life.


Reconstruction through citizen science

In 2019, our Refashioning project set up a citizen science project, in order to examine the process of stocking-making through historical reconstruction.

Towards this end, we recruited 35 voluntary knitters to carry out three different reconstruction projects. One of these was to remake a simple artisan stocking based on examples found in excavations in Copenhagen; another one to create a stocking based on an early modern English recipe titled “The order how to knit a Hose” (1655), and the third one to replicate an extant hand-knitted 17th-century silk stocking, today conserved at the Turku Cathedral Museum.

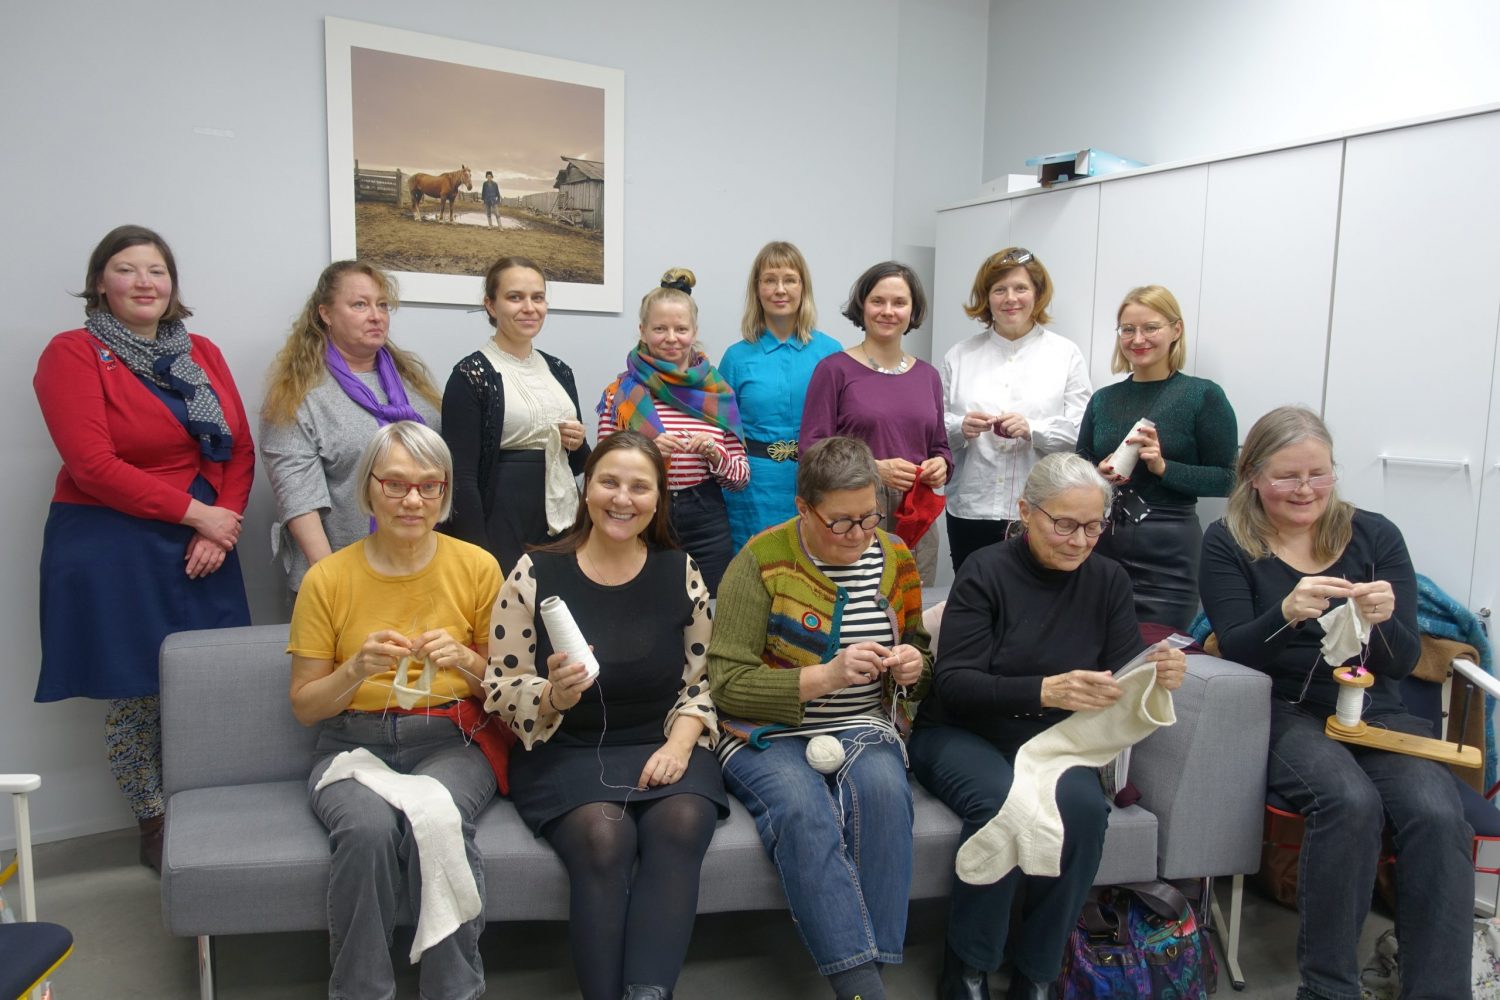
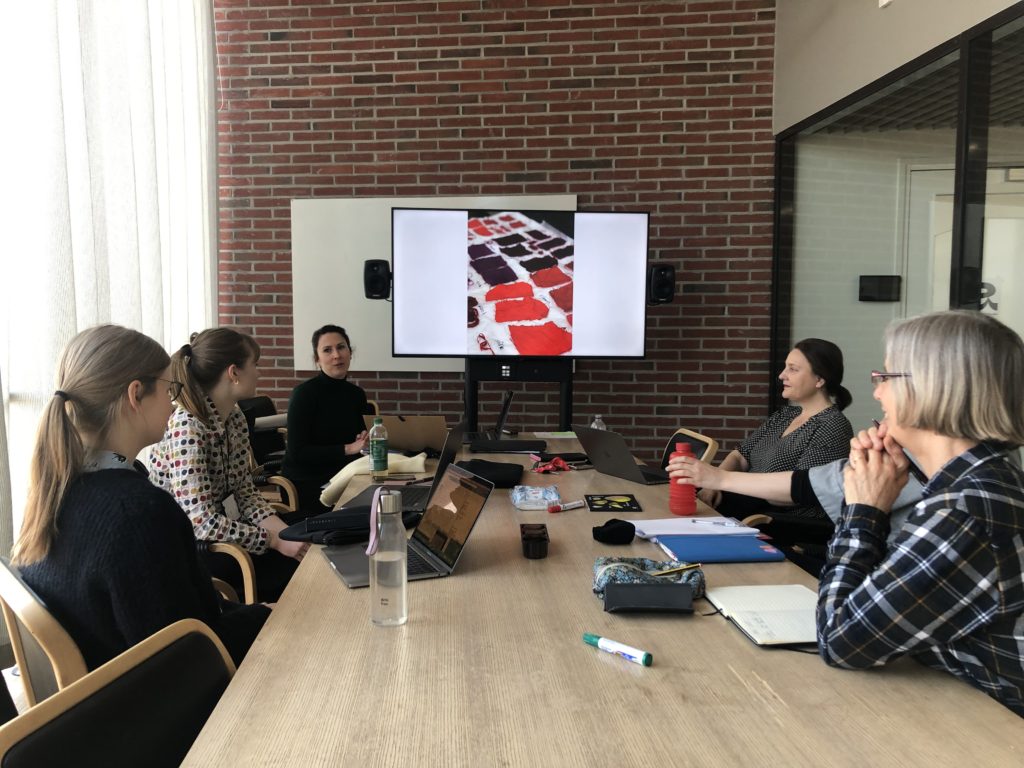
Citizen science pre-holiday party in 2019.

The most ambitious and complex of these projects was the reconstruction of the fine silk stocking, because making a fine silk stocking required a high level of skill. Together with the group of our knitters, we set ourselves to work out collectively how we could replicate the Turku stocking as accurately as possible. So how can one reconstruct a historical silk stocking?


Reconstructing a knitted silk stocking

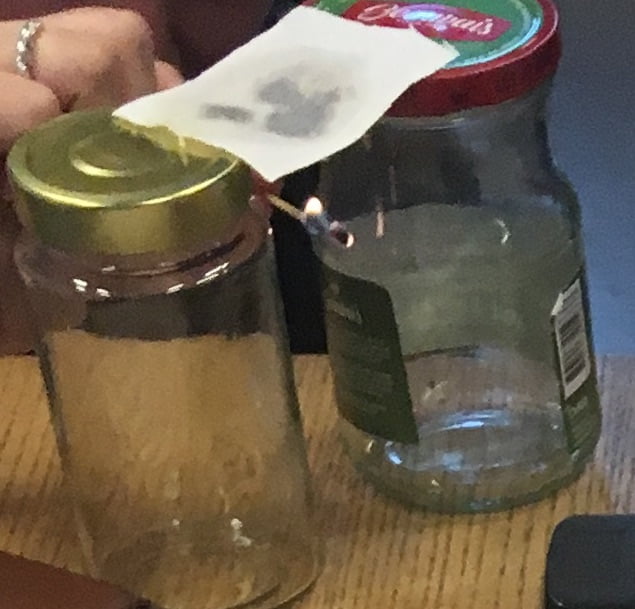
Our silk stocking reconstruction project started at the Turku Cathedral Museum where our team members first measured the stocking and took close up images of it. With the museum’s permission and the help of the conservator, we were also allowed to take a tiny fibre sample at the edge of the stocking so that we could do scientific testing. With these technical details, our knitters began to examine the structure of the stocking and work on the knitting pattern.

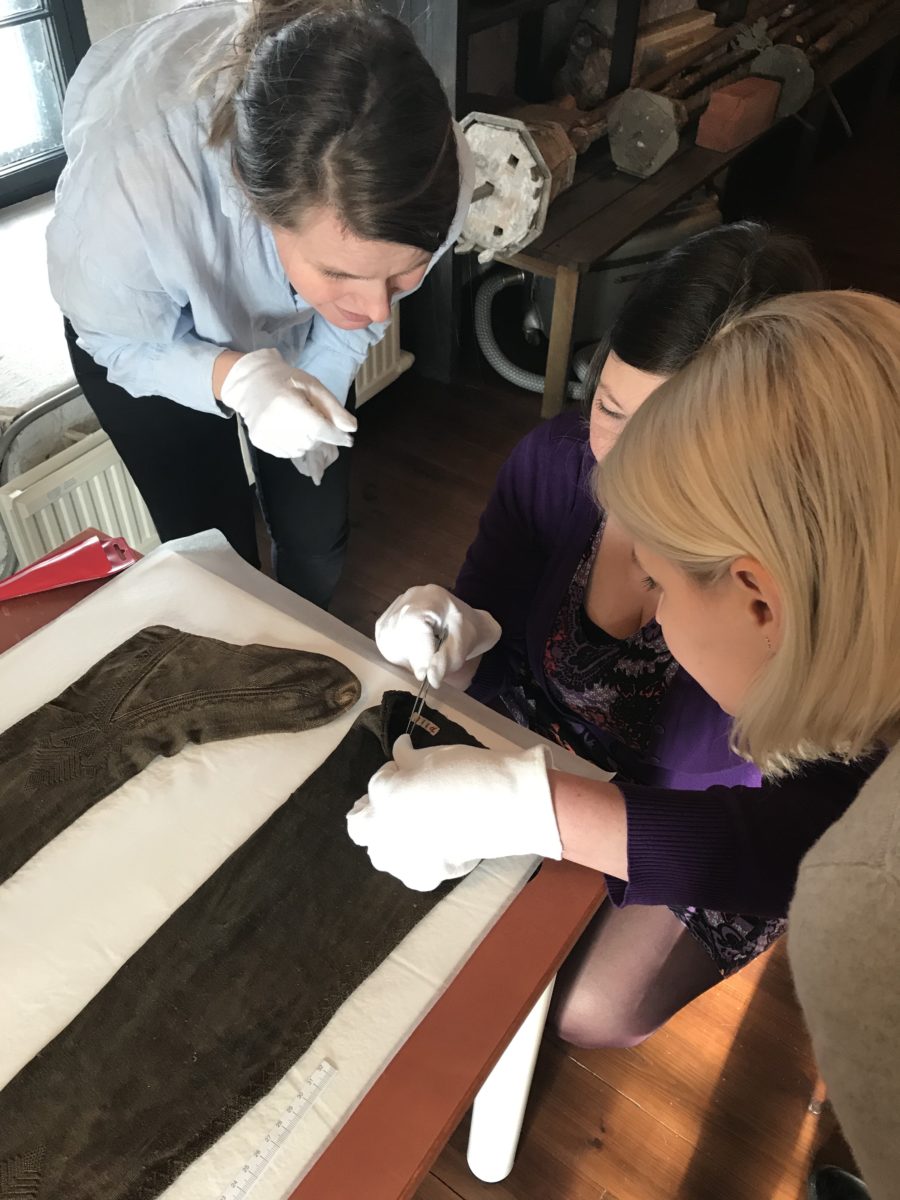
Taking a sample from the stocking.

Two women studying a magnified picture of a knitted stocking.

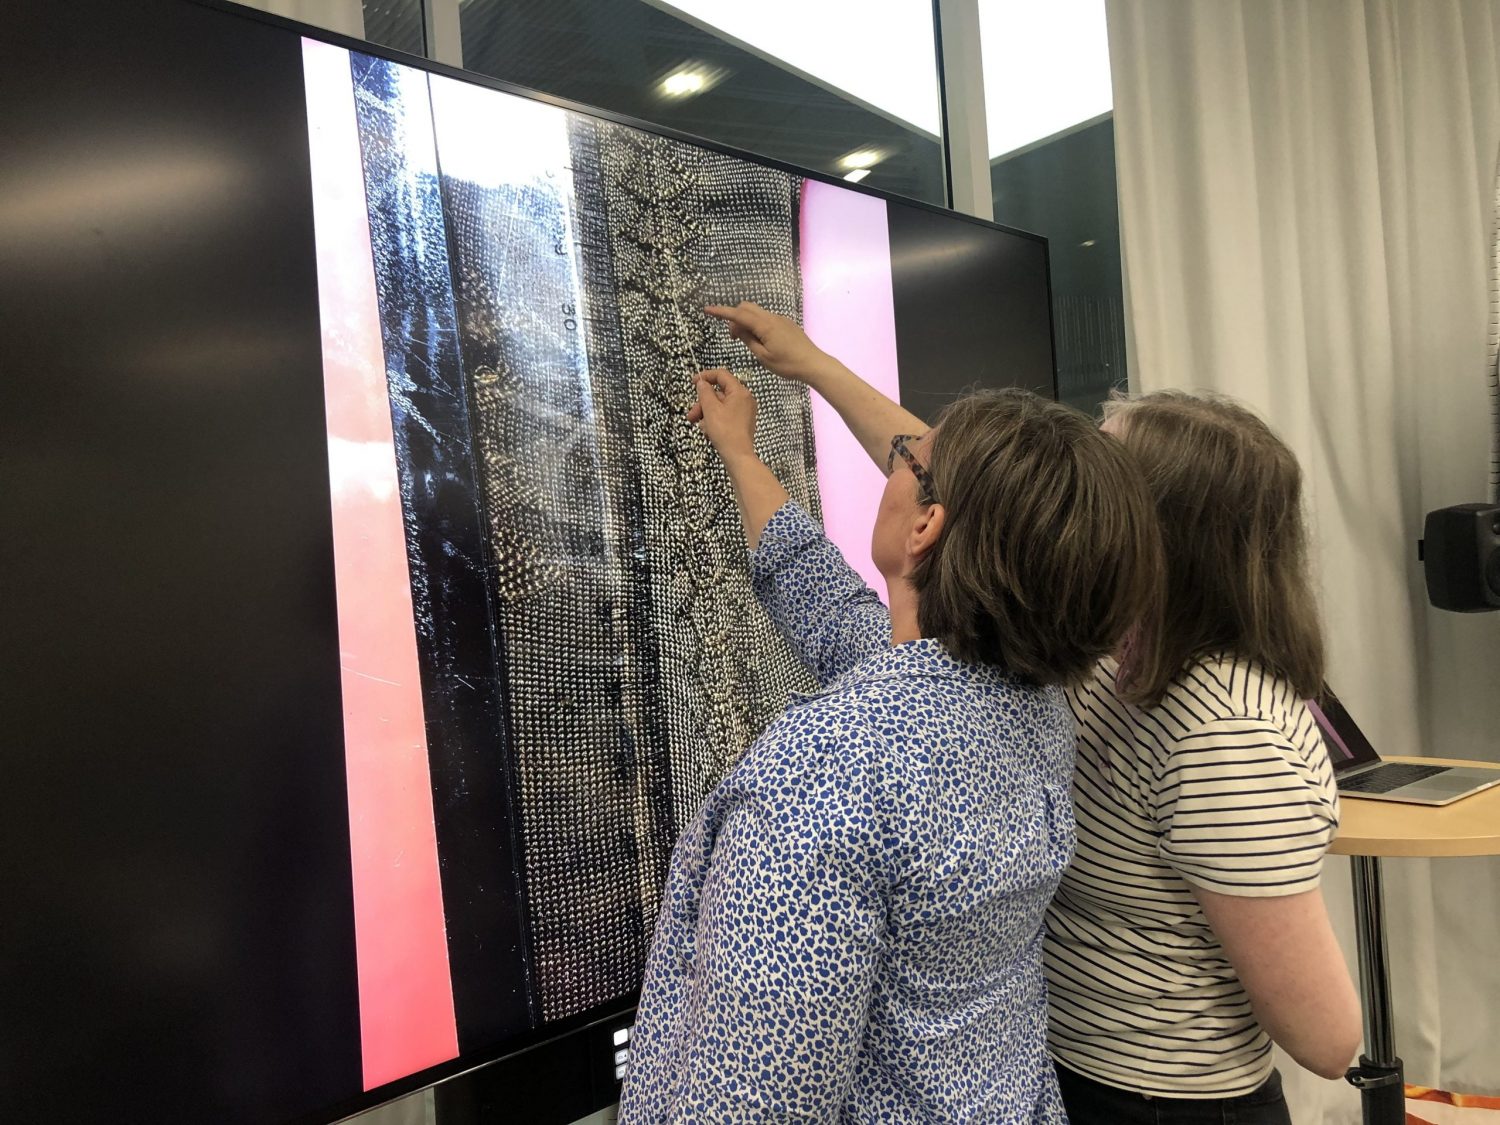
Our pattern group members counted every stitch of the original stockings to create the knitting instructions for the reconstruction.

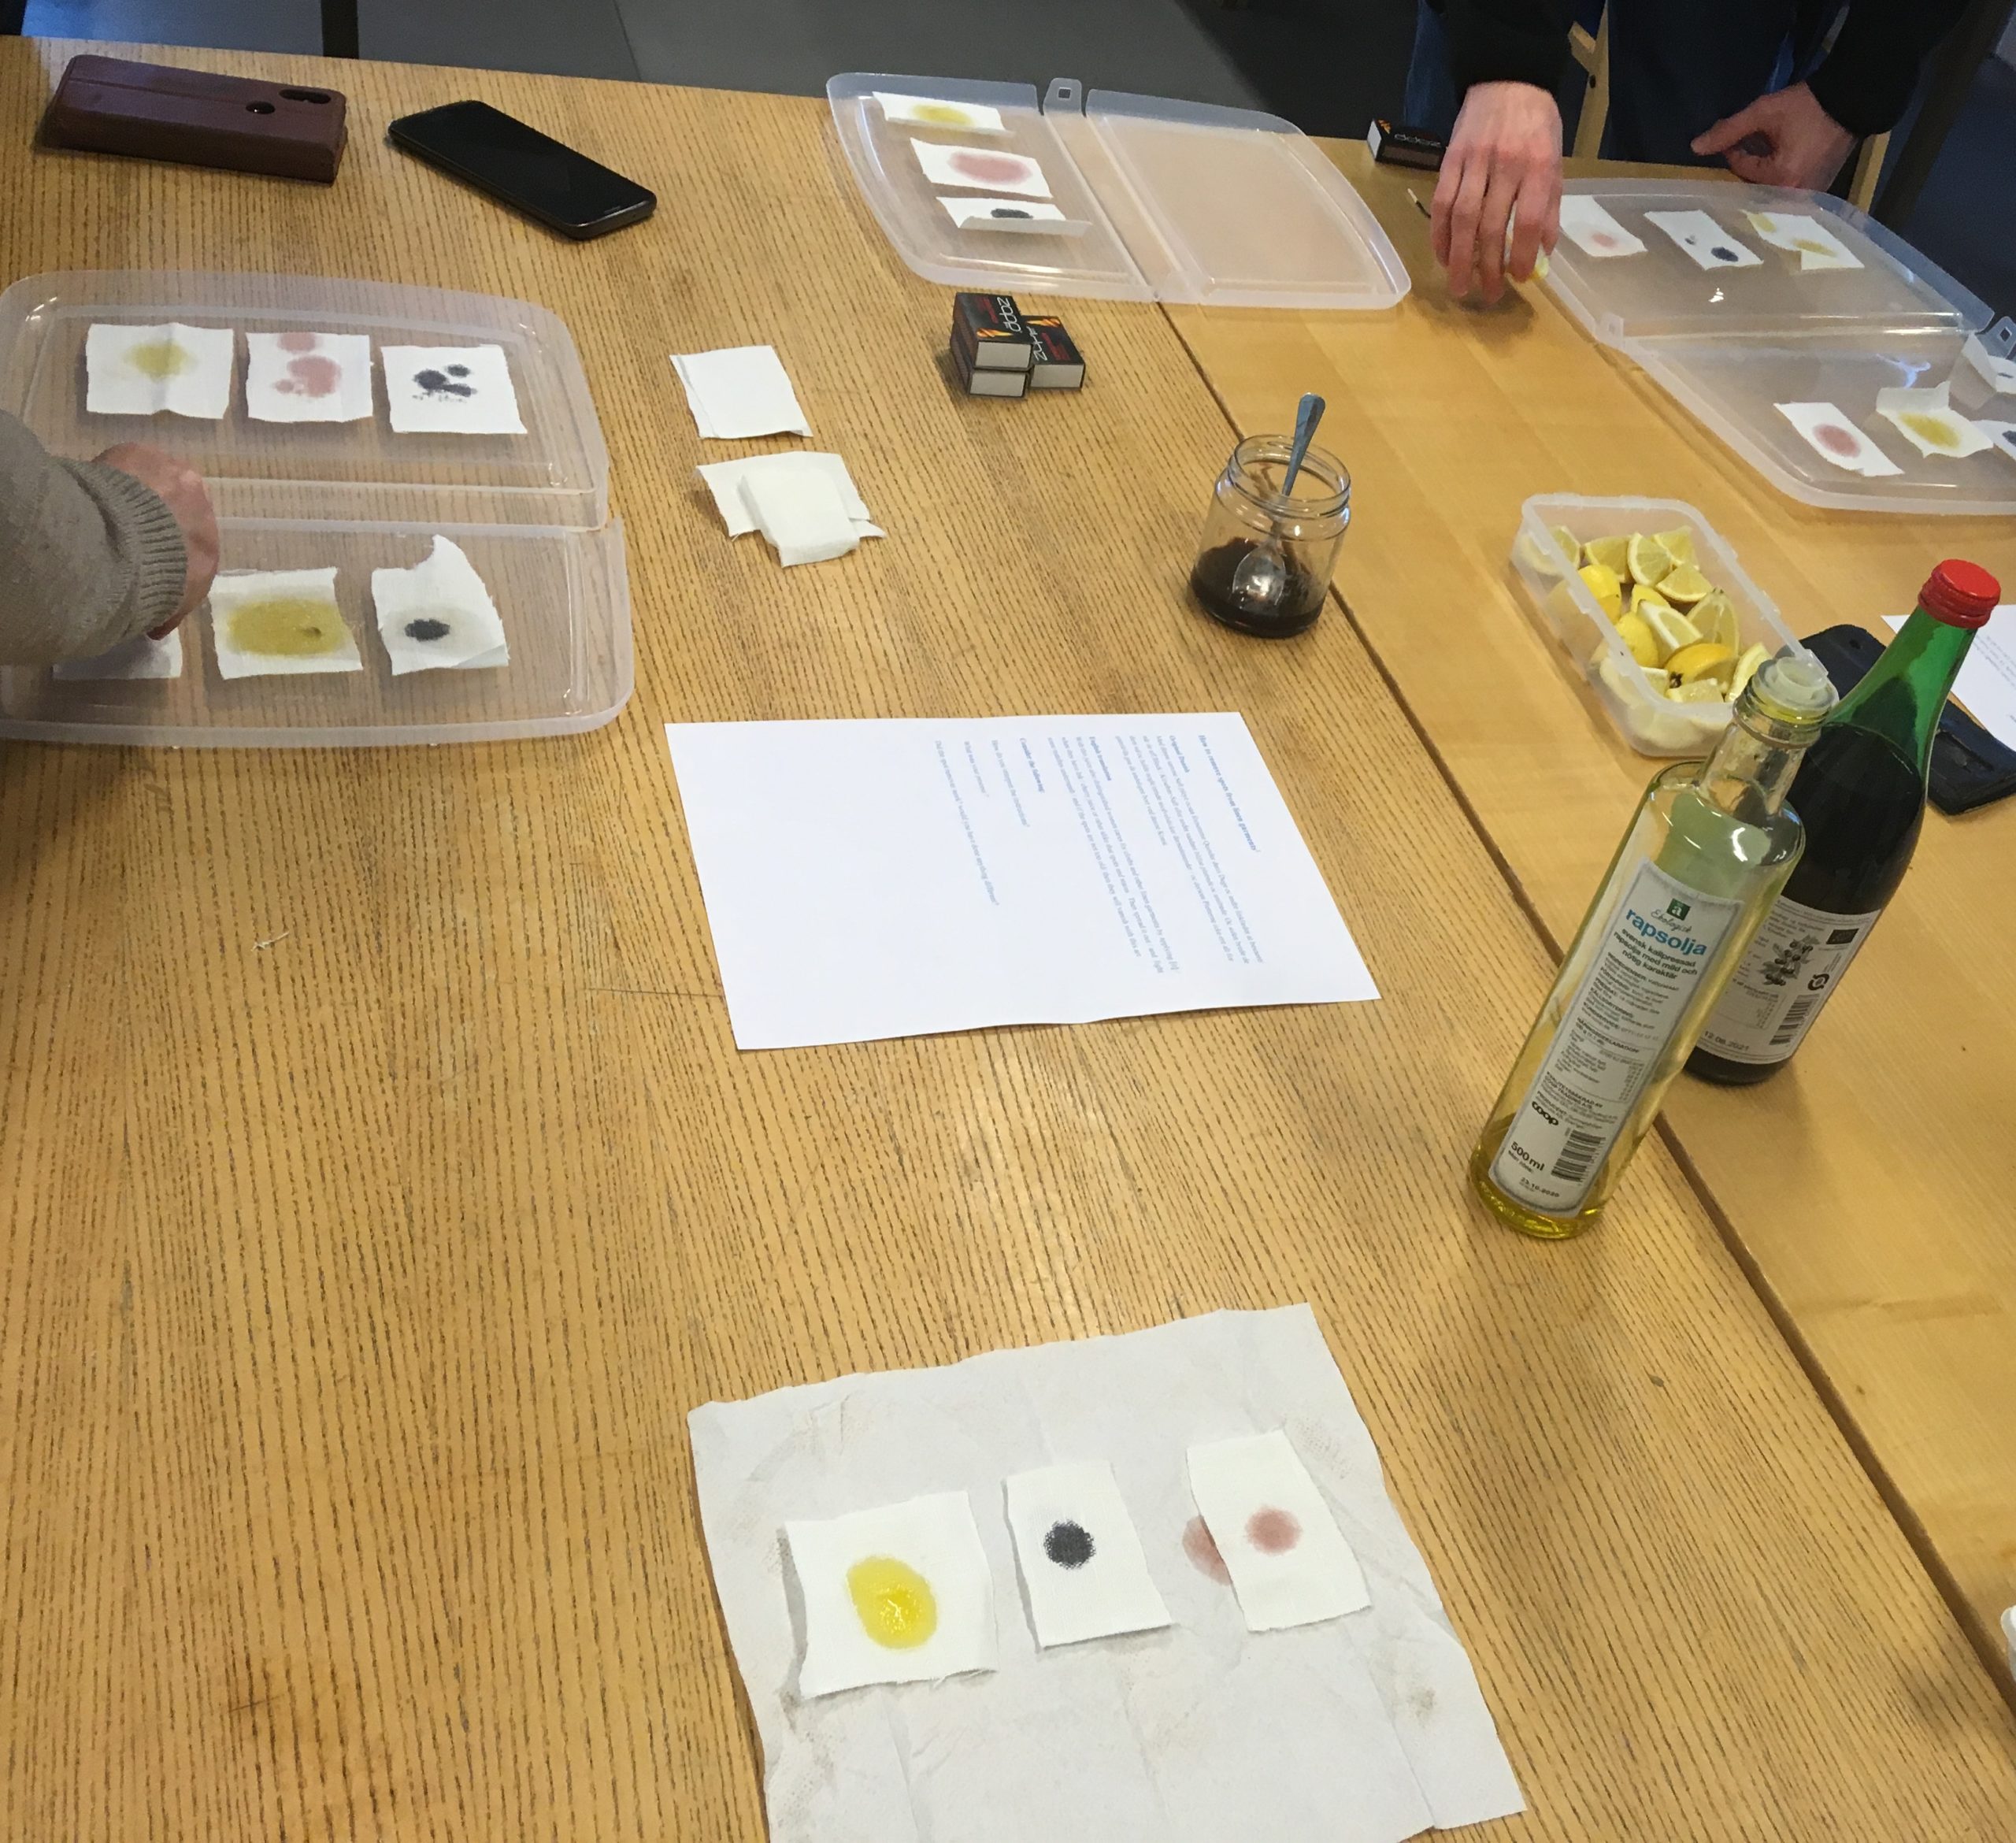
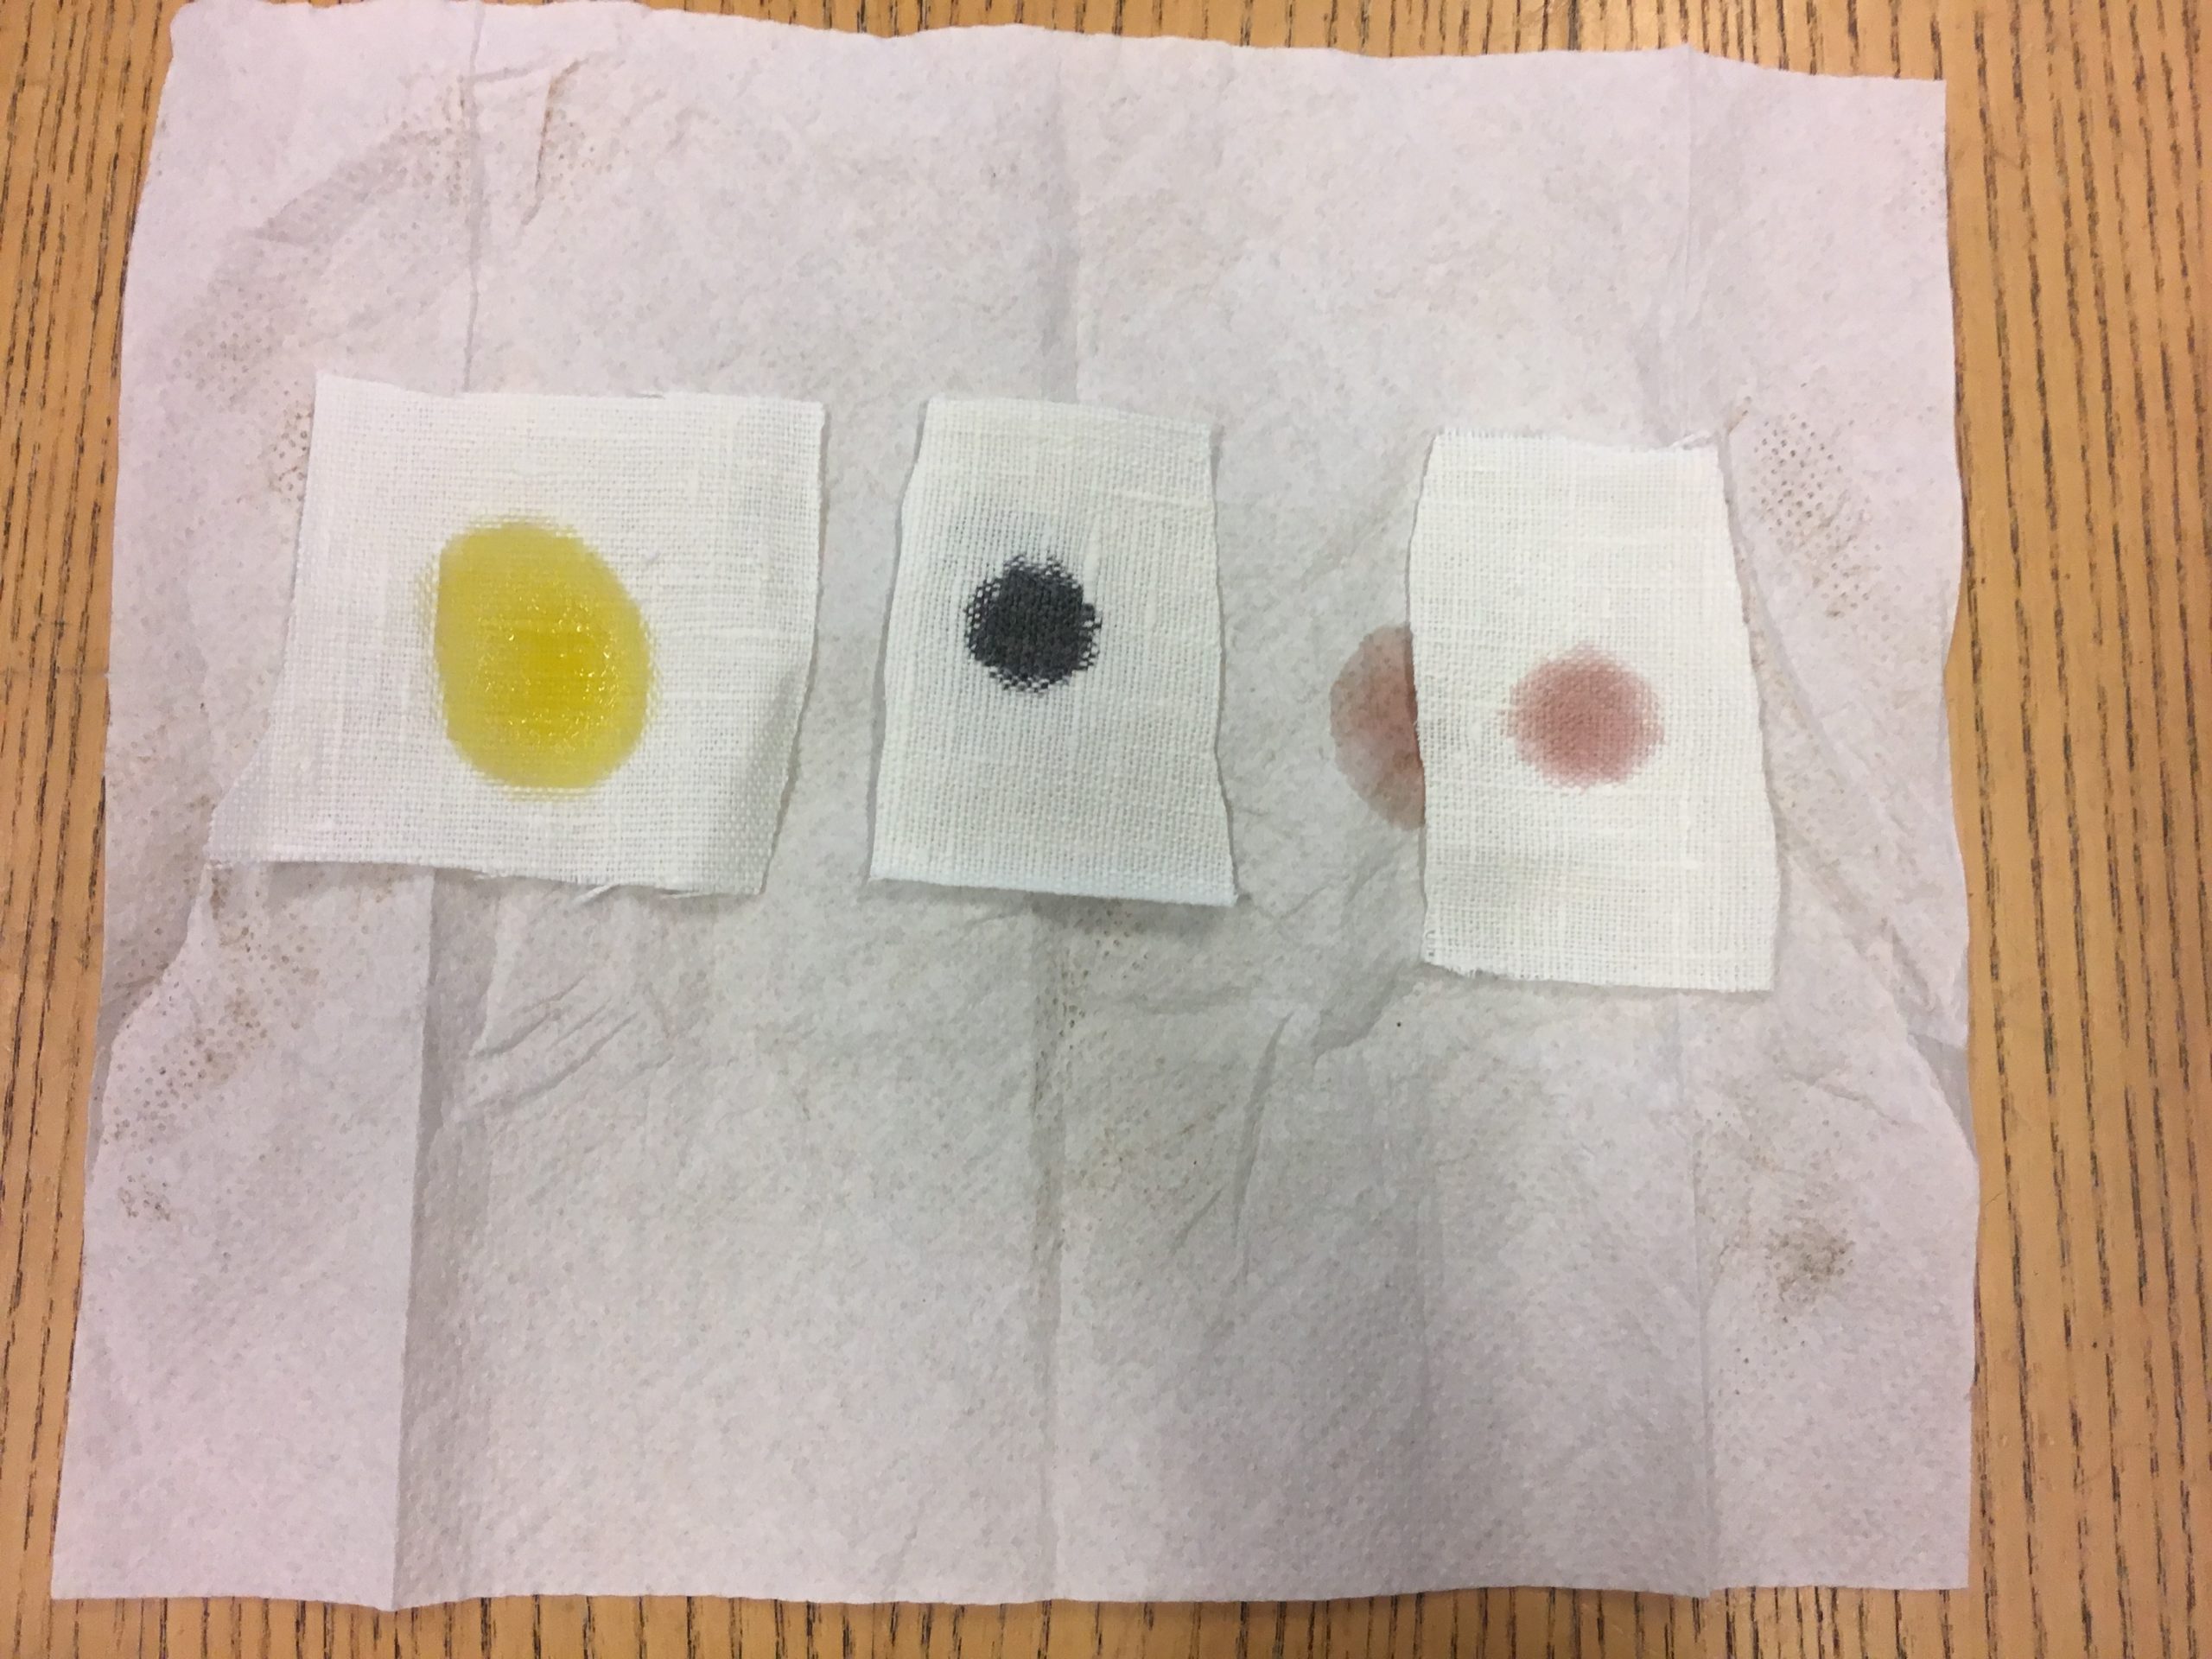
After this initial stage of technical analysis, our team began investigating where we could find right kind of silk yarn. We carried out a fibre analysis at Aalto University nanomicrosocpic lab of the original sample that we had taken in Turku. The results showed that the stocking had been made of bombyx mori -a traditional silk that had been produced by mulberry silkworms.

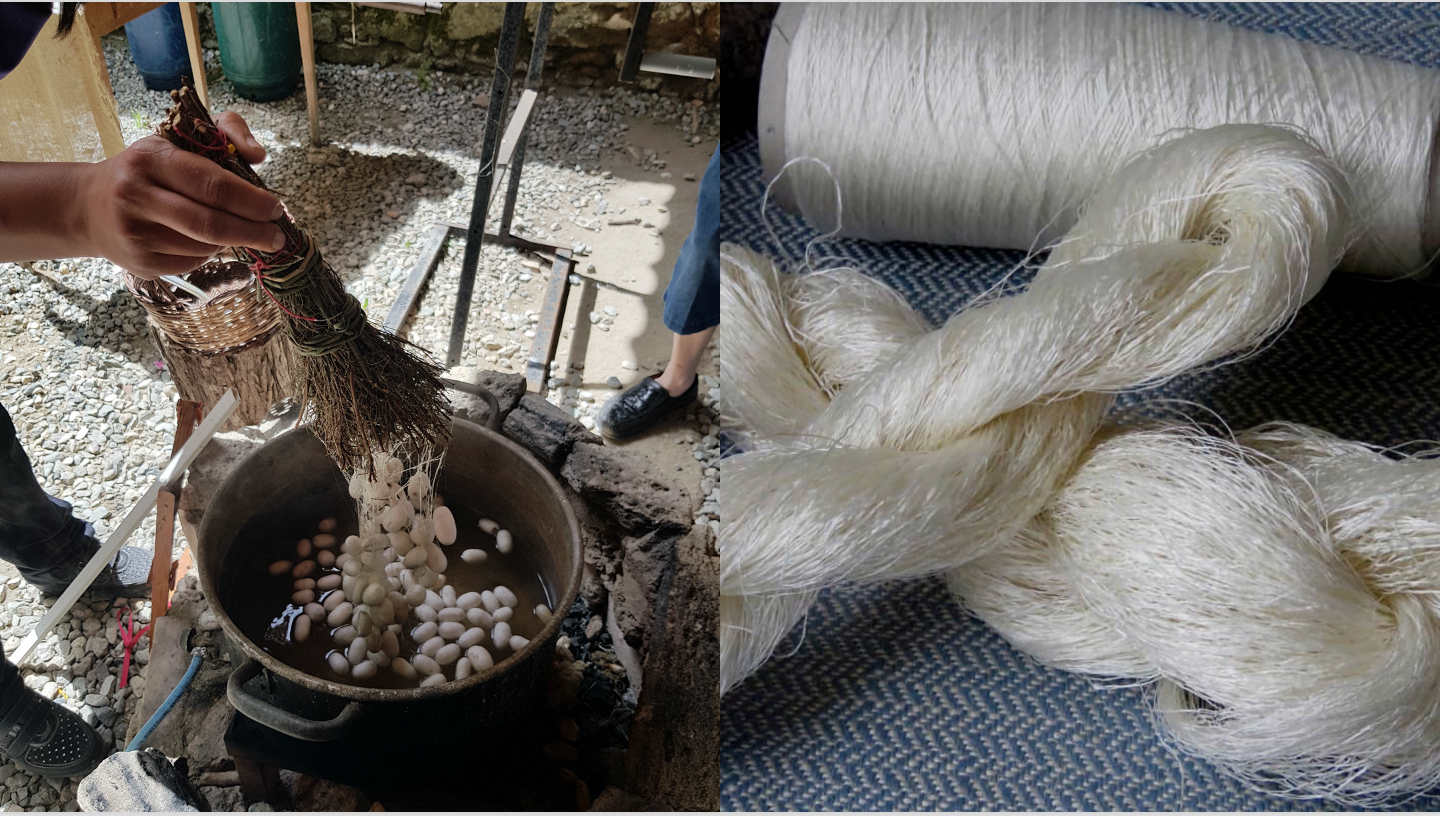
Silk yarn form Nido di Seta.

We found a silk farm in Calabria, Italy, called Nido di Seta, that still produces hand-reeled bombyx mori silk, and we travelled there to investigate how this silk was actually made, and how many silk cocoons should be used at once to get the right thickness for our silk yarn. We were also able to order our silk yarn for the stockings from this farm.

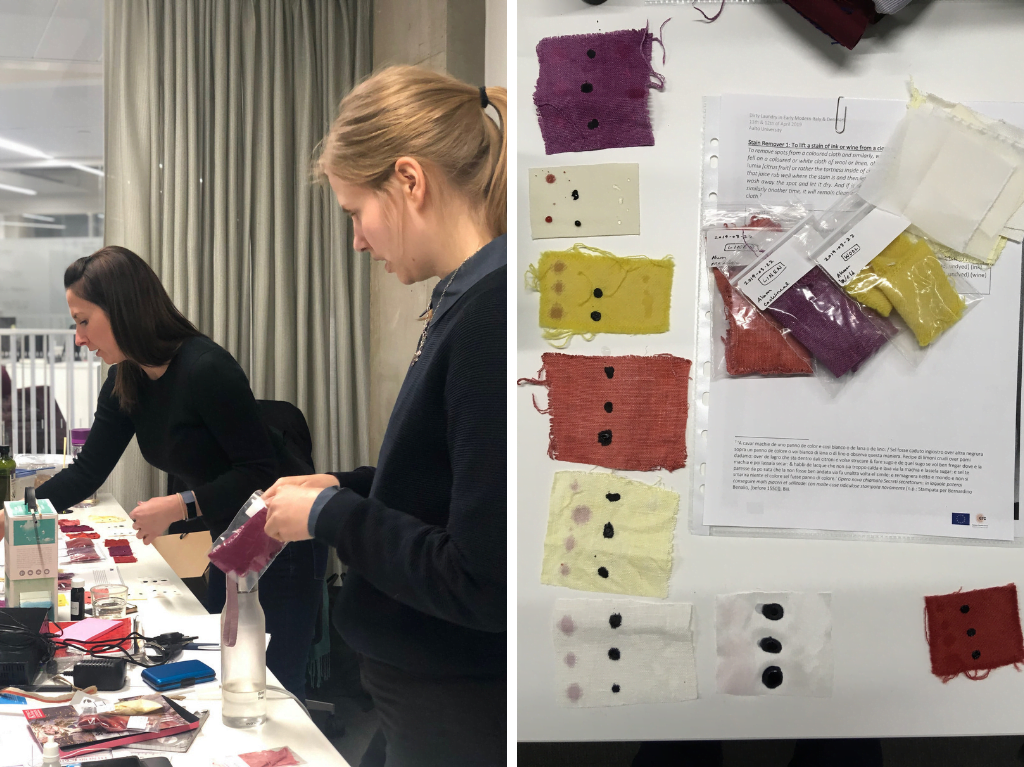
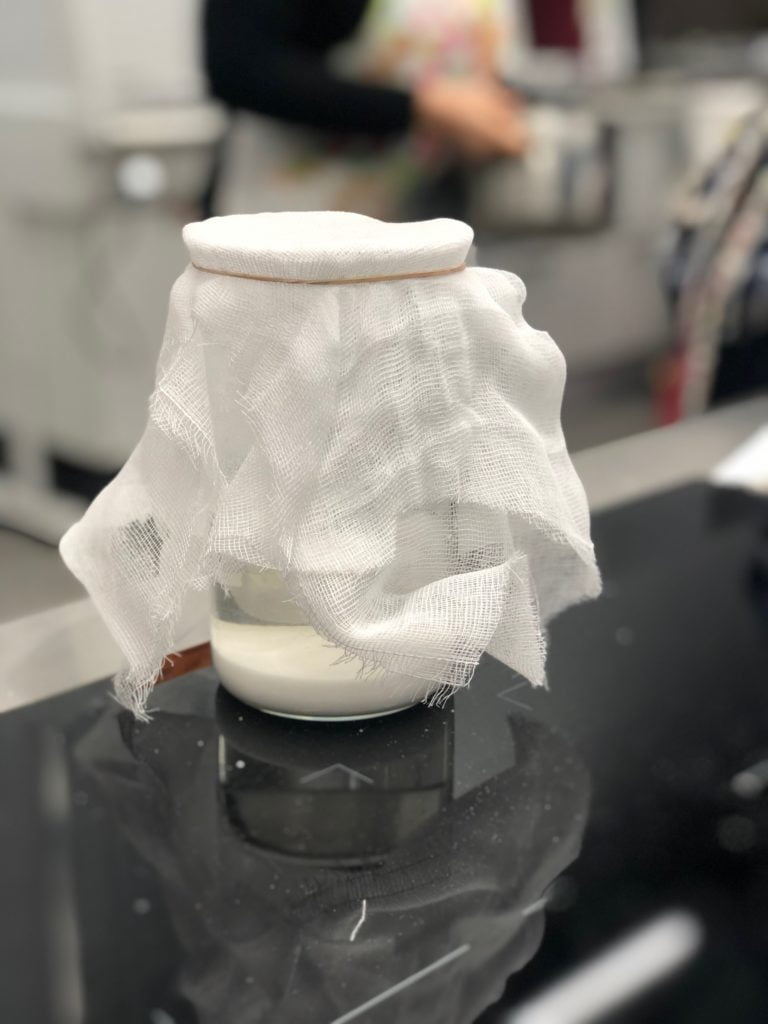
At the same time, we also tried to figure out what colour the stocking had orginally been. We sent our fibre sample for our colleague at the Cultural Heritage Agency of the Netherlands and he made a dye and mordant analysis of the sample. The results showed that the stocking had been originally black according to the fashion of the time.

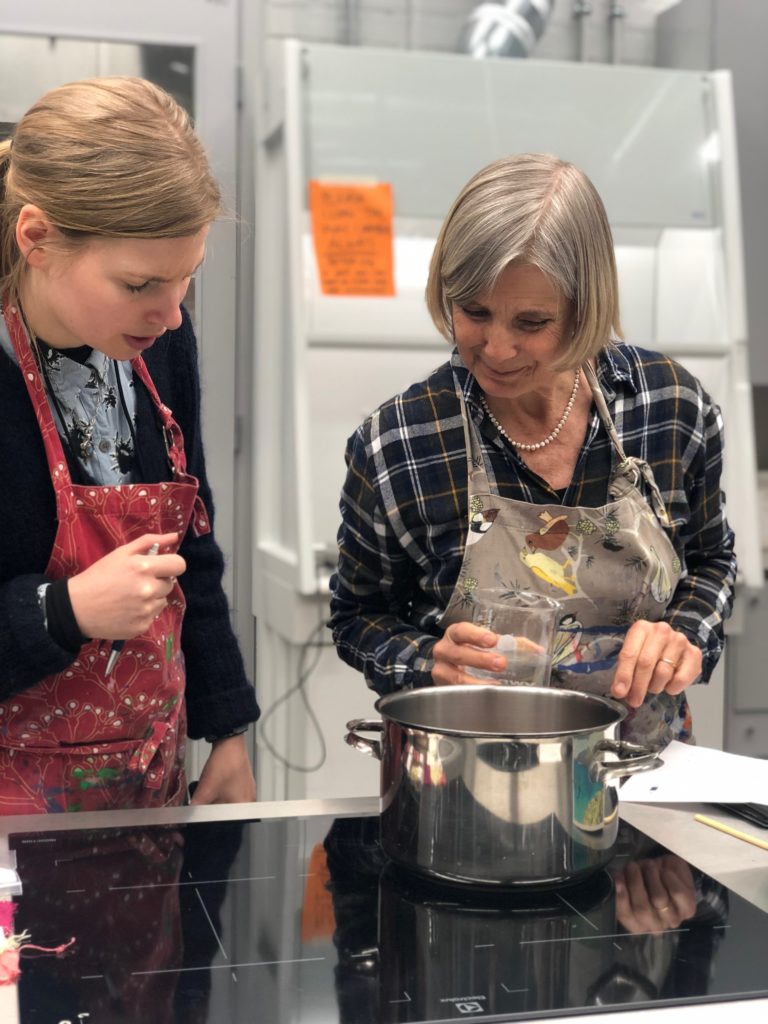
When all these preparations had been completed, our knitters could finally begin to try the silk and the knitting needles, and start knitting the stockings. We also asked them to take notes during the knitting process so that we would have some experiential documentation to analyse after the project. 

Now that the project has been running for 1,5 years, we have already nine ready-made stockings. The only thing we still have to do to the stockings is the finishing processes and dyeing.


What have we learned from this project so far?

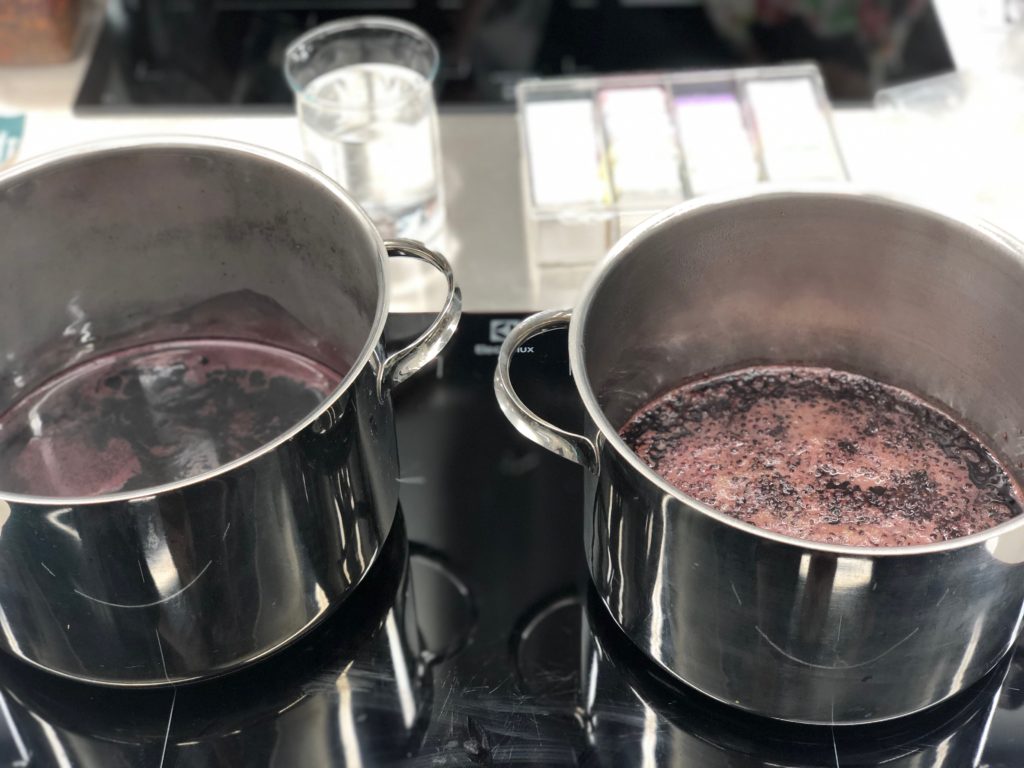
This project has shown that knitting a silk stocking was technologically challenging. It takes about 200 hours, or even longer, to knit just one silk stocking. This is because the yarn is very thin and the stocking is knitted using very fine 1mm knitting needles.

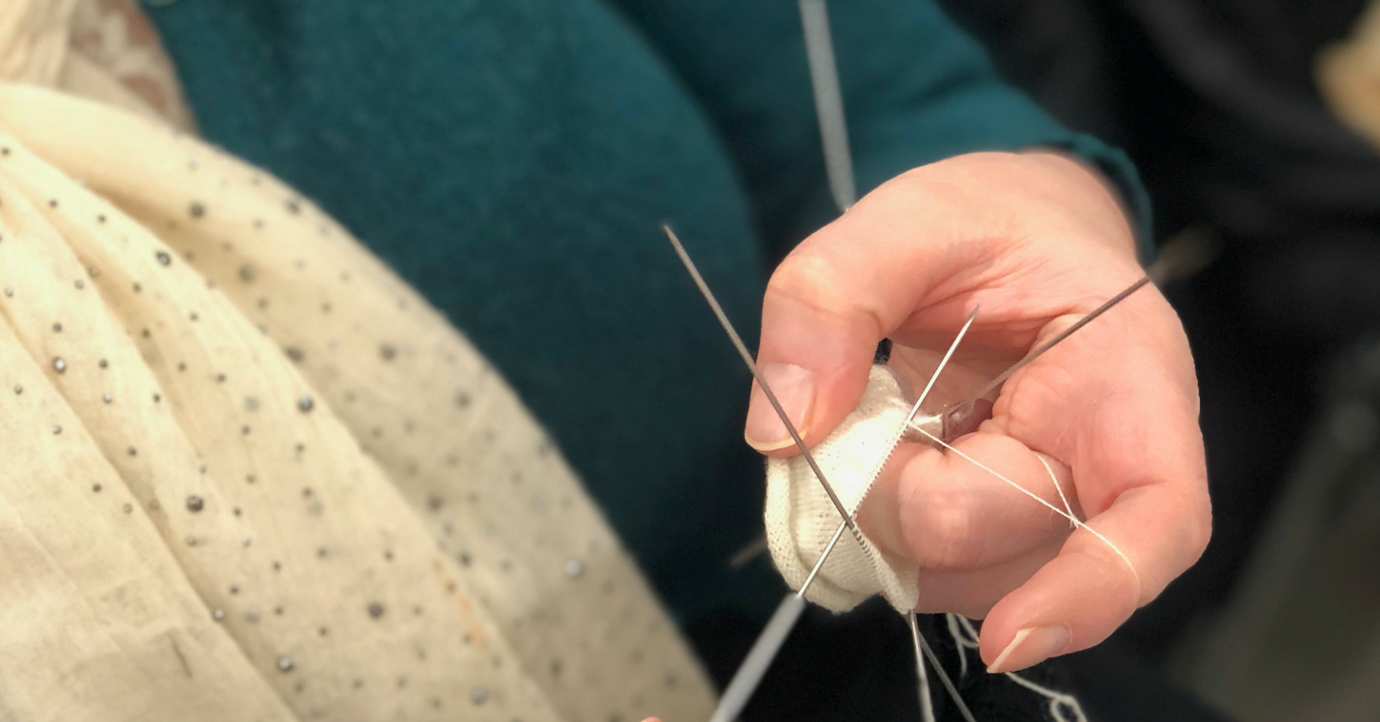
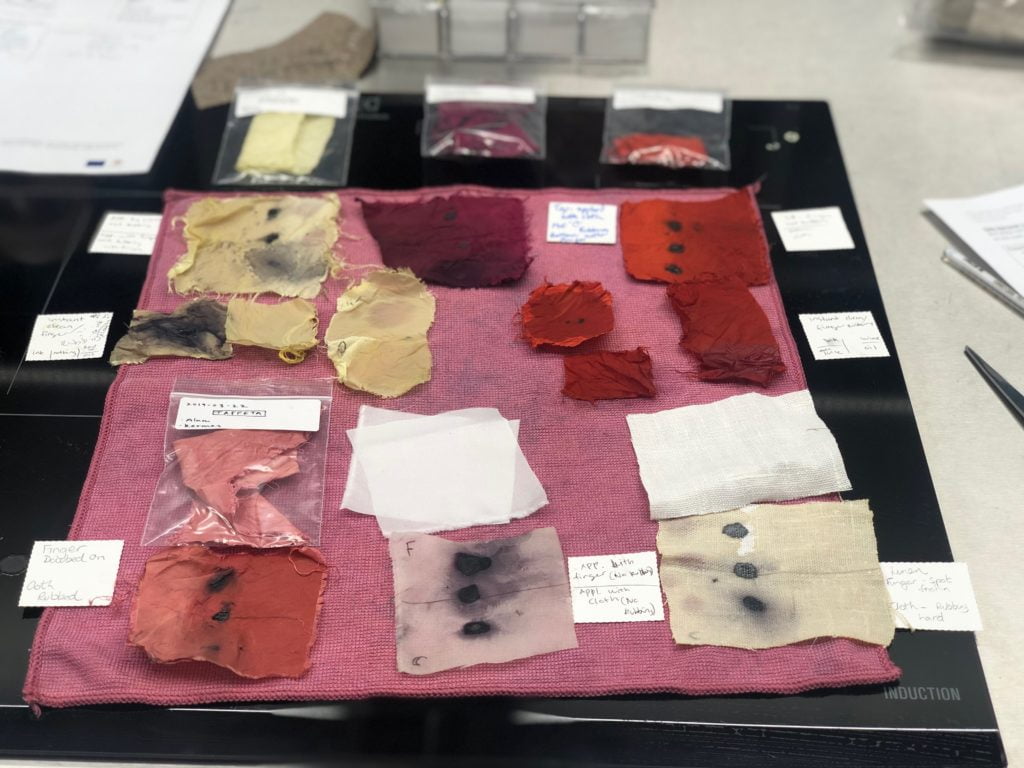
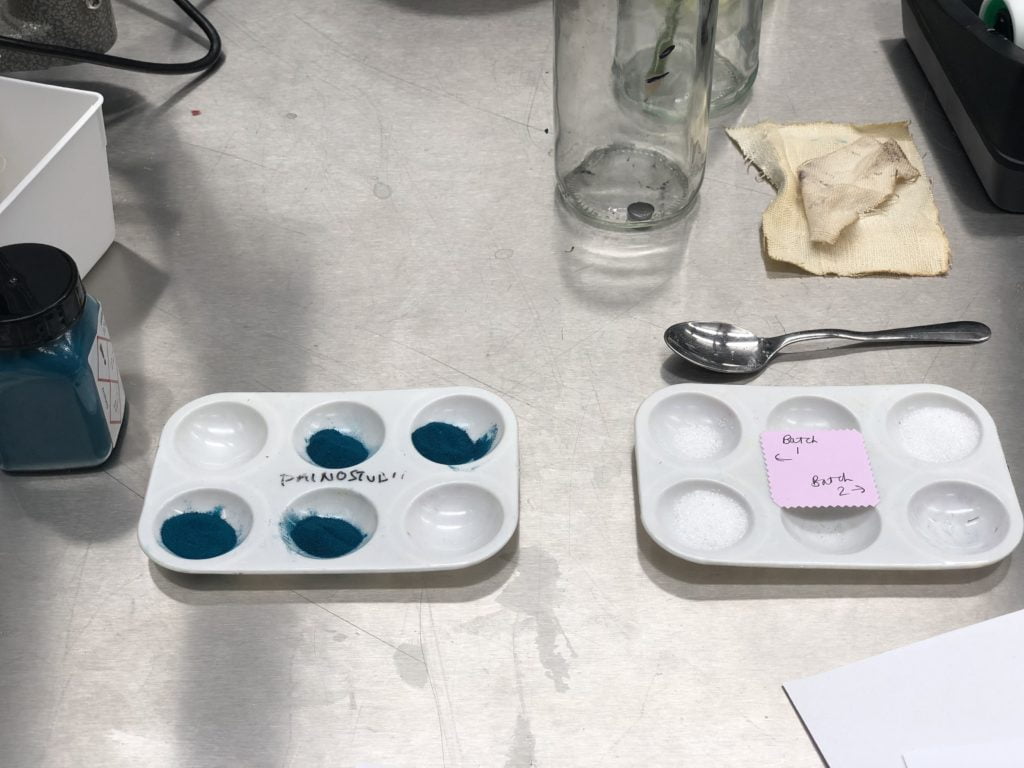
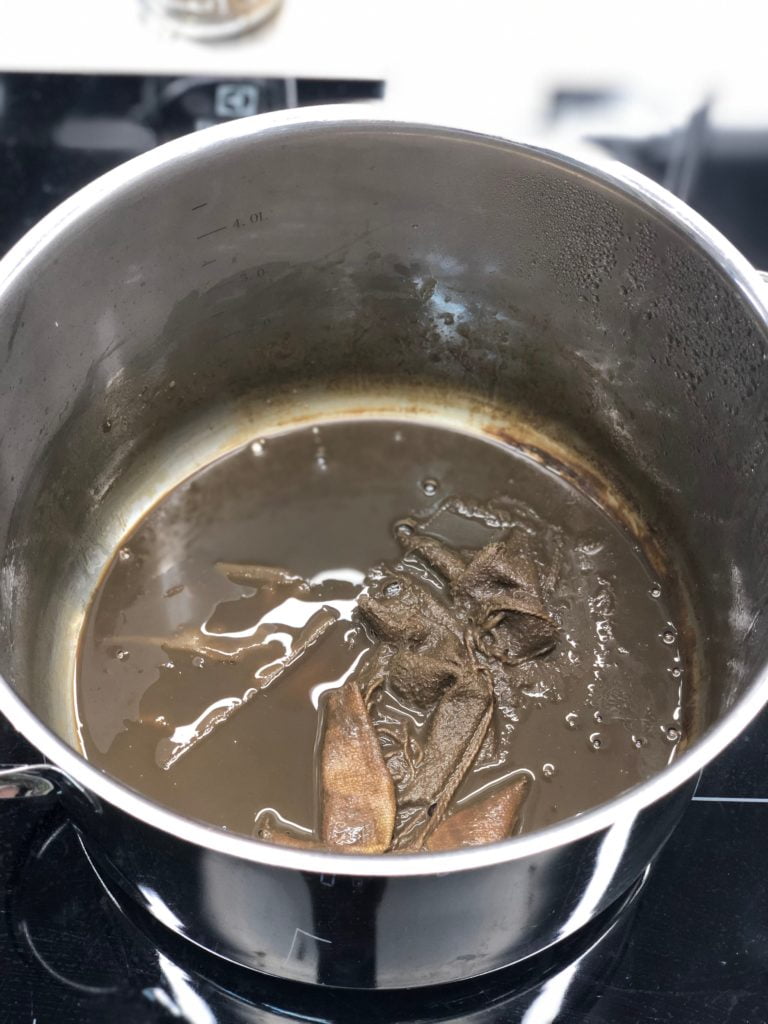
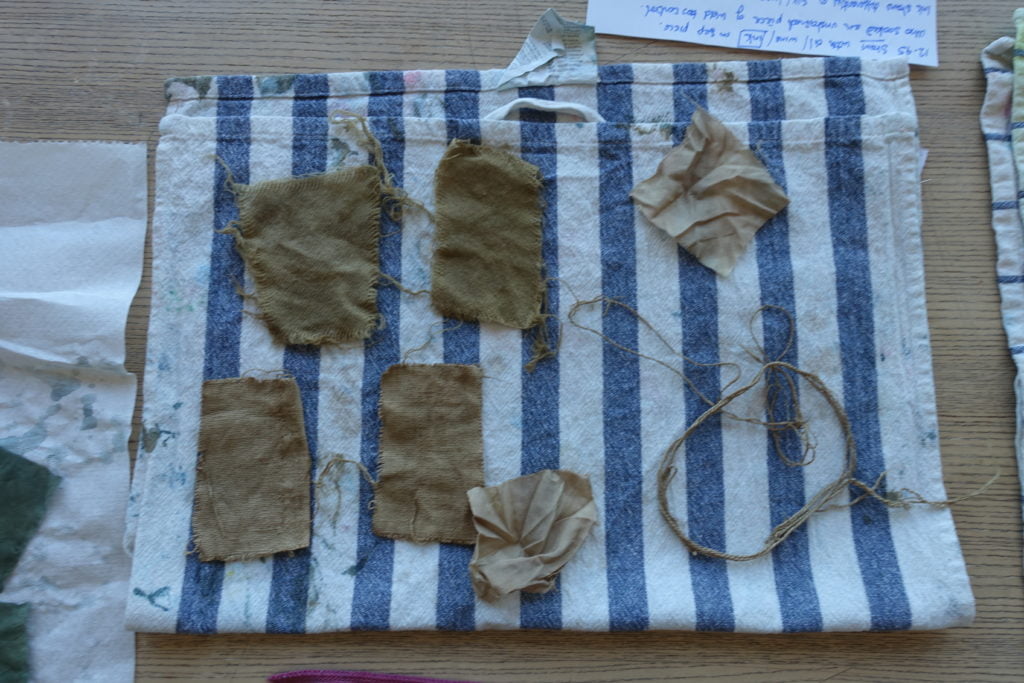
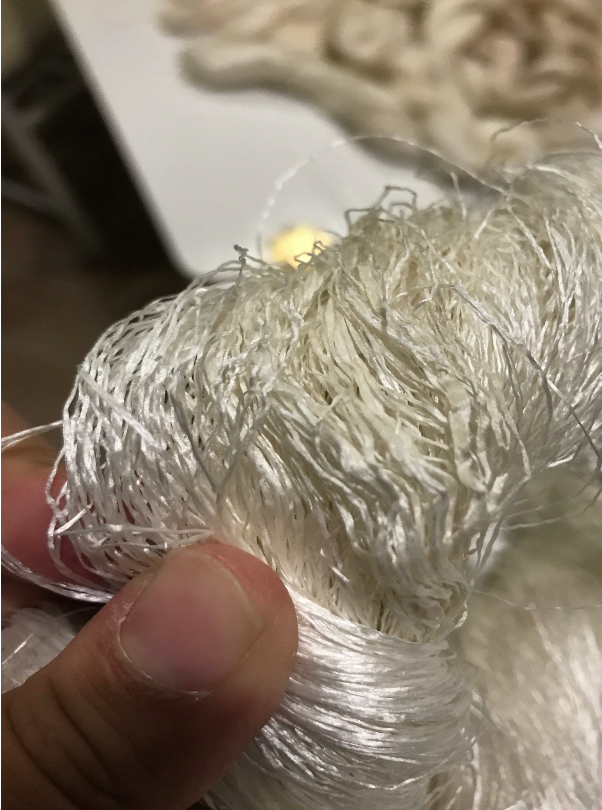
Secondly, we learned that getting optimal kind and quality of silk yarn was challenging at a time when silk was processed by hand from the beginning to the end. Our own silk yarn, for example, was not of the highest quality, because the summer was quite rainy and as a result part of the silk was glued together, as we can see in this picture.

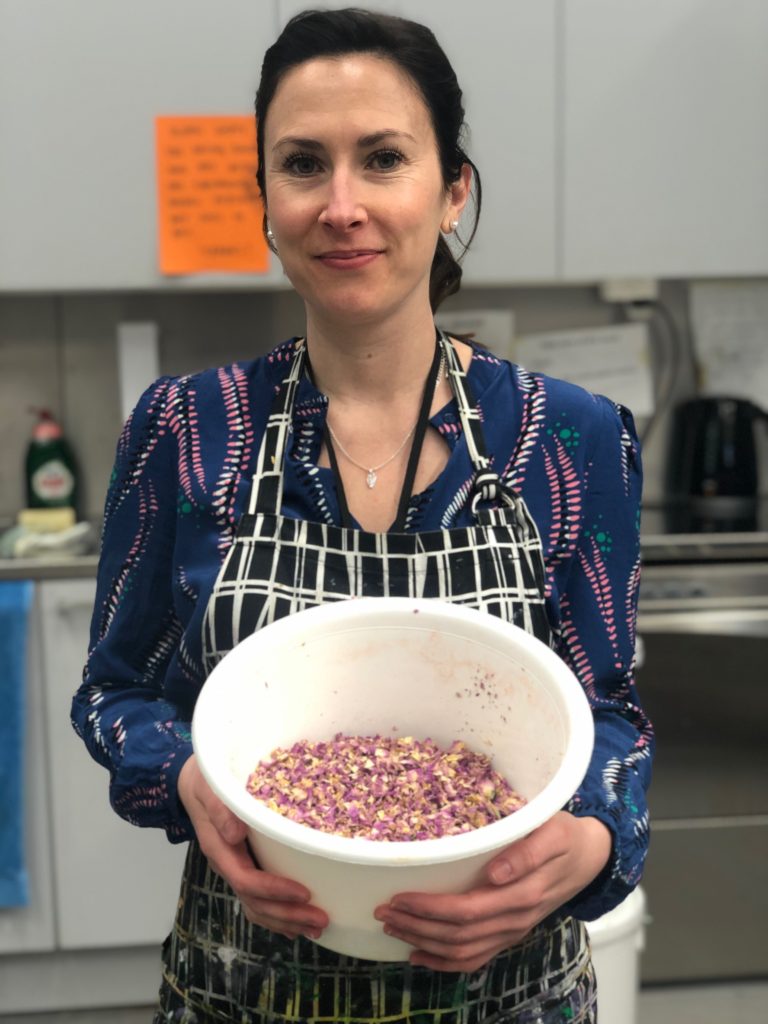
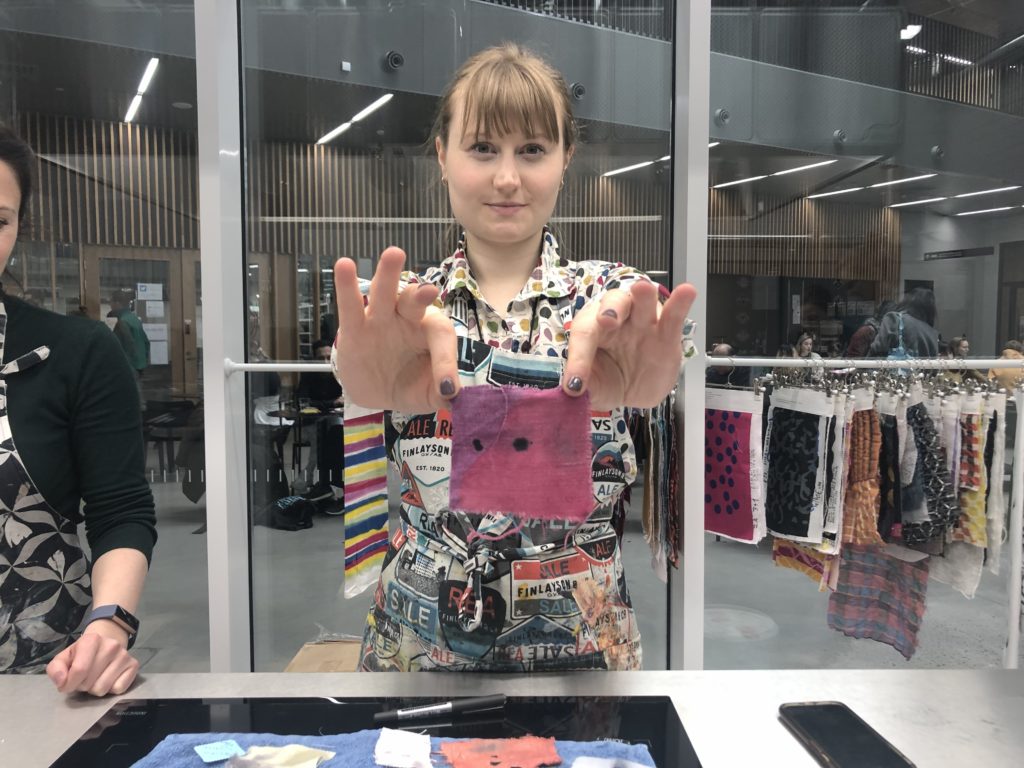
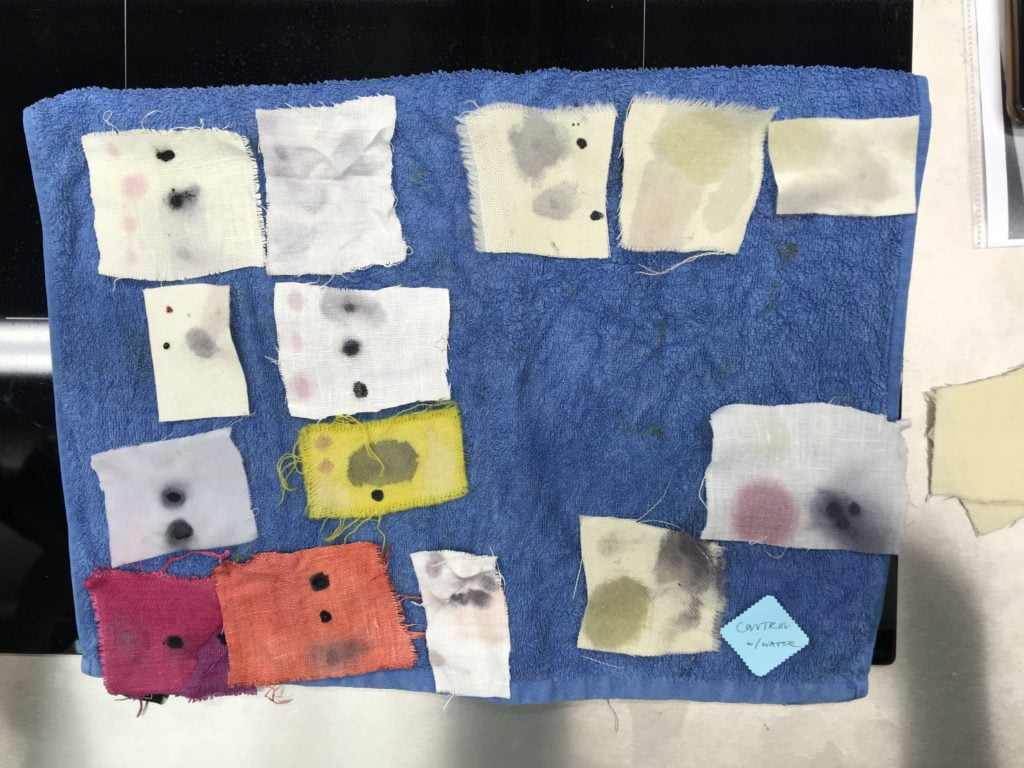
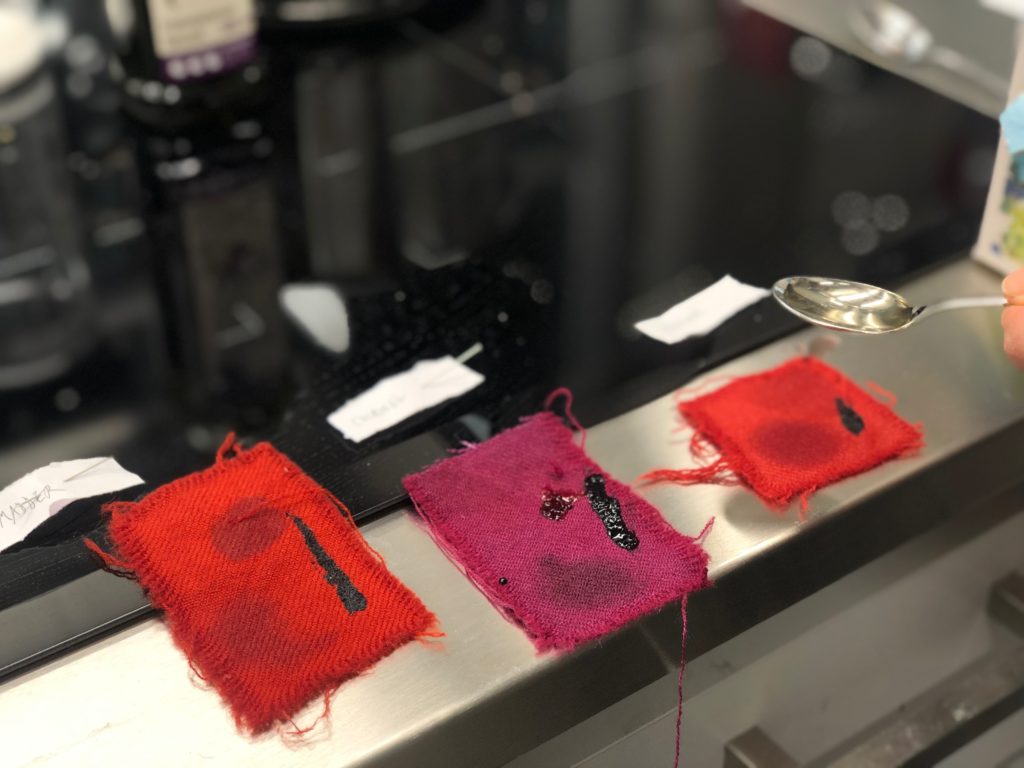
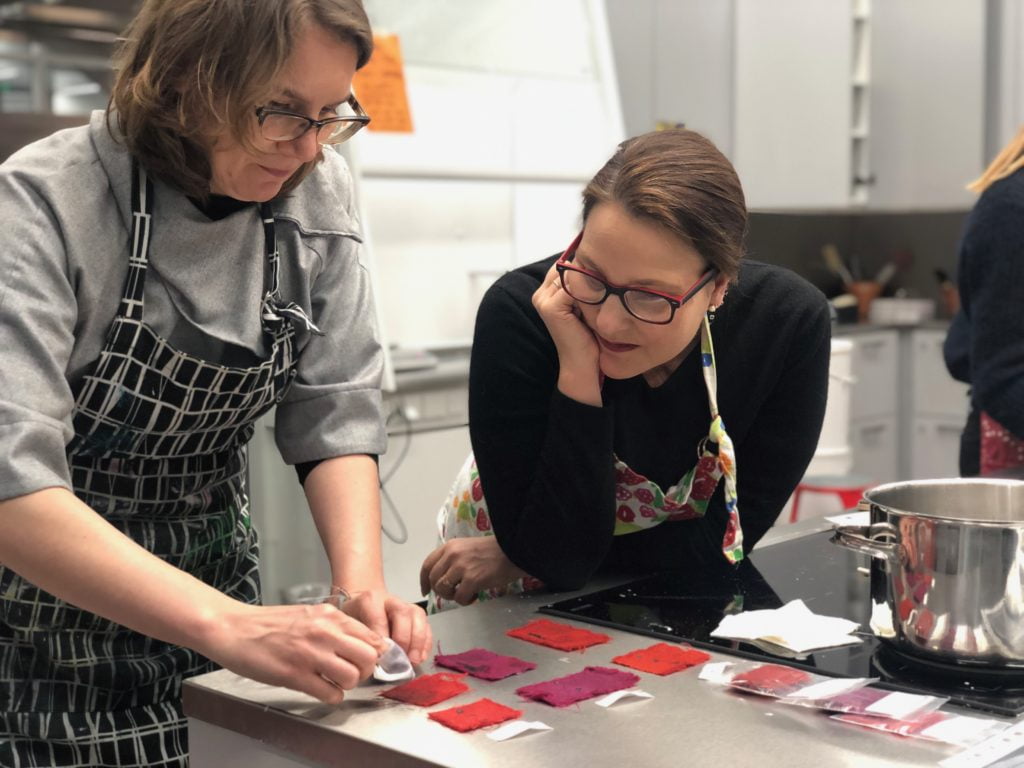
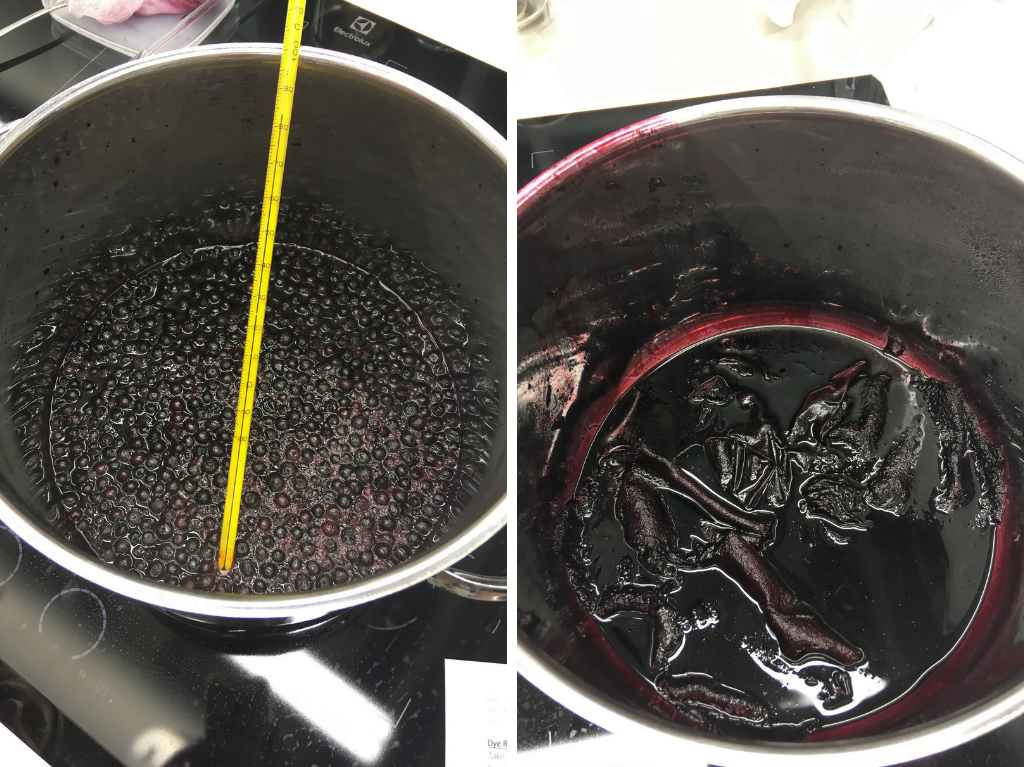
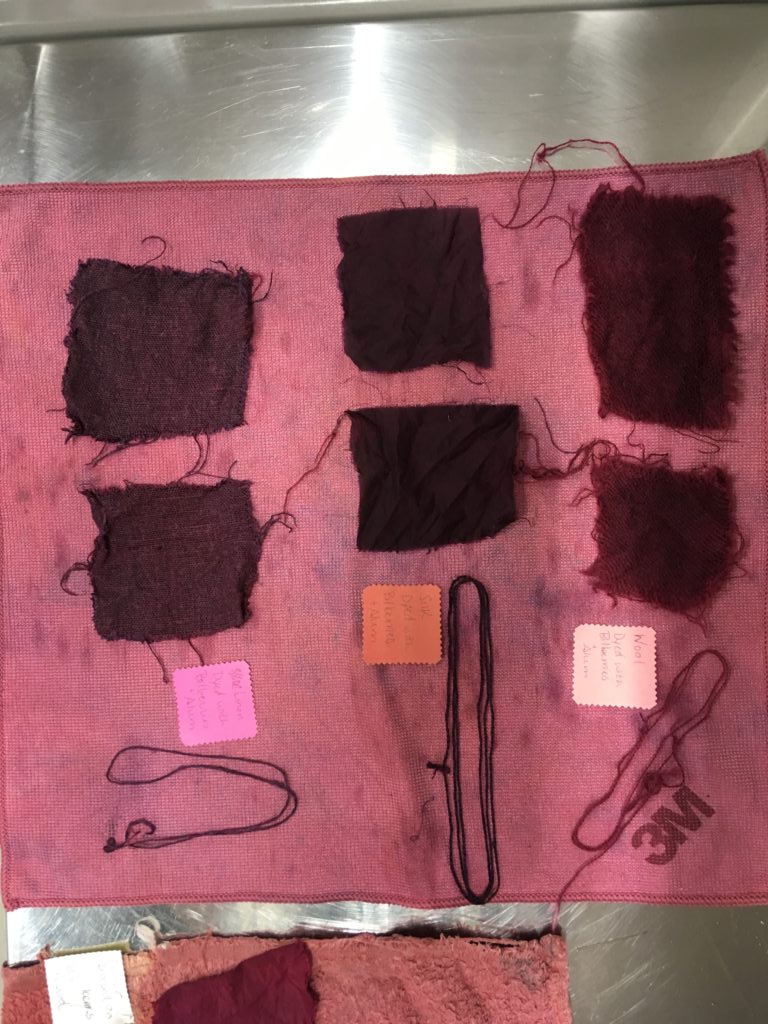
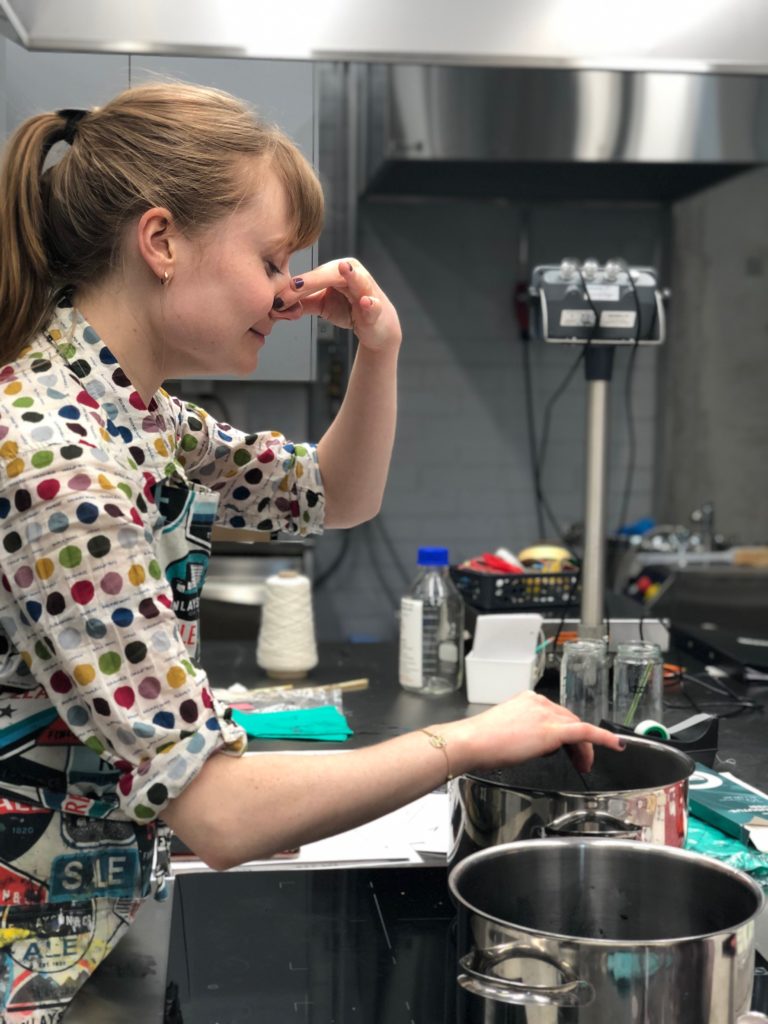
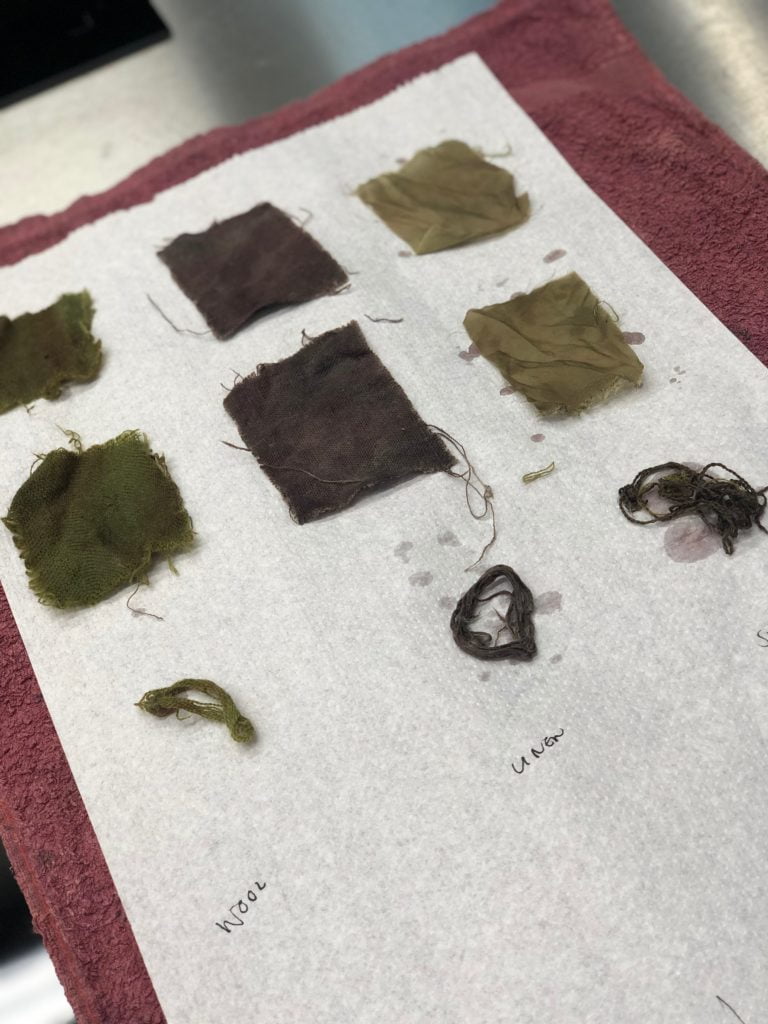
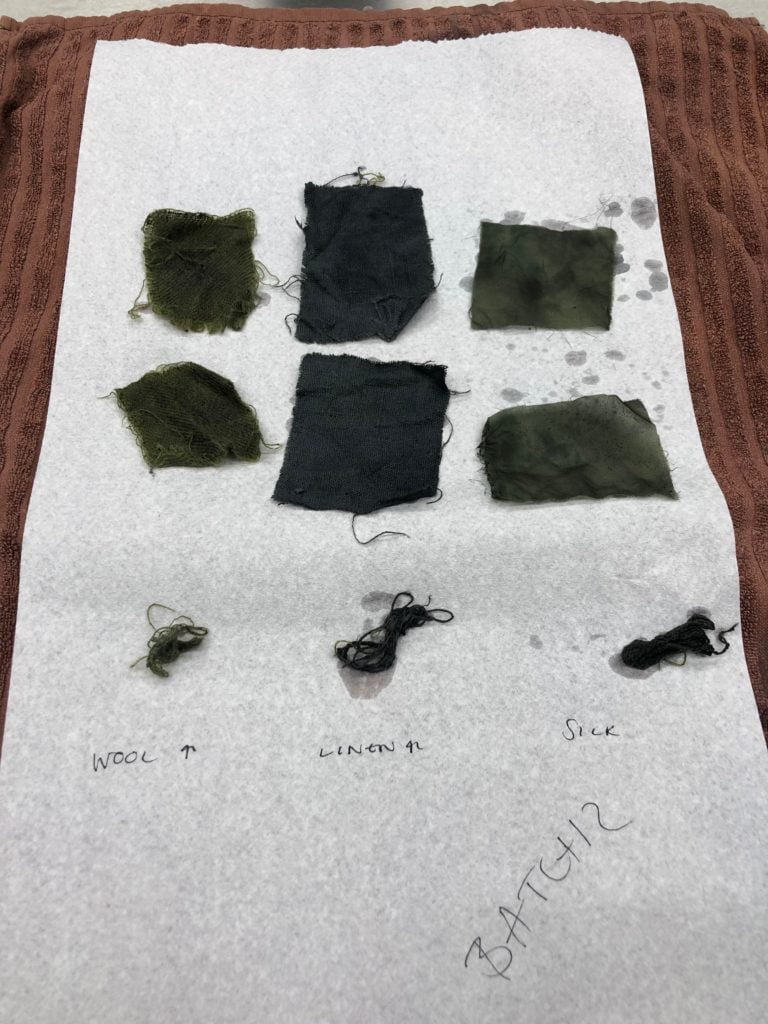
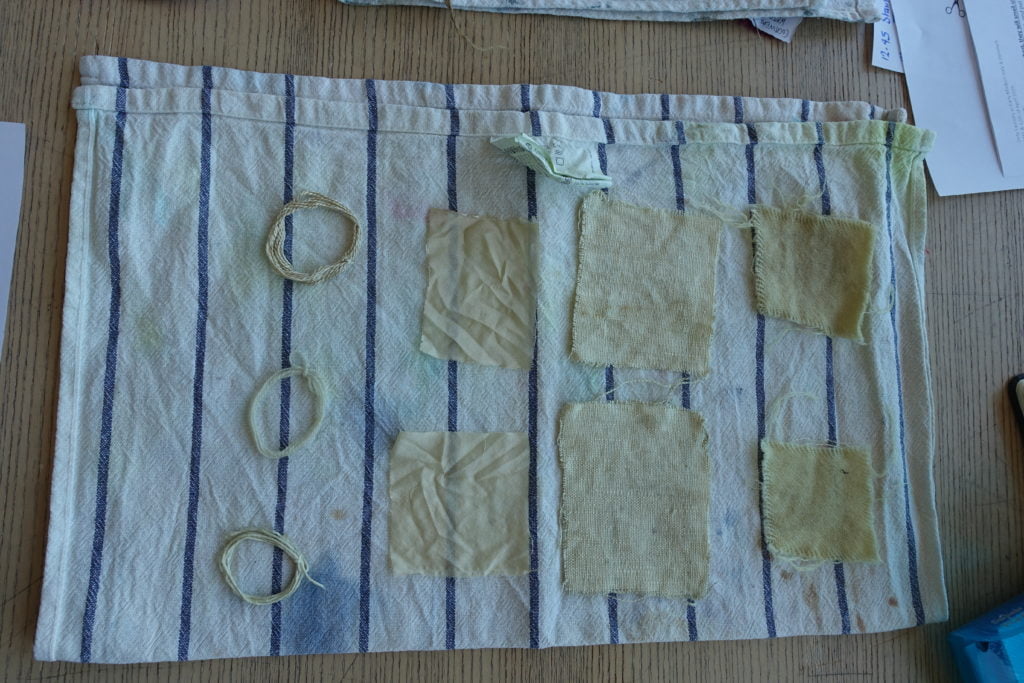
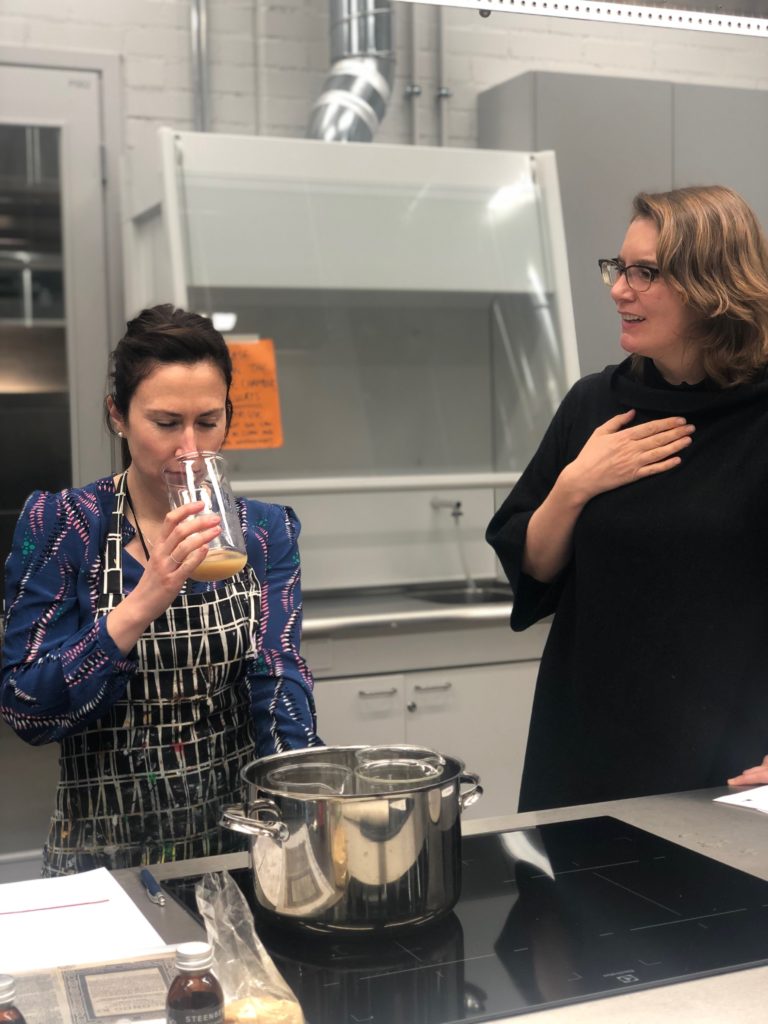
Thirdly, we have learned that dyeing was a challenging process in the seventeenth century. Good intensive black in this period, when all colours were dyed using natural dyestuffs, was one of the most difficult colours to achieve. The dye experiments that were carried out in a Burgundian Blacks research workshop , organized in by the ERC funded ARTECHNE project and Claudy Jonstra in the Netherlands in 2019, for example, showed how a black that was initially beautiful had turned into brown overnight.

Dyed stockings at the Burgundian Blacks Collaboratory workshop.

In the light of these material and technological challenges, it is not surprising that silk stockings were expensive luxury products and one of the most important innovations of fashion that high-ranking elites used to set themselves off from the rest of the crowd in sixteenth and seventeenth centuries.

Even though the laborious production process and the high cost made silk stockings rare among our artisans, our data shows that sometimes even lower ranking artisans and shopkeepers were able to wear silk stockings. For example, Giovanni Neri, a shopkeeper from the neighbourhood of Pantaneto in Siena, who died in 1588 in, owned a pair of white stockings ‘of silk and knitted’ that belonged to his wife[1].


Notes and further reading:

[1] Archivio di stato, Siena, Curia del Placito 263, 188, 76v.

Carlo Belfani, Calze e maglie. Moda e innovazione nell’industria italiana della maglieria dal Rinascimento a oggi (Mantua, 2005).

Andrea Caracausi, ‘Beaten Children and Women’s work in Early Modern Italy’, Past and Present, no. 222 (Feb 2014), pp. 95–128.

Jeremy Farrell, Socks & Stockings (London, 1992).


To remove Ink, Cherry Juice and Other Stains and Spots

In 1648 the book Flora Danica, det er: Dansk Urtebog. (Flora Danica, what is: Danish Herbal book), was published. The author of the book Simon Paulli (1603—1680) was a Danish doctor, botanist and anatomist. From 1643 to 1639 he was a professor of medicine in Rostock and in 1639 to 1648 he worked as a professor of botany, anatomy and surgery at University of Copenhagen. In 1650 he became a physician at the court and later on he became the private physician to the Kings Frederik III (1609—1670) and Christian V (1646—1699).[1]

Engraving of Simon Paulli from 1666 (Royal Library of Denmark)

Flora Danica was commissioned by Christian IV (1577—1648) in 1645 while he wanted a book for the general population.[2] This can also be seen in the introduction of the book where it is noted how the book was aimed for people such as ‘the ordinary Man who lives in the country./ who does not always have resources or money to seek Doctors against various illnesses and incidents…’[3]

The book is divided in two sections containing 384 plants: the first part describes information such as name, appearance, place and use, whereas the latter part contains woodcut illustrations of the species.

First page of the Flora Danica

Although much of the information in the first section of the book relates to health and medicine, Paulli also offers tips on caring for textiles. For example he warns readers about walnut trees advising them not to: 

 … hang your [linen] Goods under Walnut Trees to bleach or dry: while the drops that fall down from the Walnut Trees / will stain the linen garments/ and the same stains will not go away easily It can therefore be concluded/ that Walnut trees are not beneficial in bleach fields.[4]

Engraving of a walnut tree (Flora Danica).

But in case of having stained garments, Paulli also explained how juice of Malus Limonia, lemons, could work as a stain remover:

With this same juice distinguished women also care for cloths and other linen garments by applying [it] / when they have Ink / Cherry Juice or other alike are becoming stained and spotted: Then spread it [the fabric]  out / and keep some lit Sulphur matches underneath / and if the spots are not too old/ then they will vanish with this Art.[5]

This was not the only purpose for lemons, which could help with several medical problems such as rotten teeth caused by scurvy, and were used in ointments against scabs and itchiness. The peel of the lemon was also advised to be used as ‘winter room’ refreshers in fine inns. The peel should be boiled in a pot or put in a fire pan and when soaked in rose water before boiling it would leave a ‘delightful scent’ so new guests could feel ‘recreated and be refreshed’. A sweeter scent could be achieved by adding nutmeg and Indian cloves.[6]

The plant Malus Limonia ( Flora Danica).

This stain removal instructions given by Paulli were tested on the 28th of November 2019, when I arranged a session for the students participating in the course ‘Textile Archaeology – A Hands on Approach’, based at the Centre for Textile Research and Department of Archaeology at the University of Copenhagen.

For the experiment I tried to use as authentic materials as possible, however some compromises were made. I for example used bleached medium-weight machine woven linen and in case of using svovlstikker (Sulphur matches), I used modern matchsticks. The svovlstikker (Sulphur matches) mentioned in the recipe would have contained smelly and poison Sulphur and would not have been self-igniting as the matches we use today.[7] I furthermore acquired organic unsweetened cherry juice made from sour cherries, organic lemons and ink, made from oak galls, iron sulfate and gum Arabic. Furthermore, I brought some organic cold pressed sunflower oil to test if the recipe could remove oily substances.

People are testing the stain remover.

We followed Paulli´s instructions, applying cherry juice, ink and oil on linen fragments. Shortly after we applied the lemon juice and lit a matchstick underneath. After the samples were  rinsed in water and left to dry.


Before and after pictures of the stained linen fabrics. Top: before the stain removal was applied: oil, ink and cherry juice. Bottom: after the stain removal process: cherry juice, oil and beneath cherry juice is ink.

The recipe did not remove the stains completely, but the stains were improved, and you can imagine, especially in the case of cherry juice and oil, that if the fabric was bleached afterwards it would almost become unnoticeable. In all, I think the experiment was a success, not only in terms of trying out the recipe, but also in introducing the students to how historians can make use of texts to reconstruct or materialize practices or processes, in this case contemporary textile cleaning practices. It also shows how we can get a deeper understanding of how people might have cared for their textiles and to what extent it worked.


[1] http://denstoredanske.dk/Natur_og_miljø/Botanik/Botanikere_og_plantegeografer/Simon_Paulli, Salmonsens Konversations Leksikon, Christian Blangstrup, Bind XVIII Nordlandsbaad—Perleøerne (Copenhagen: A/S J. Schultz Forlagsboghandel, 1924)., 993

[2] http://denstoredanske.dk/Natur_og_miljø/Botanik/Botaniske_haver%2c_museer_og_foreninger/Flora_Danica

[3] Flora Danica, see introduction

[4] Flora Danica, p 94 Y

[5] Flora Danica, p 279 Y

[6] Flora Danica p 279 S – V, Z

[7] Self-igniting matches as we know of today were first invented in the 19-century. Svovlstikker ( Sulphur matches) is mentioned in Danish dictionaries from the sixteenth-century referring to them in Latin as Sulphurata, Fomes Sulphureus and Sulphuratum. Sulphur matches were first mentioned in England in the 1530s, see e.g. Nell DuVall, Domestic Technology: A Chronology of Developments (Boston: G.K. Hall & Co, 1988), 271.


Dirty Laundry in Aalto University

Can chanterelle mushrooms take the stains out of silk? Might elderberries dye yarn blue? Will scented rose petals make an artisan’s linens smell like those of a great lord? On the 11th and 12th of April 2019 the Refashioning the Renaissance team and two advisory board members explored these and other questions by recreating early modern recipes for cleaning and dyeing clothing and textiles.

Looking to the Danish and Italian contexts, we selected recipes that appear repeatedly in cheap and easy-to-obtain texts and pamphlets from the sixteenth and seventeenth centuries. These texts were intended for use at home; they feature terse instructions and call for ingredients that were relatively easy for people to obtain, some of which may have even been growing in domestic gardens and pots. Some scholars have also suggested that many of the uncomplicated recipes found in printed and manuscript texts simply recorded folk practices that had long been carried out as part of everyday life.

Title page from Mangehaande artige Kunster at berede godt Blæk, Copenhagen 1578, the Danish text from which we took several recipes.]

Title page and image from Opera nvova intitolata dificio de ricette… (Venetia: Giovanantonio et fratelli da Sabbio, 1529). This is one of the texts we used in the workshop and is also one of the earliest printed recipe ‘pamphlets’.

Over two days, we followed instructions for removing stains, dyeing yarn and making scented sachets for linen chests to see if these popular recipes actually worked. On the first day, we had a brief introductory session, and then got to work in the dye kitchen at Aalto University.

Introducing the workshop and recipes.

Our first set of recipes were for stain removers, and Anne-Kristine and I spent some time the evening before staining the fabrics – many of which we had dyed during our visit to the Making and Knowing lab in New York in March. We used red and white wine, oak-gall ink and olive oil to stain the fabrics.

Michele and Anne-Kristine staining different fabrics the night before the workshop.

For the experiment, we split into three groups: Me and Sophie, Anne-Kristine and Tessa, and Paula and Flora. Luckily Piia was on hand to take lots of great photos and videos for us. Sophie and I prepared a very simple Italian recipe designed to take stains out of white wool or linen using lemon juice. We found that if we had fresh stains and blotted them before applying the lemon juice, our results with white wool were pretty good. On the set stains, though, the recipe was not so successful. We also noticed that the lemon juice really discoloured our linen dyed with cochineal, turning it hot pink.

Sophie with the cochineal fabric discoloured by lemon juice.

Michele and Sophie applying lemon juice to the stained fabrics.

The results of the lemon juice stain remover.

Anne-Kristine and Tessa recreated a recipe from a Danish text, using the juice of mushrooms to remove stains from silk. They decided to cook the mushrooms in a little bit of water, strain it and applied this to the stained fabrics. It didn’t work so well and actually discoloured the white silk. This might not be one to try at home!

Anne-Kristine and Tessa juicing mushrooms.

The results of the mushroom-juice stain remover, where you can see how it yellowed the white fabrics.

Finally, Paula and Flora recreated a recipe from an Italian book intended to remove stains from red silk using boiled cream of tartar. This was probably the recipe which was the least clear, and there were lots of discussions about whether to use the water or solid portion left after boiling. In the end, Paula and Flora decided to try both. Neither was particularly successful!

Freshly stained fabrics.

Preparing to strain the tartar powder.

Paula and Flora trying to remove stains from red fabrics.

In the afternoon, we moved onto recipes for simple dyes. Anne-Kristine and I worked together, Paula and Tessa were a team and Sophie and Flora each worked on their own.

Anne-Kristine and I worked with a recipe from a Danish text, using bilberries to dye wool, silk and linen. A few days before the workshop I set the berries to soak in water (according to the recipe), and we just had to boil them a little, gave the mixture a strain and then added some alum and our fabrics.

Extracting the colour from bilberries, and fabrics added to the juice.

The results of our bilberry ‘blue’ dye.

The recipe was supposed to turn the fabrics blue, but they came out more of a deep purple-red. We were really happy and surprised about the results.

Sophie worked on alternative version of the same recipe, using dried elderberries, verdigris and alum. I had soaked the dried berries in vinegar for a few days before the workshop, and they smelled quite strong!

Sophie working with smelly, dried elderberries, which had been soaking in vinegar for several days.

Two versions of the elderberry dye recipe.

Measures of verdigris (on the left) and alum (on the right) for Sophie’s two versions of the recipe. Verdigris is the lovely turquoise coloured patina that forms through the oxidation of copper or brass. Think of the colour of the Statue of Liberty!

Her fabrics came out two slightly different shades of green, though the recipe was for achieving the colour blue…

Batch one of the elderberry-dyed fabrics.

Batch two of the elderberry-dyed fabrics.

Flora worked on an Italian recipe for making a russet colour. She used orange and pomegranate rinds that I had soaked in water a few days before the workshop. With the addition of alum and ash(!) she was supposed to end up with nicely coloured russet wool, silk and linen; however, the fabrics ended up a sort of creamy yellow.

‘Russet’-coloured fabrics?!

Paula and Tessa made a recipe from an Italian book, which also appears in many other books of secrets from this period. Their experiment was the most labour intensive, as they had to smash up oak-gall and grind gum arabic.

Tessa and Paula working hard, grinding and smashing.

The recipe was supposed to result in a lustrous black; however, the team ended up with a muddy brown.

The dye is looking very mud-like.

Fabric that is ‘good, black and lustrous’?

Part of the problem—which we found for all of our dye recipes—was that the pots were much too large for the small amounts of textiles we were dyeing. This made the fabrics stick to the bottom and prevented us from swirling in the bath to get even coverage. Even though our stain removal and dye recipes were not so successful, we had many wonderful and useful discussions throughout the day.

One the second day of the workshop, we recreated a recipe for making scented sachets for putting in linen chests. This was a very long recipe with two different options: one expensive, the other more economic. We chose the cheaper option, which required rose petals, rose water, musk [we used synthetic], lily oil and orris root. We shared the different tasks and had lots of discussion about the decisions we were making and why. It was a different atmosphere to the very busy first day in the dye kitchen, and we literally got to stop and smell the roses during this experiment.

Smelling the perfume to see if the odour is like that of a great lord, which we decided is an open question.

As our perfume cooked, we each sewed up linen bags. Once the mixture had cooled, we put it on the rose petals and added them, still damp, to our bags. The results were very fragrant and our office still smells of the mixture three months later!

Rose petals damp with the perfume, ready to be put inside the hand-sewn linen bag.

After we finished making up our bags, we gathered together to admire all we had produced during the workshop.

Wrap-up discussion.

We discussed how recreating the recipes helped us understand some of the practices that working people in early modern Italy and Denmark might have carried out at home to care for, clean or refashion their garments. Making these recipes also demanded close reading and that we considered carefully the kinds of knowledge and experience they assume the reader already possessed. It also gave us insight into the kinds of knowledge and experiences that regular people had, a topic that is hard to trace in this period given the low-levels of literacy, especially among women, who were unable to record their thoughts, feelings and actions. In sum, by recreating early modern recipes, we tested if they actually worked, and gained a broader perspective of and new questions about processes of and knowledge about cleaning and caring for clothing in this period.